


Bj craft immortal
 03-28-2018, 01:59 PM
#1

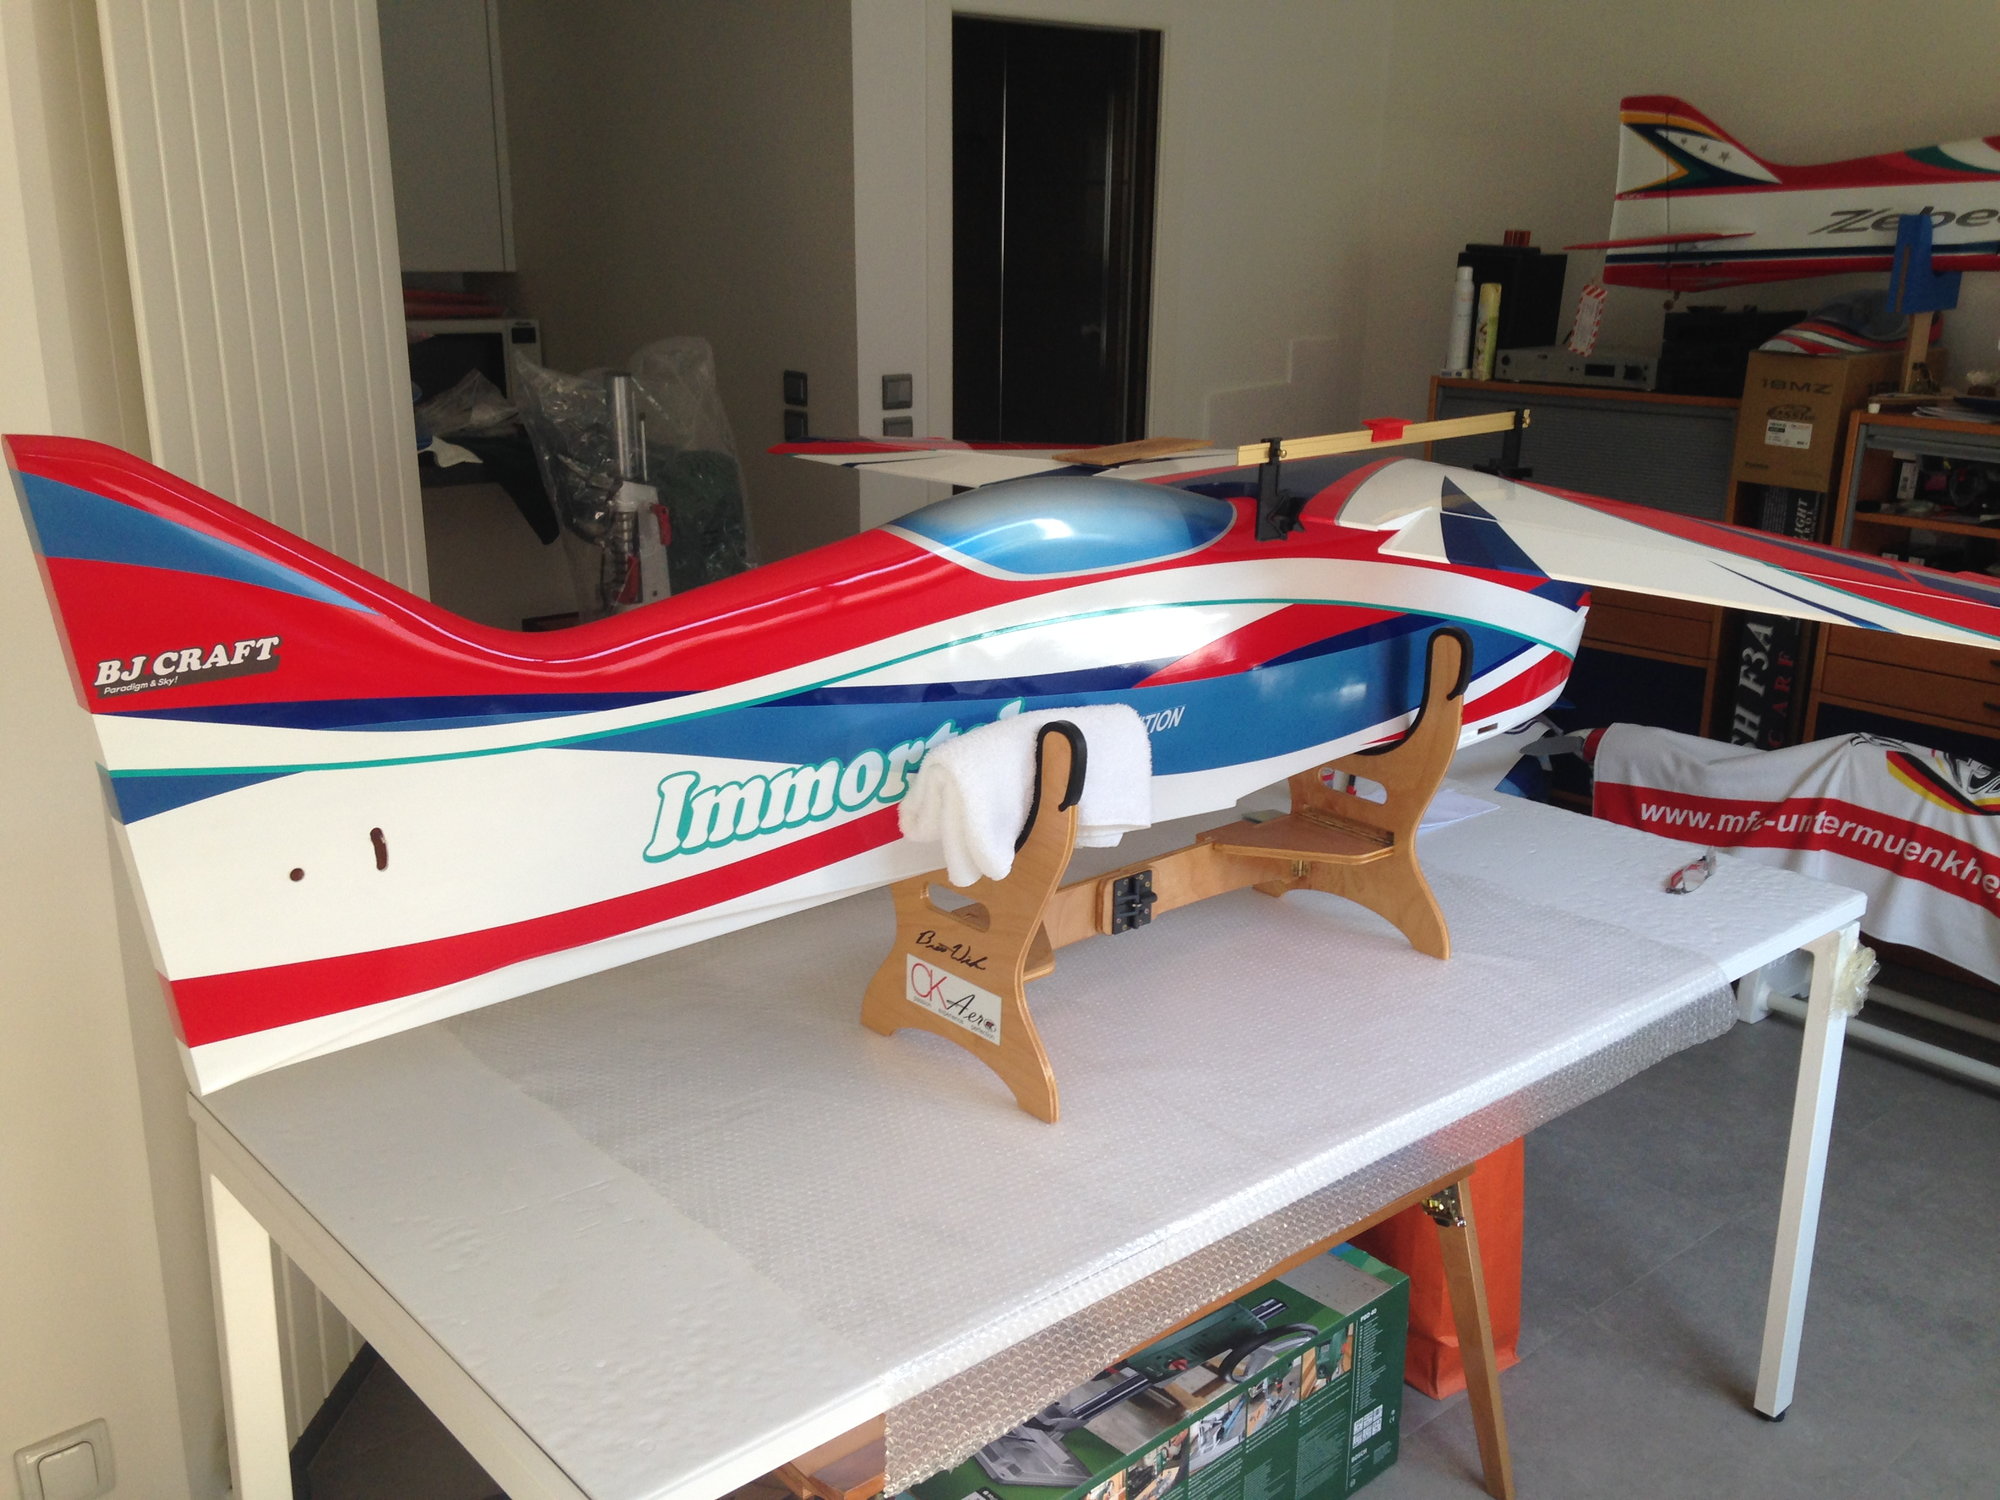
Following the advice of my long time friend Steve Hannah, I decided to give a try to B.J. CRAFT products.
I saw the new Bipe IMMORTAL flying in very special conditions at the WC in Argentina, where it performed very well.
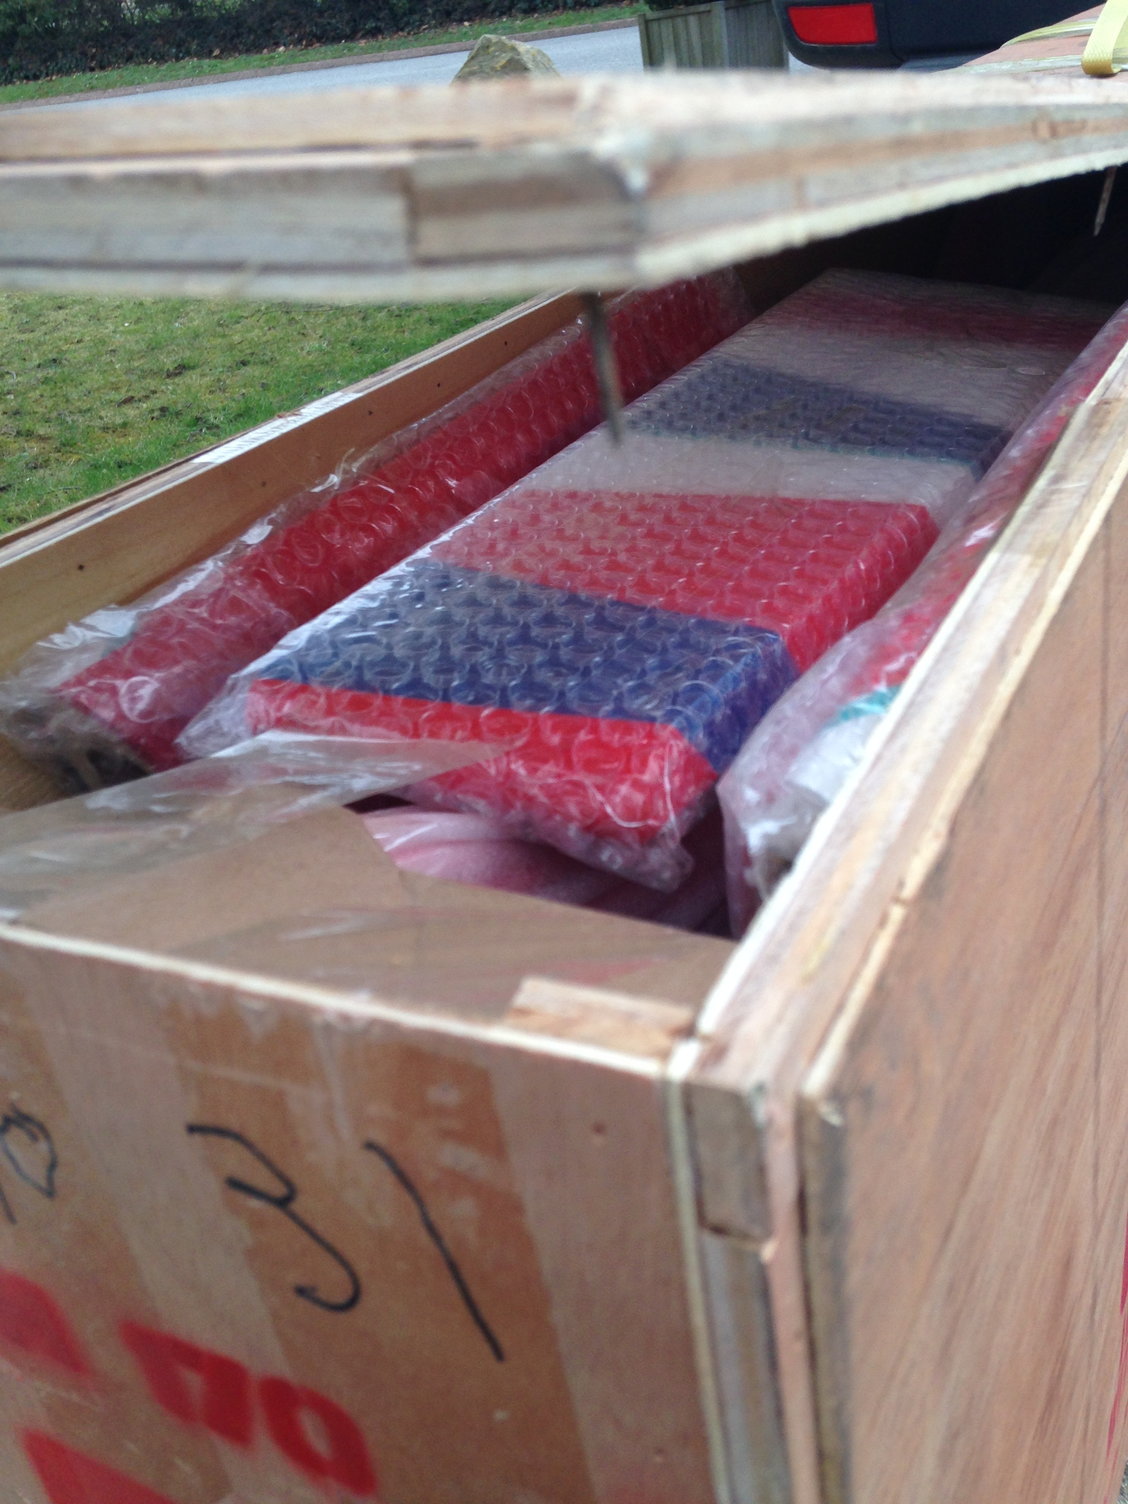
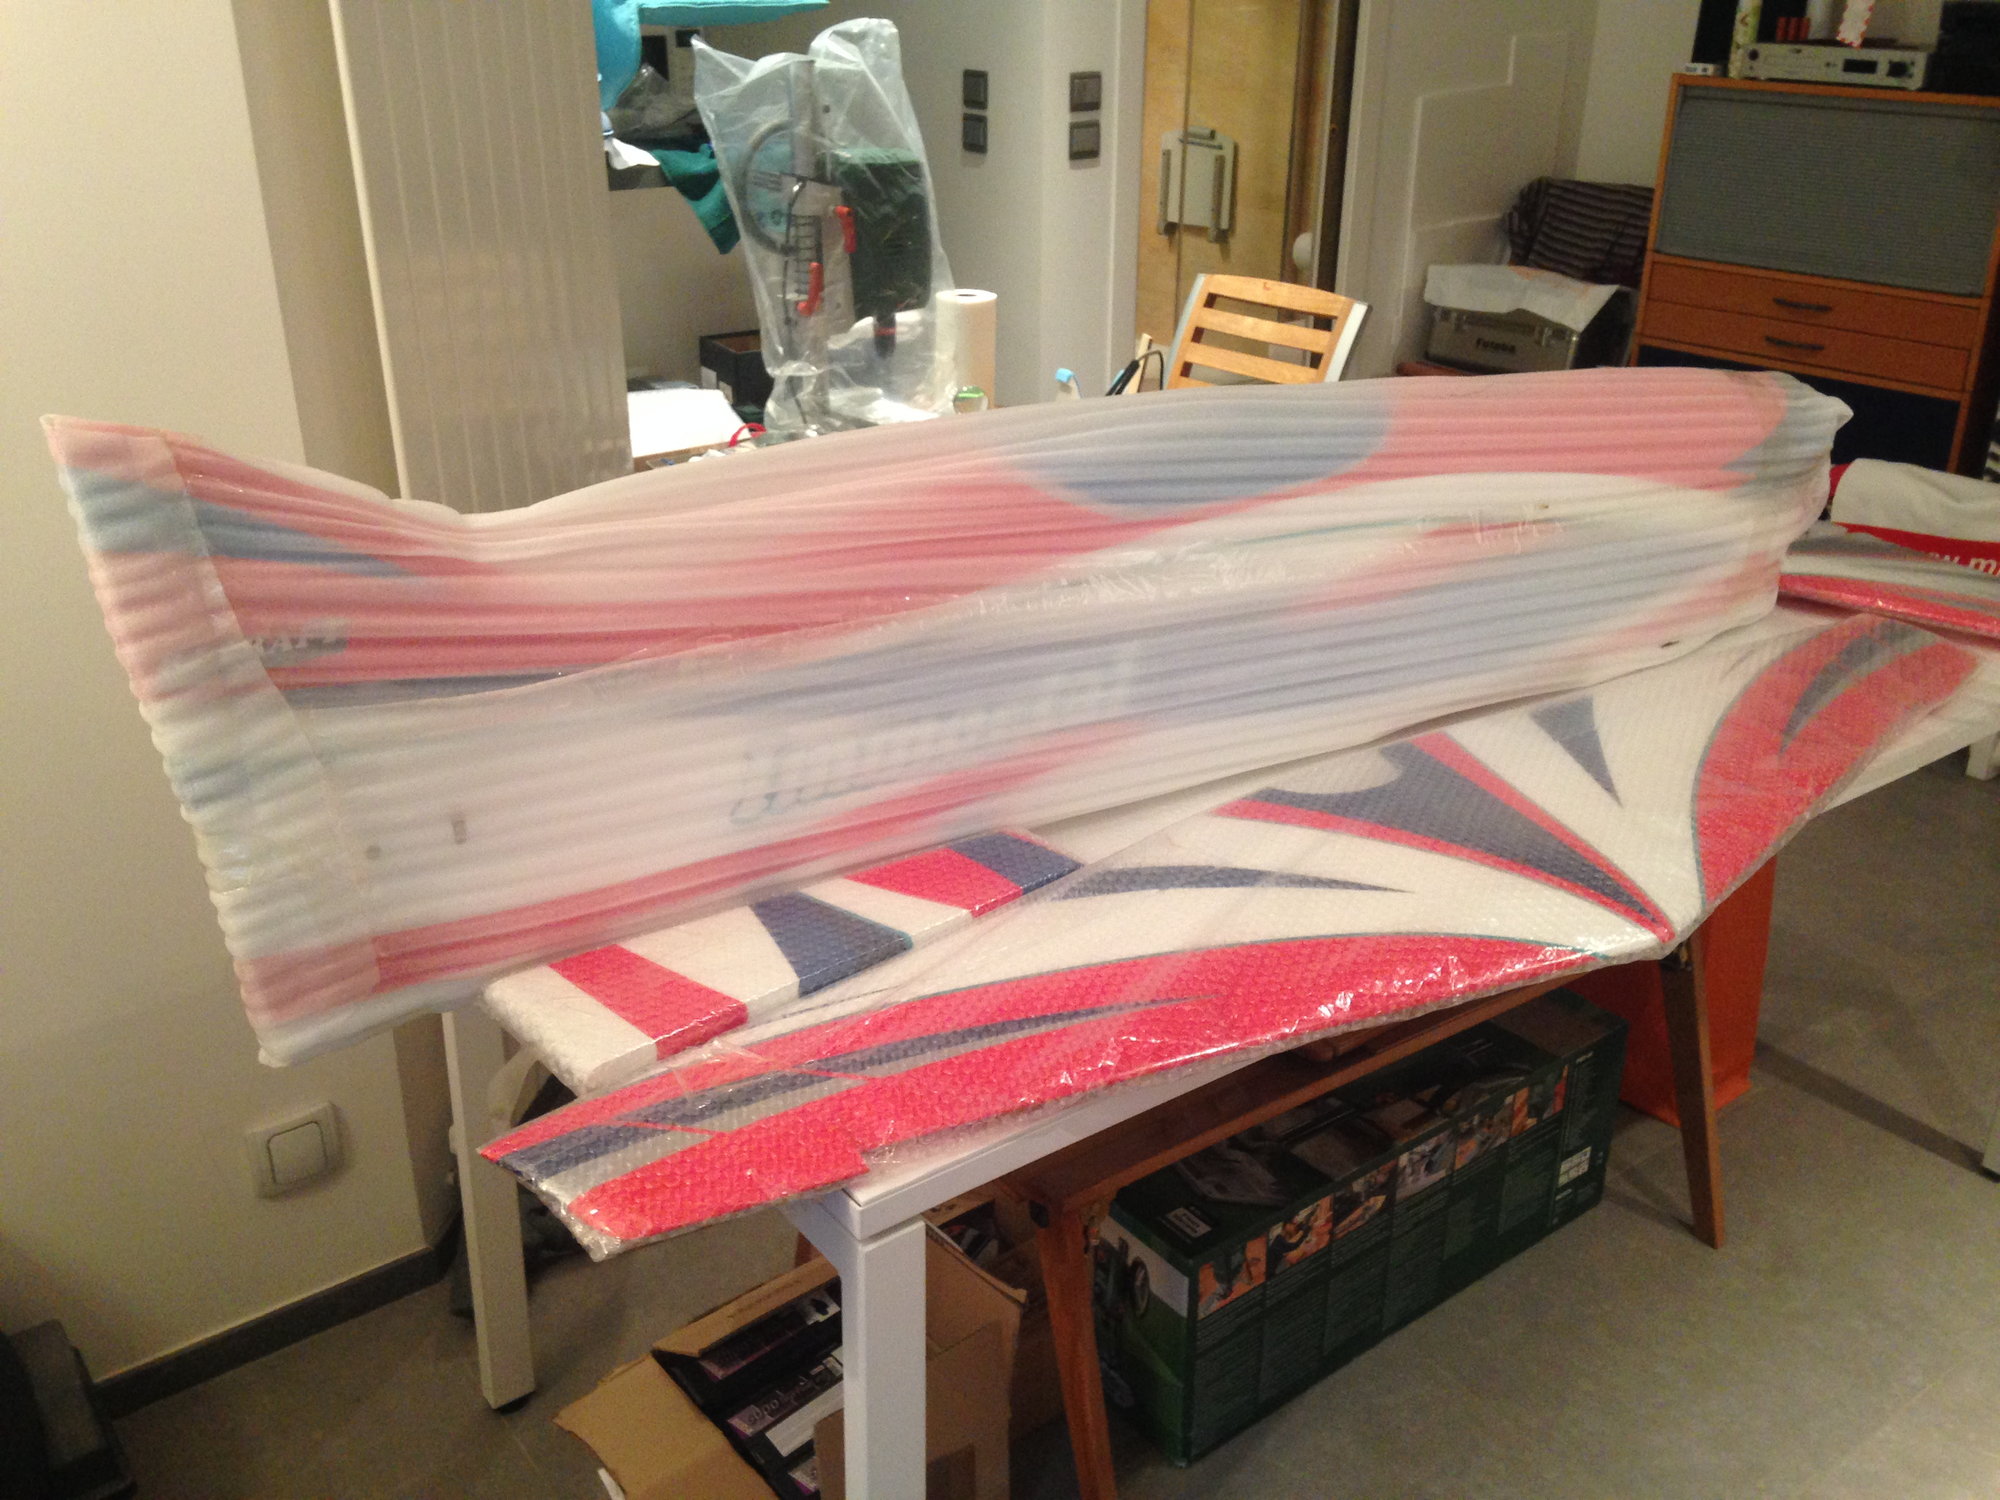
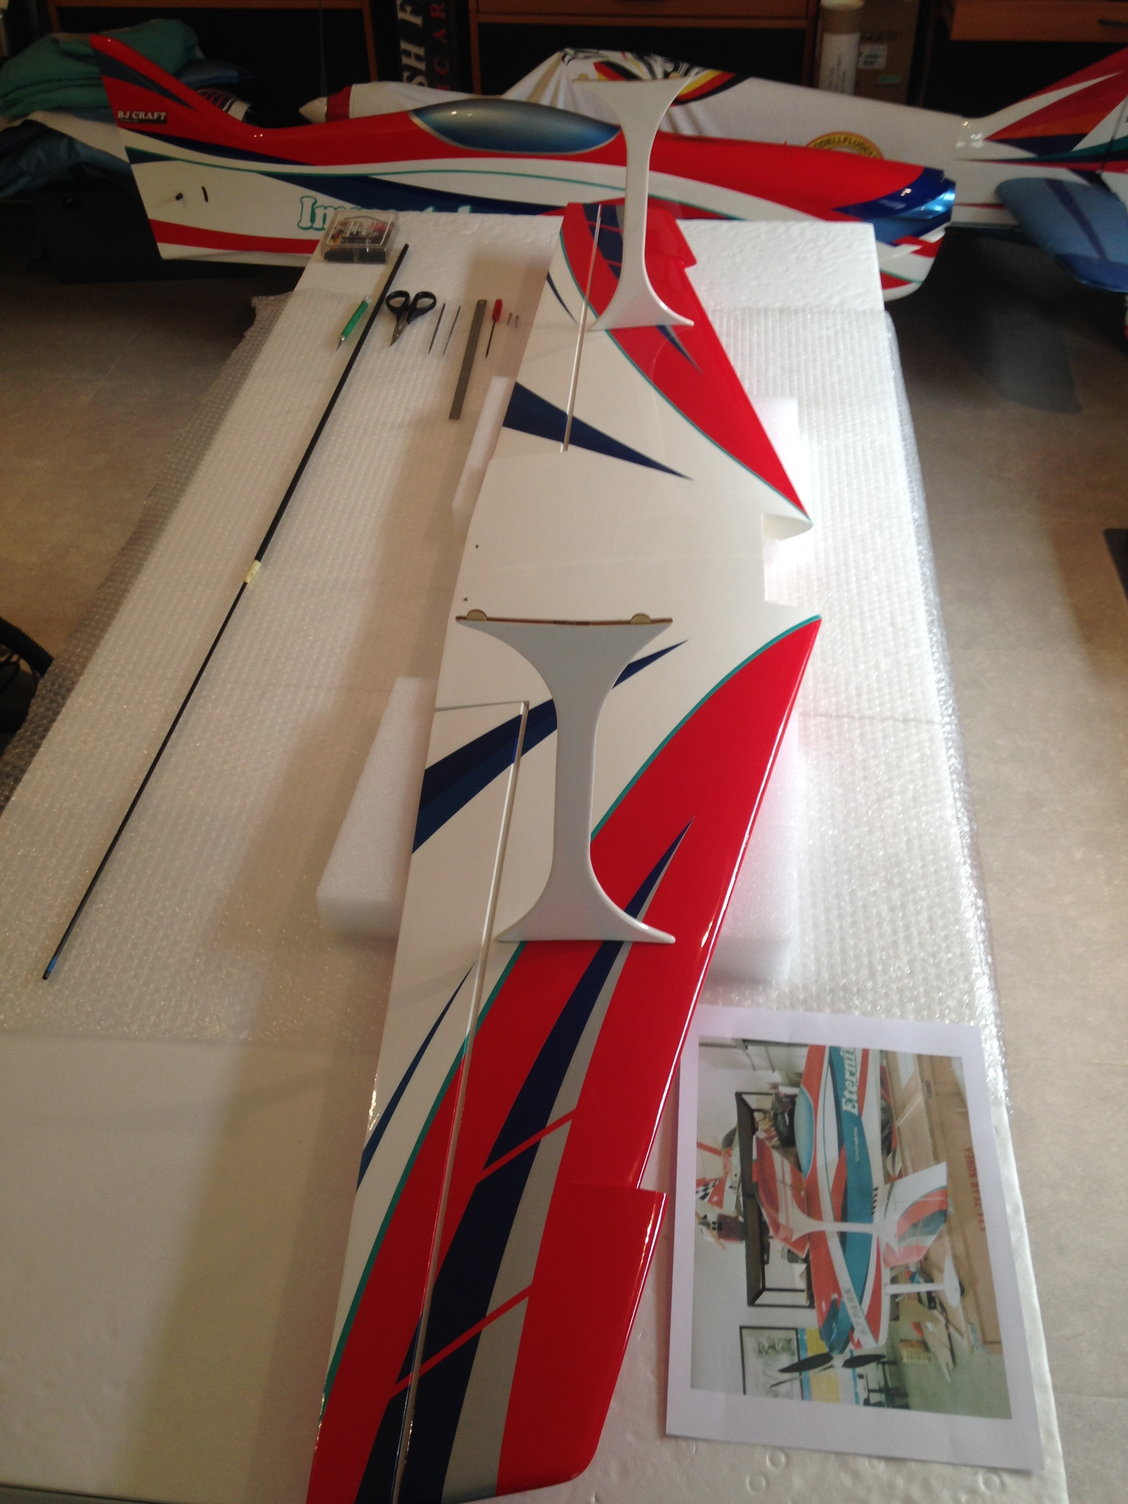
After a flight from Shenzhen via Samutprakam Thailand - Mumbai India - Koenig Germany in four days, the box arrived home in Paris in one piece...
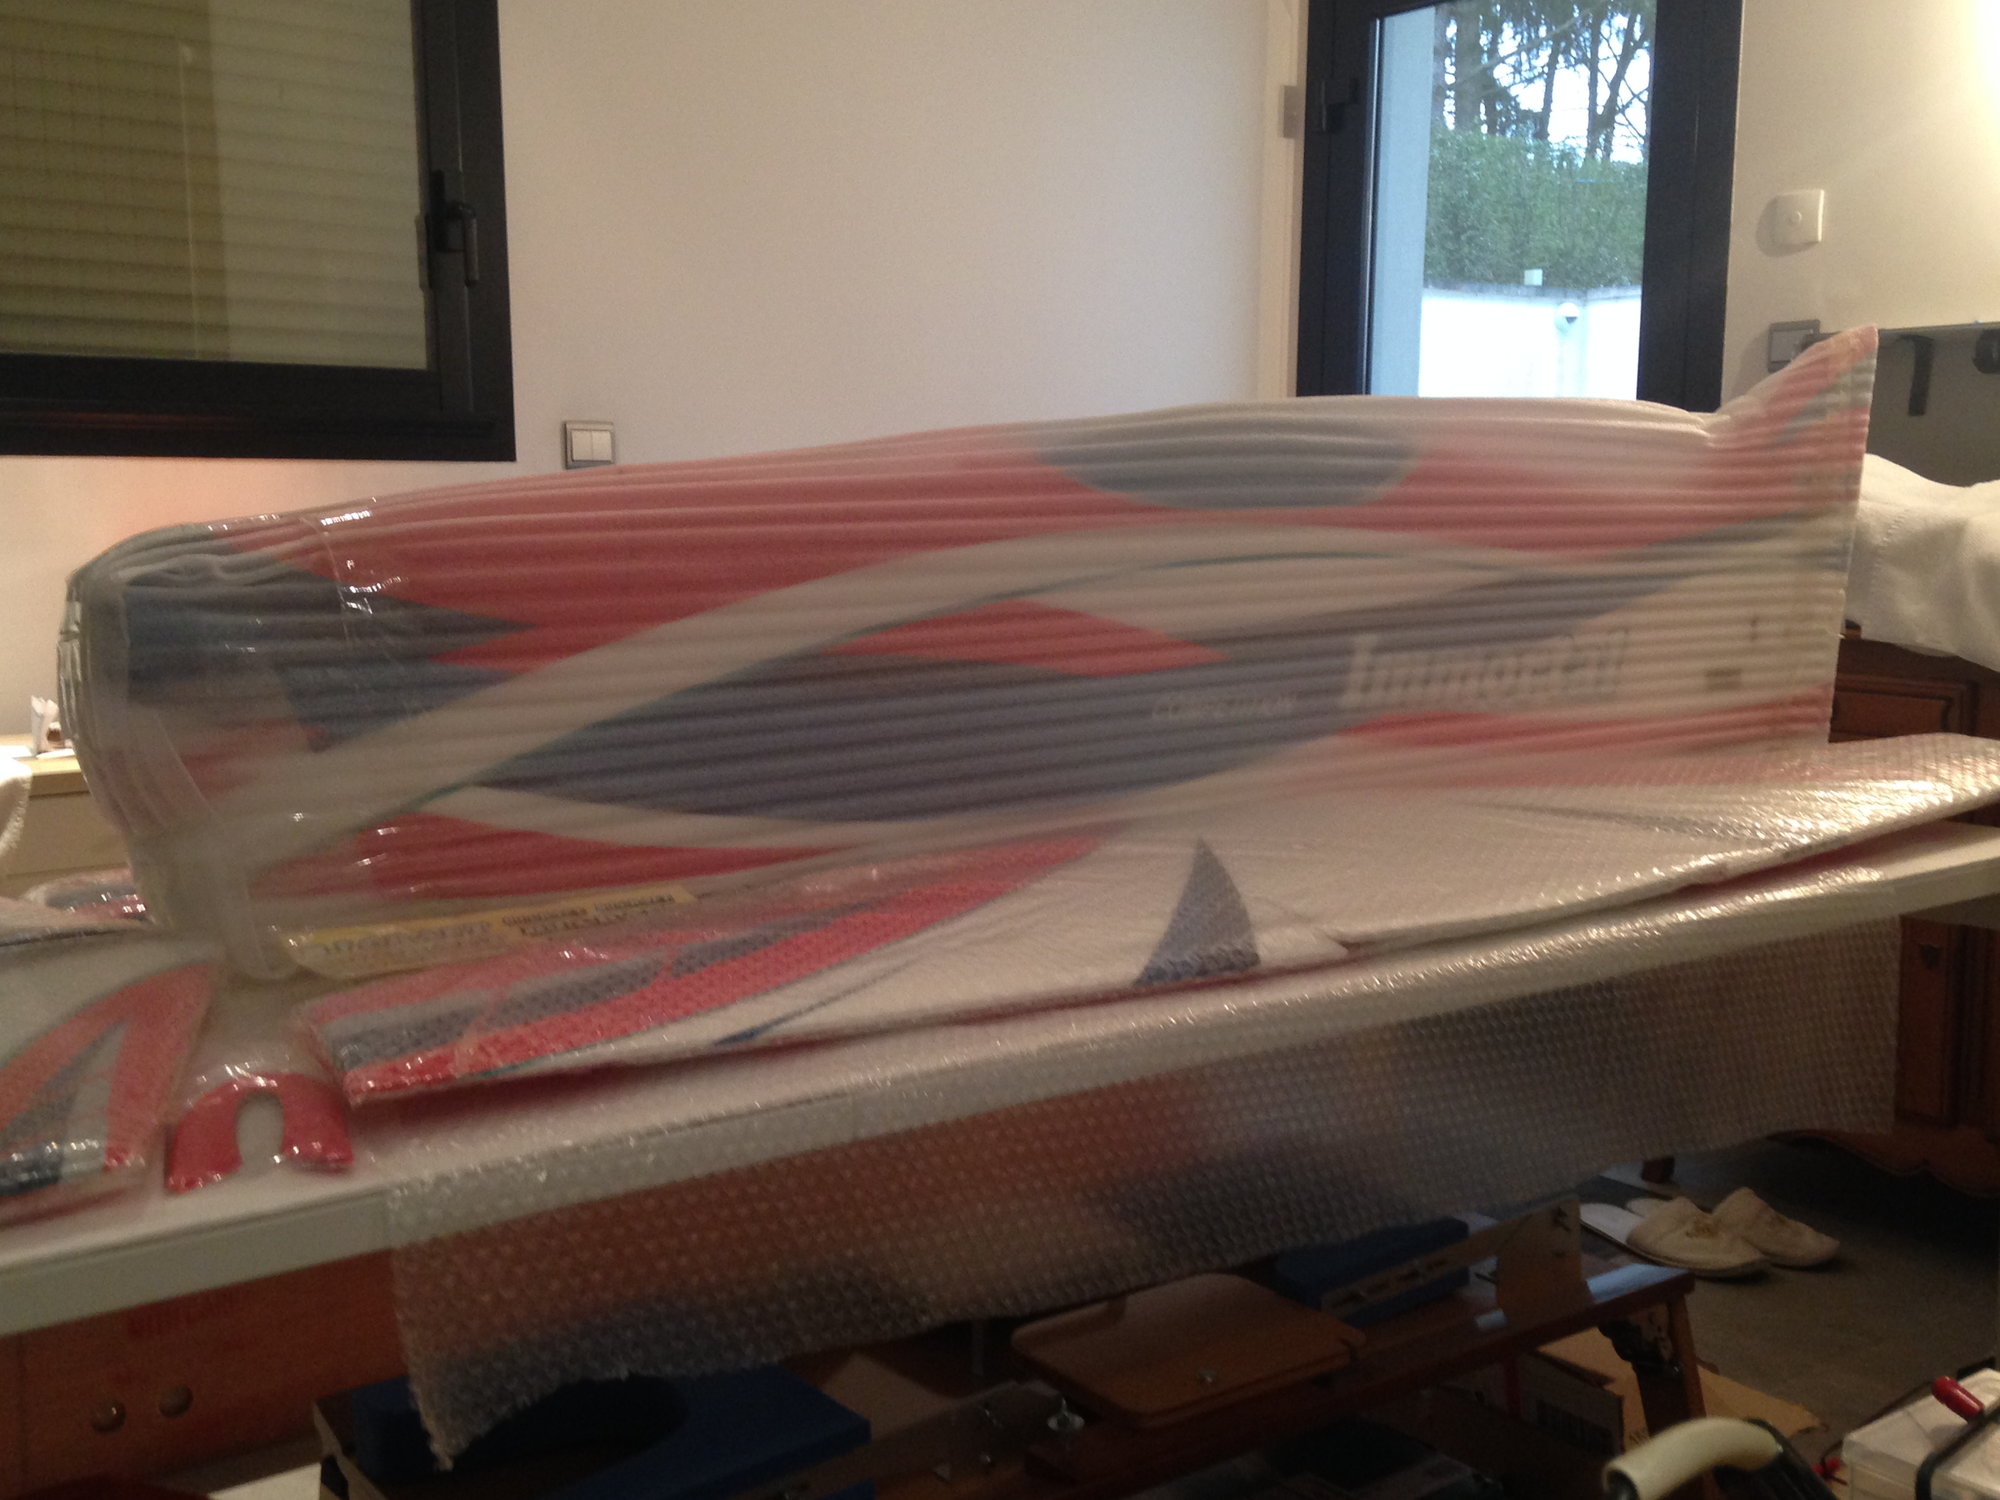
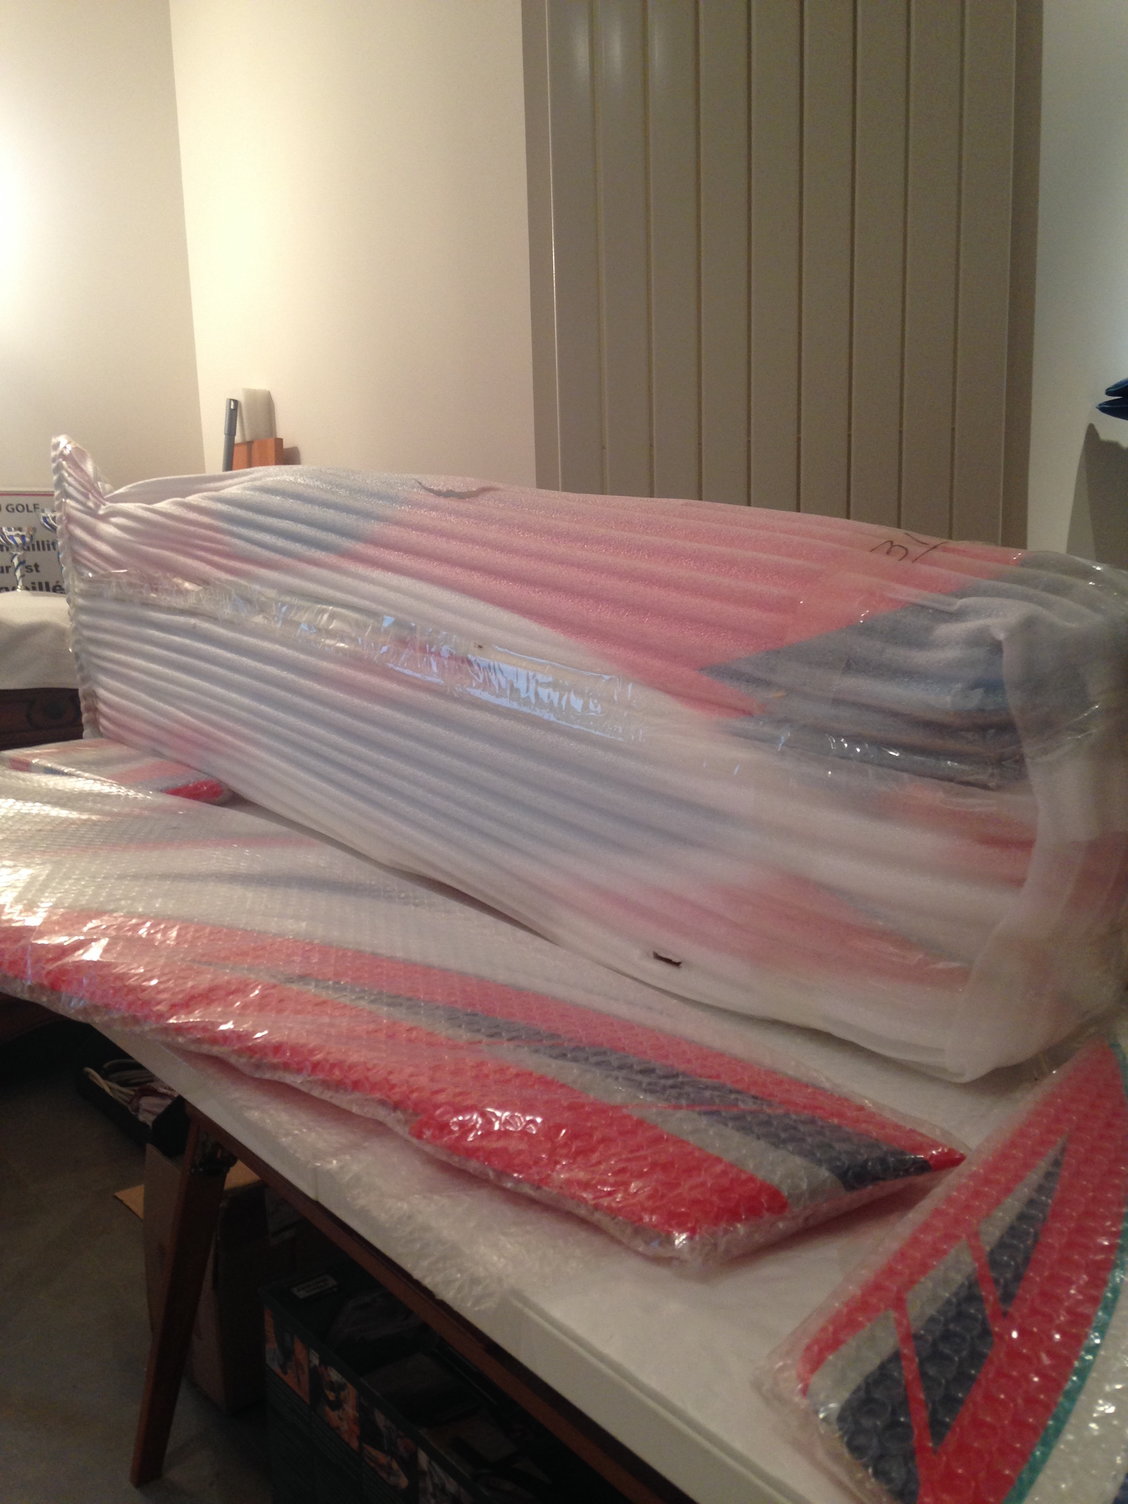
Opening the box, everything was very well packed, and nothing damaged ....
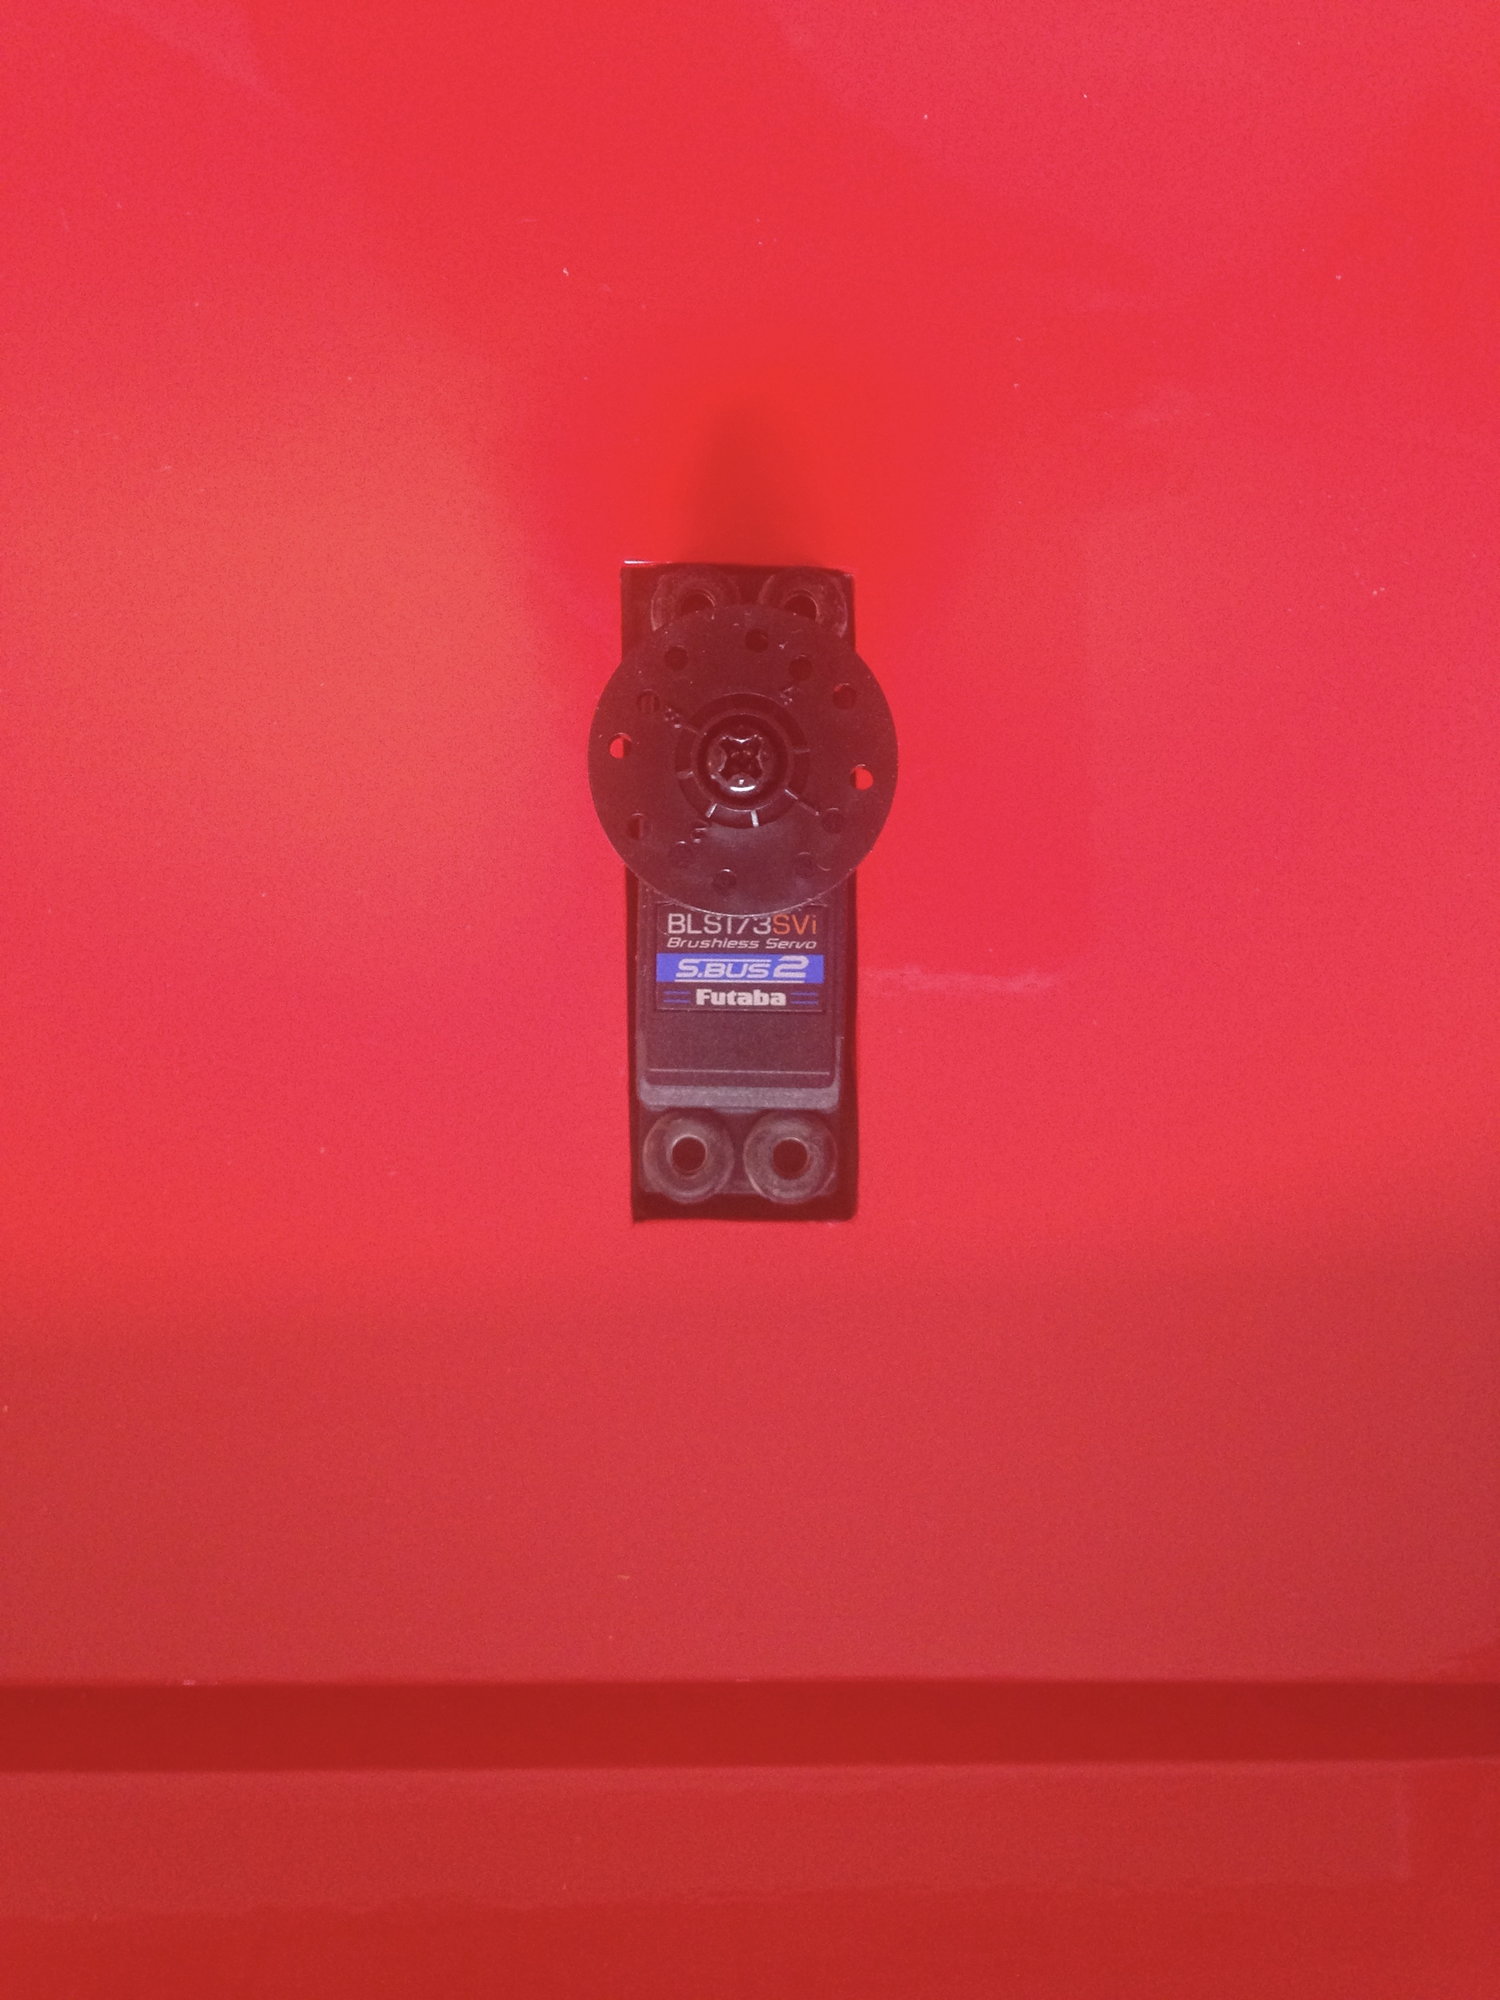
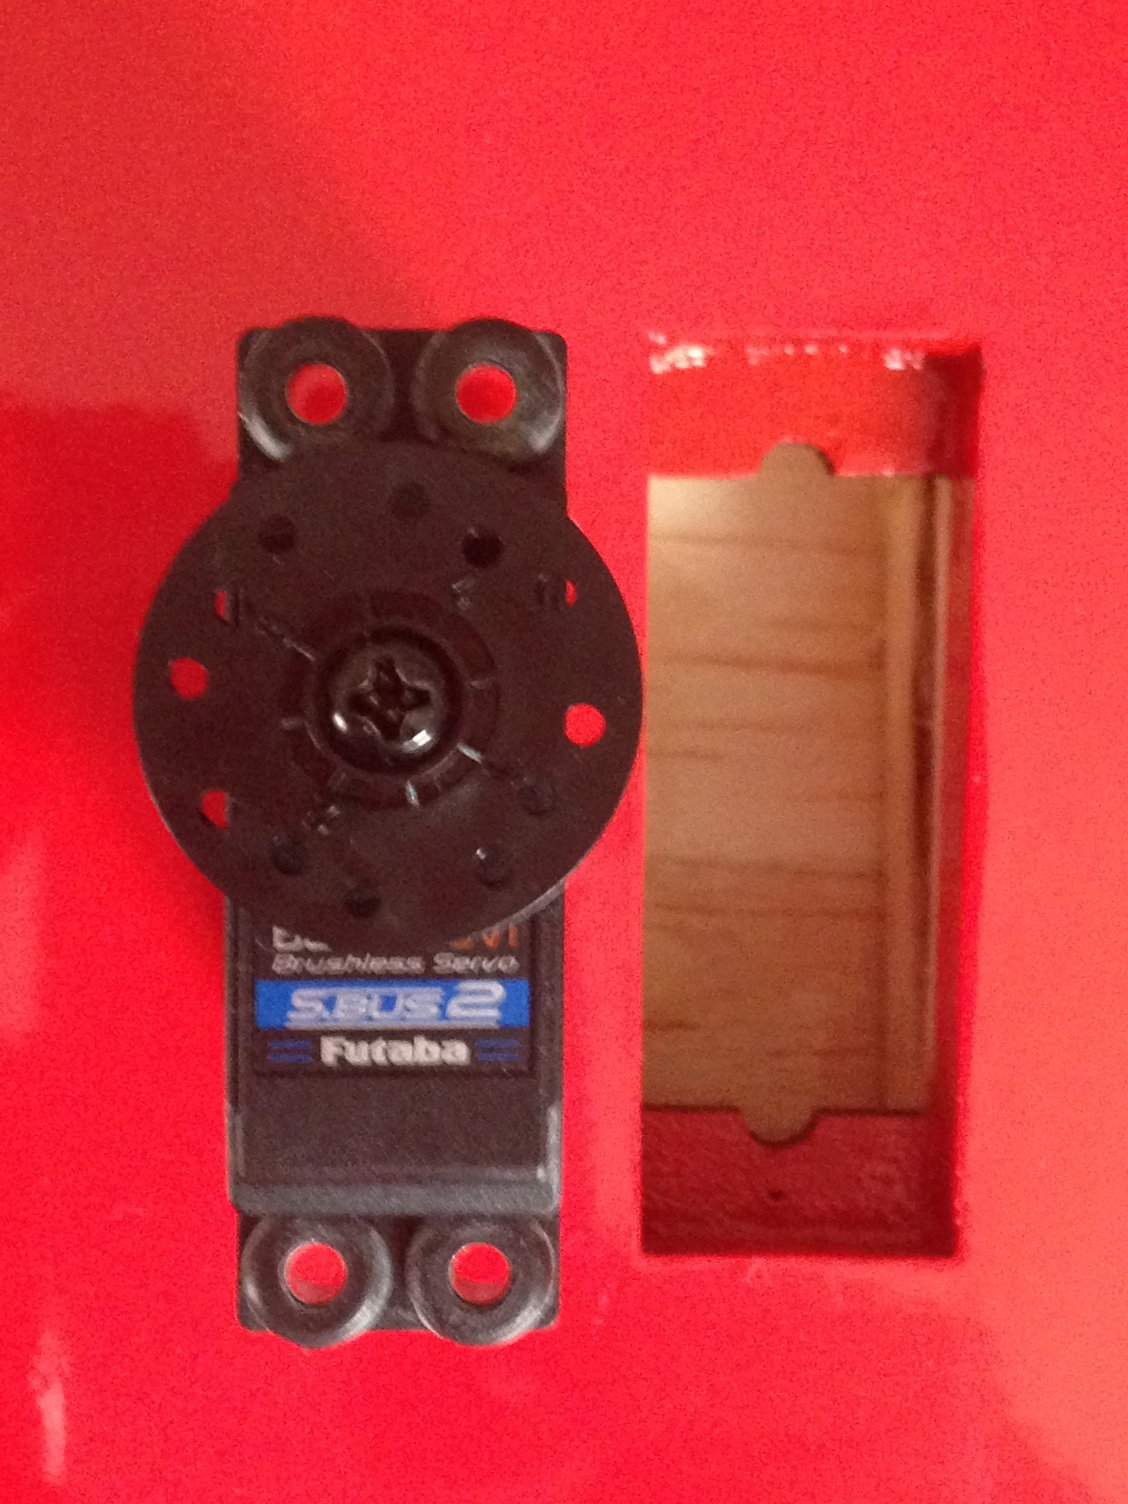
I plan to install an OS BELT Drive Version II with a FUTABA ESC, and use my new 18 WC FUTABA on SBUS : 4 x 173 SVI for the ailerons,
1 x 9171 SV for elevator as recommended , and 1 x 171 SV for rudder.
😎😎🇫🇷
JP


I saw the new Bipe IMMORTAL flying in very special conditions at the WC in Argentina, where it performed very well.
After a flight from Shenzhen via Samutprakam Thailand - Mumbai India - Koenig Germany in four days, the box arrived home in Paris in one piece...
Opening the box, everything was very well packed, and nothing damaged ....
I plan to install an OS BELT Drive Version II with a FUTABA ESC, and use my new 18 WC FUTABA on SBUS : 4 x 173 SVI for the ailerons,
1 x 9171 SV for elevator as recommended , and 1 x 171 SV for rudder.
😎😎🇫🇷
JP
Last edited by J-P; 03-28-2018 at 02:25 PM.

 03-30-2018, 11:02 PM
#3
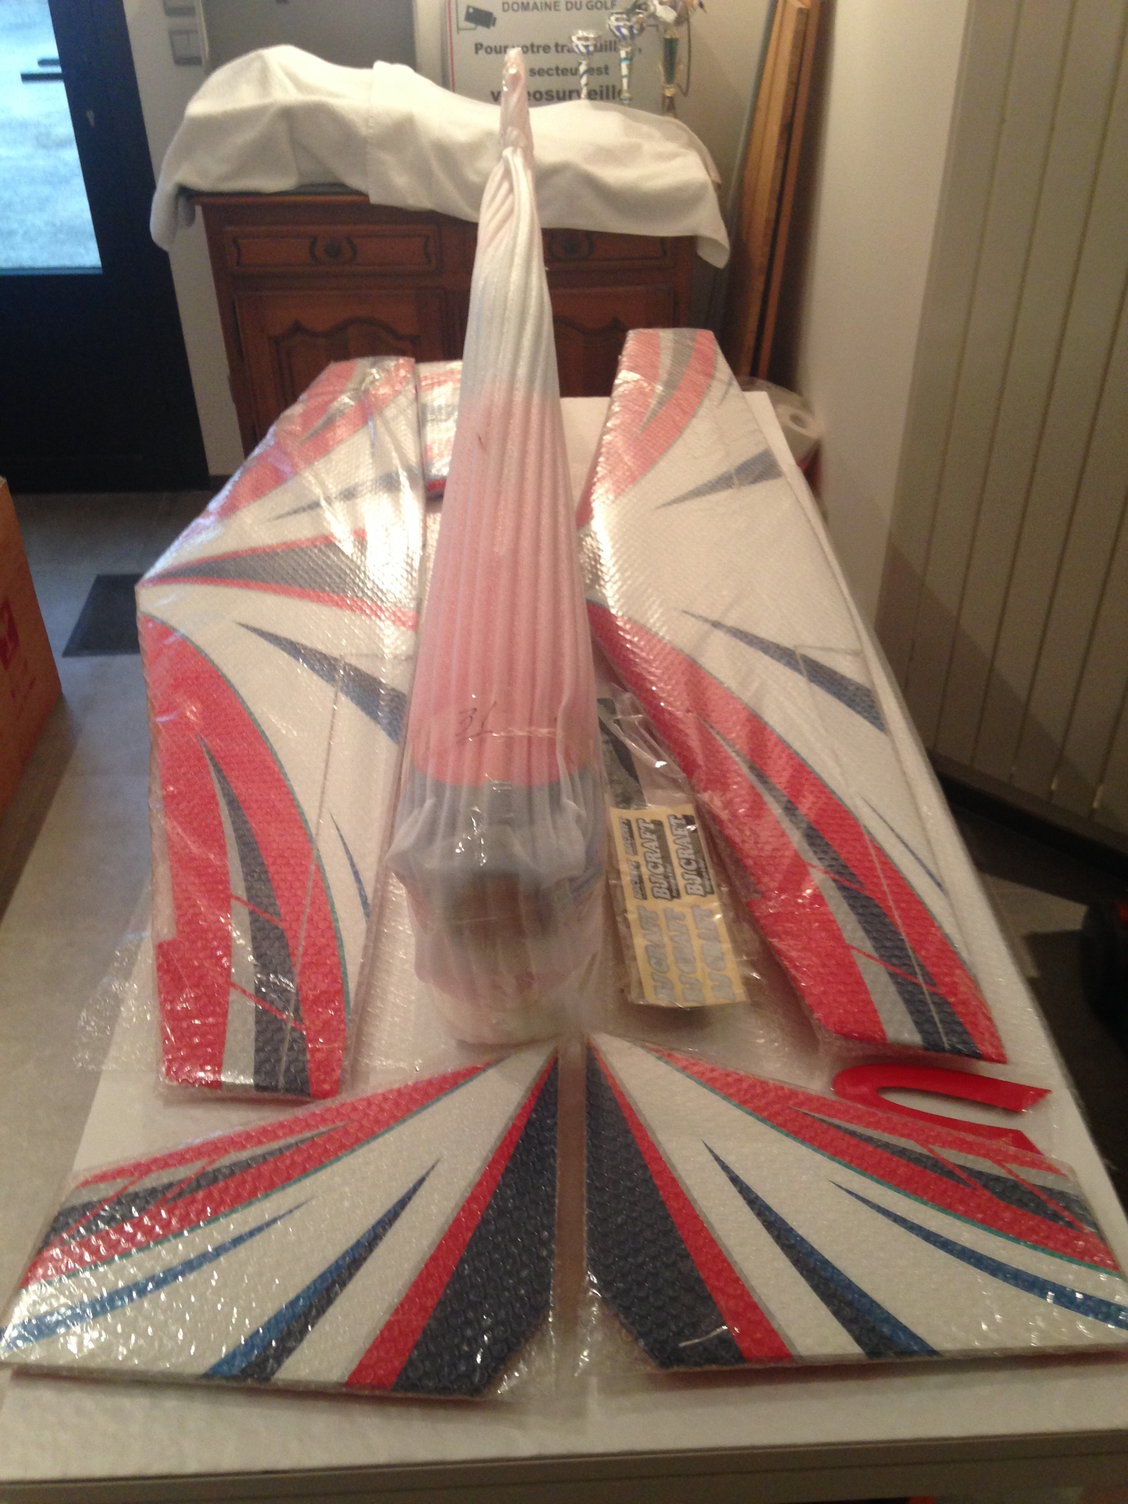
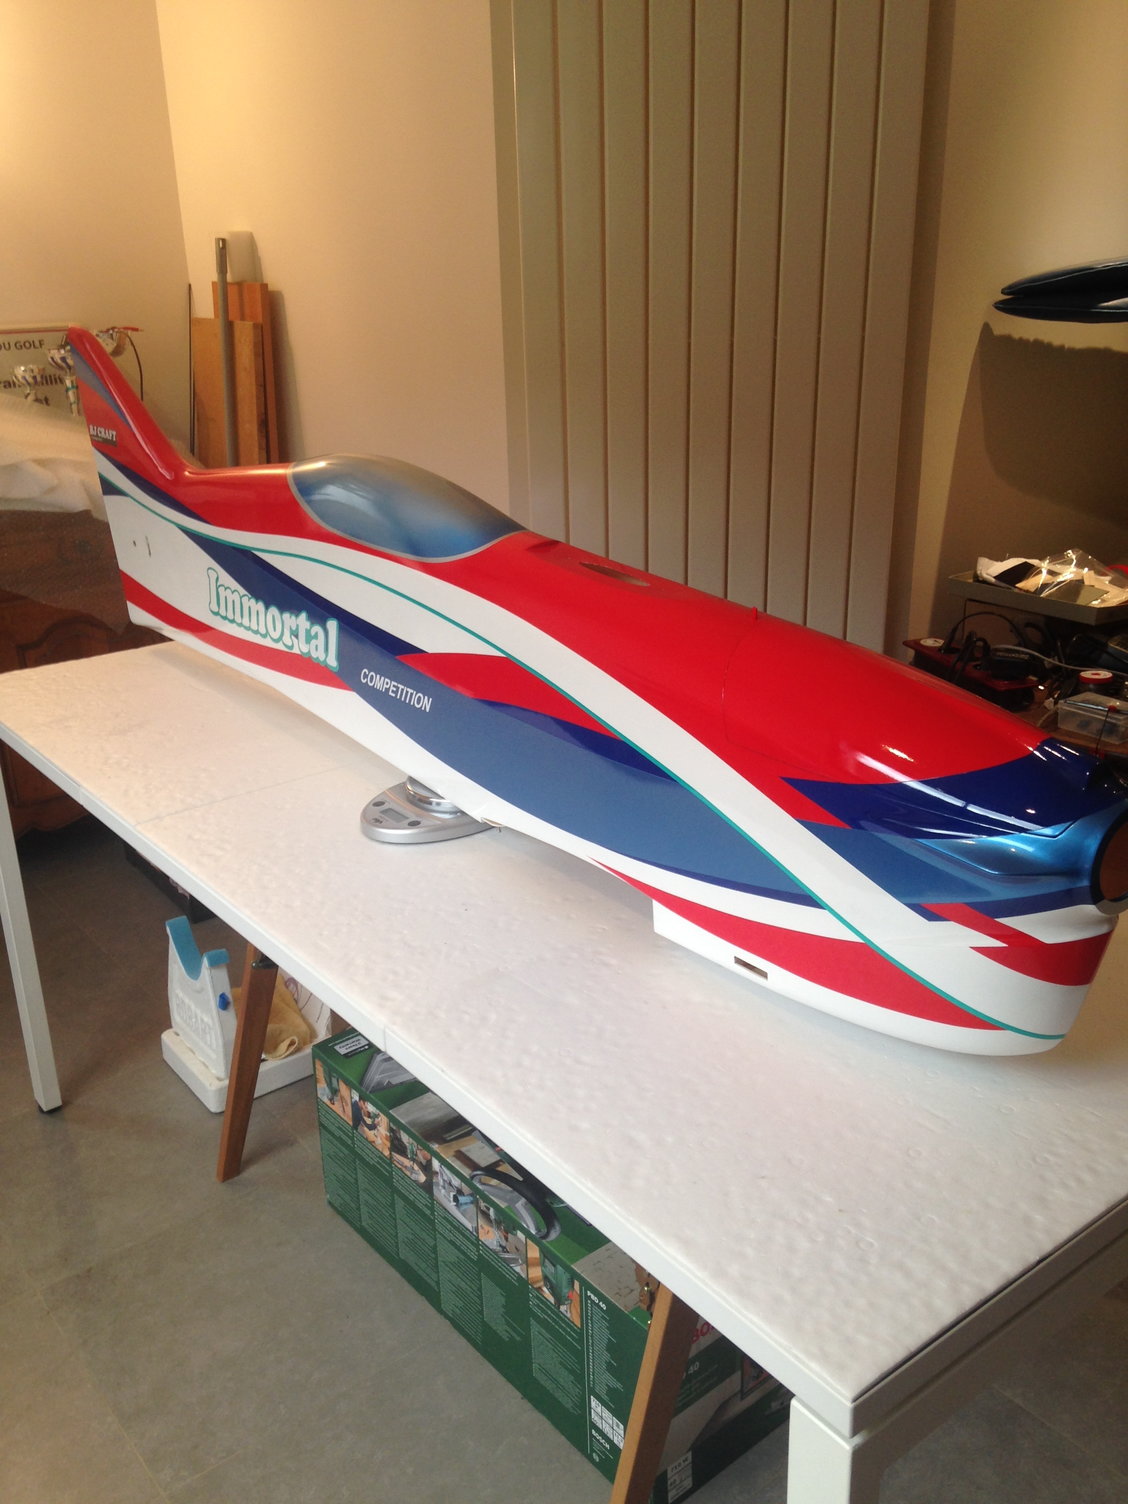
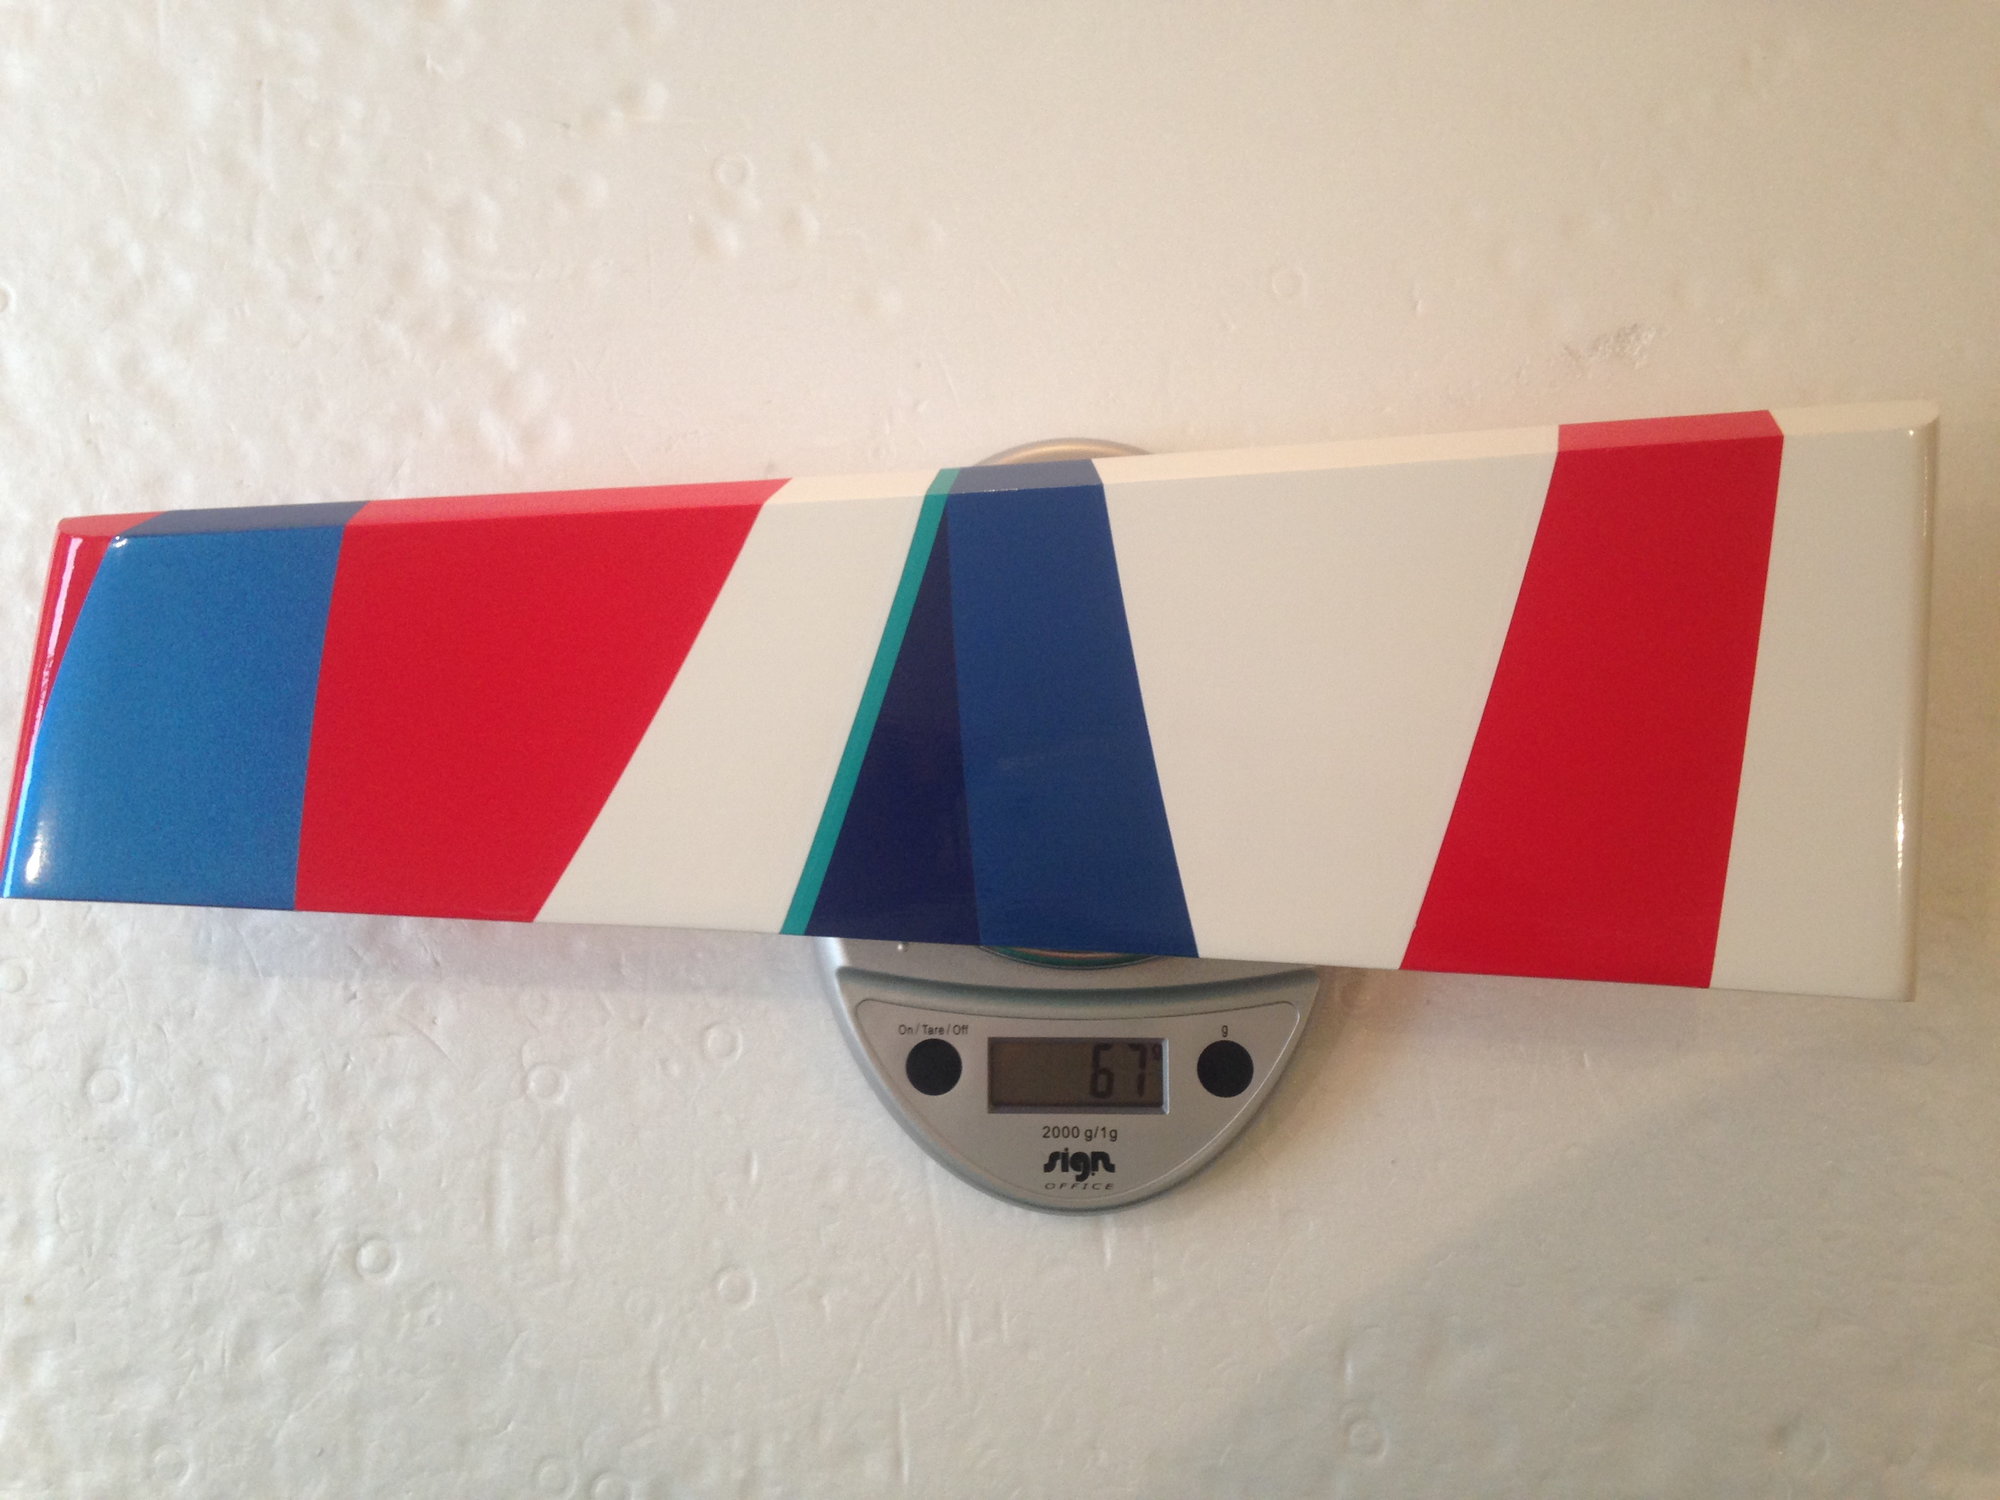
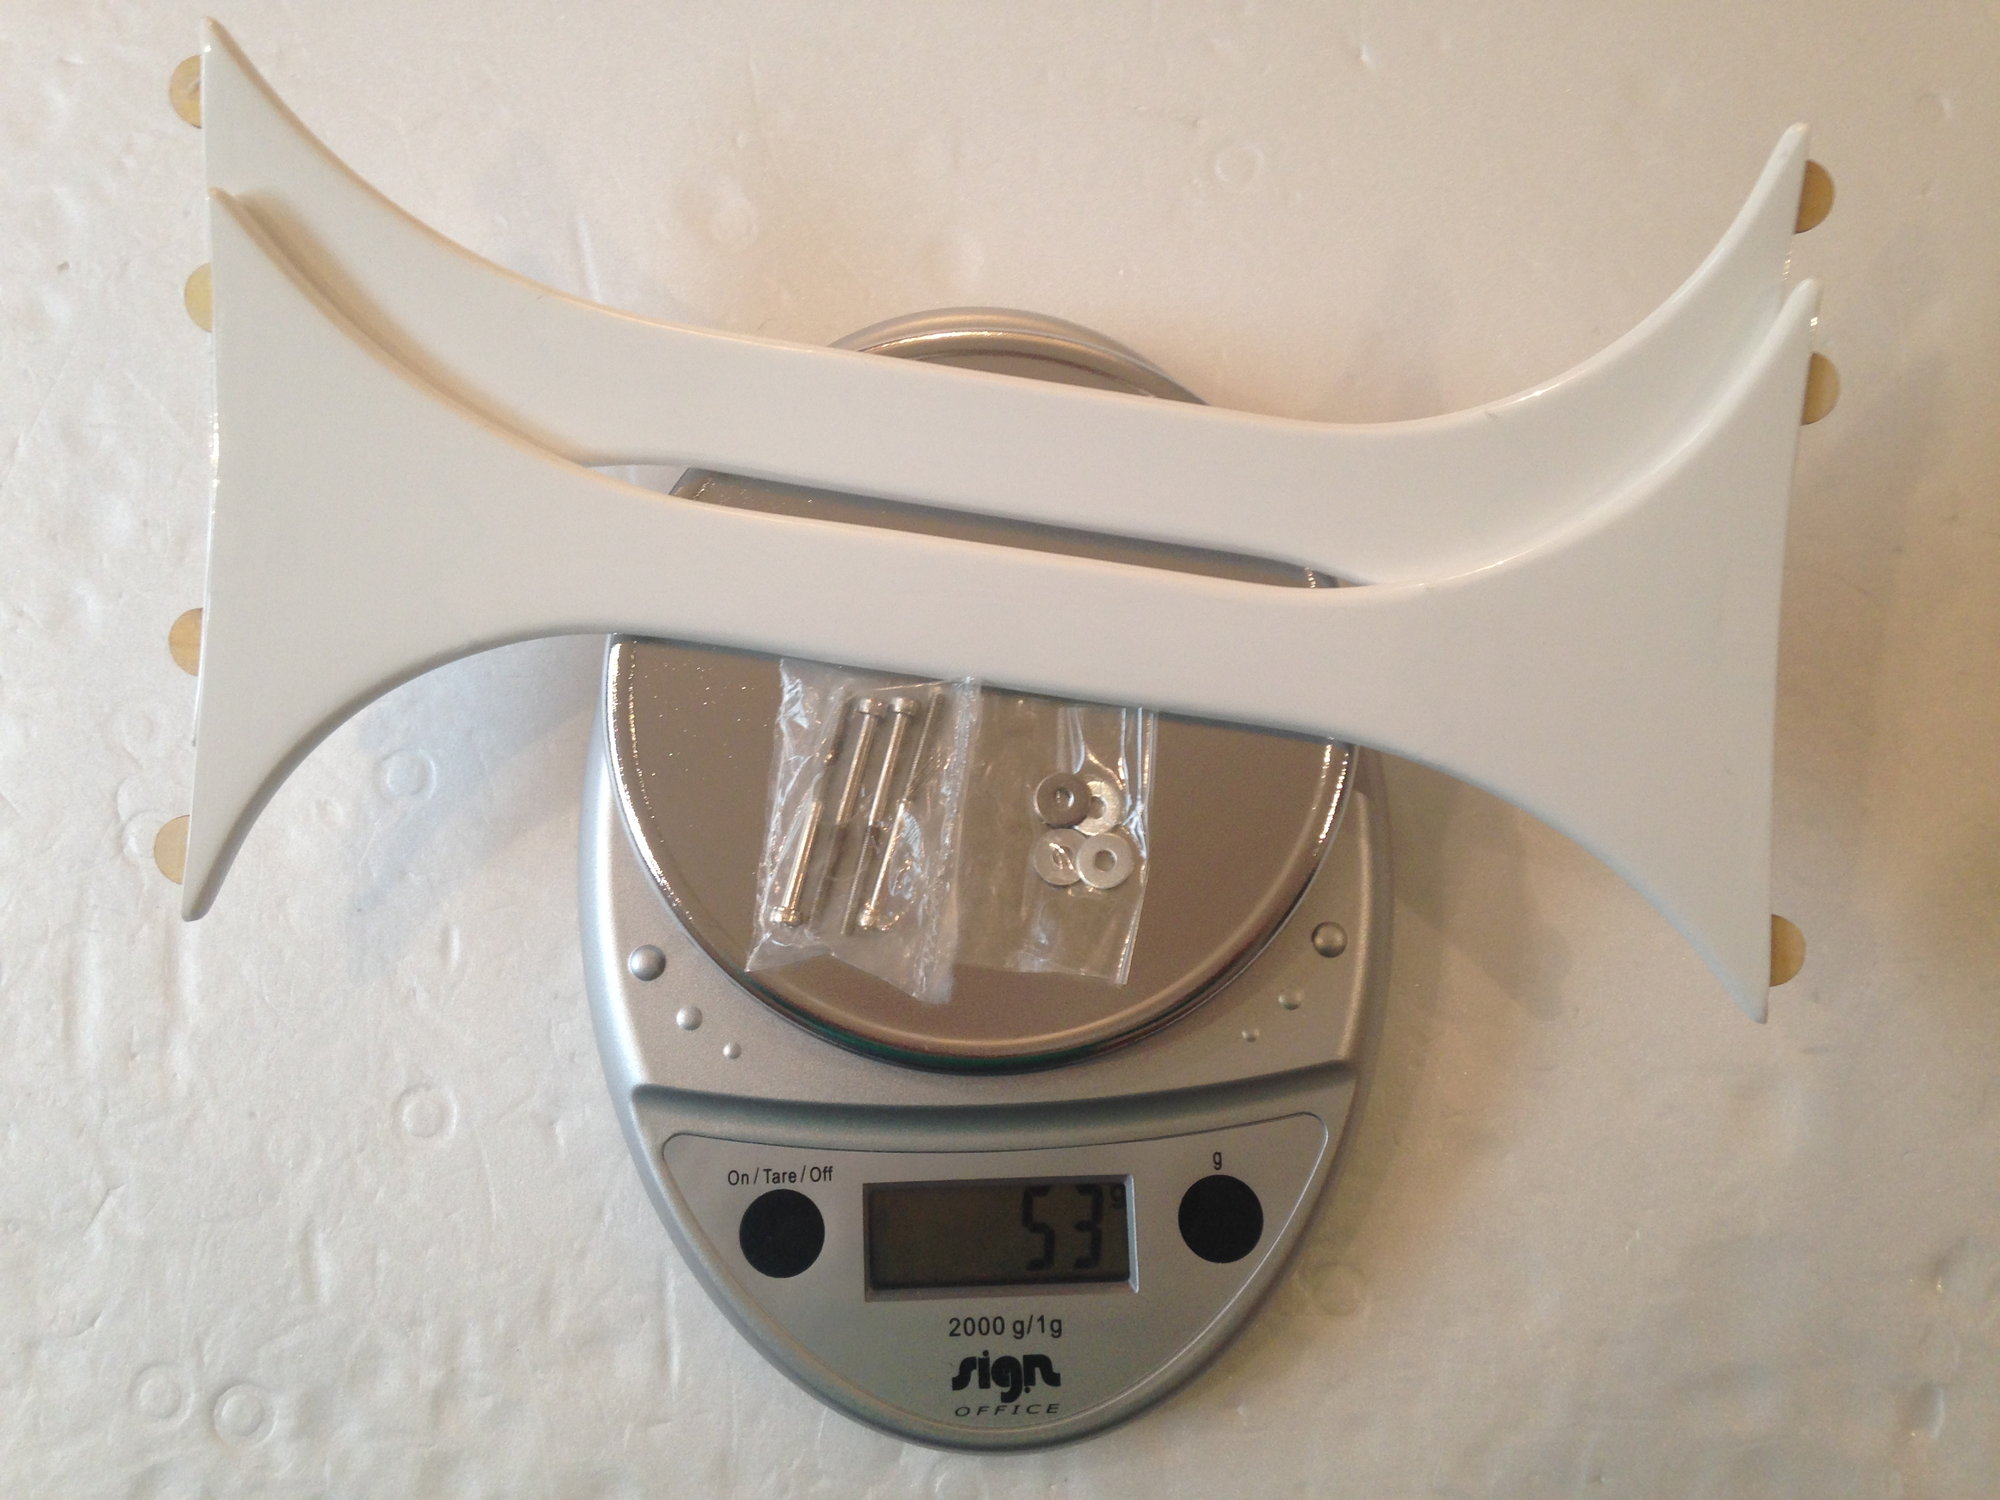
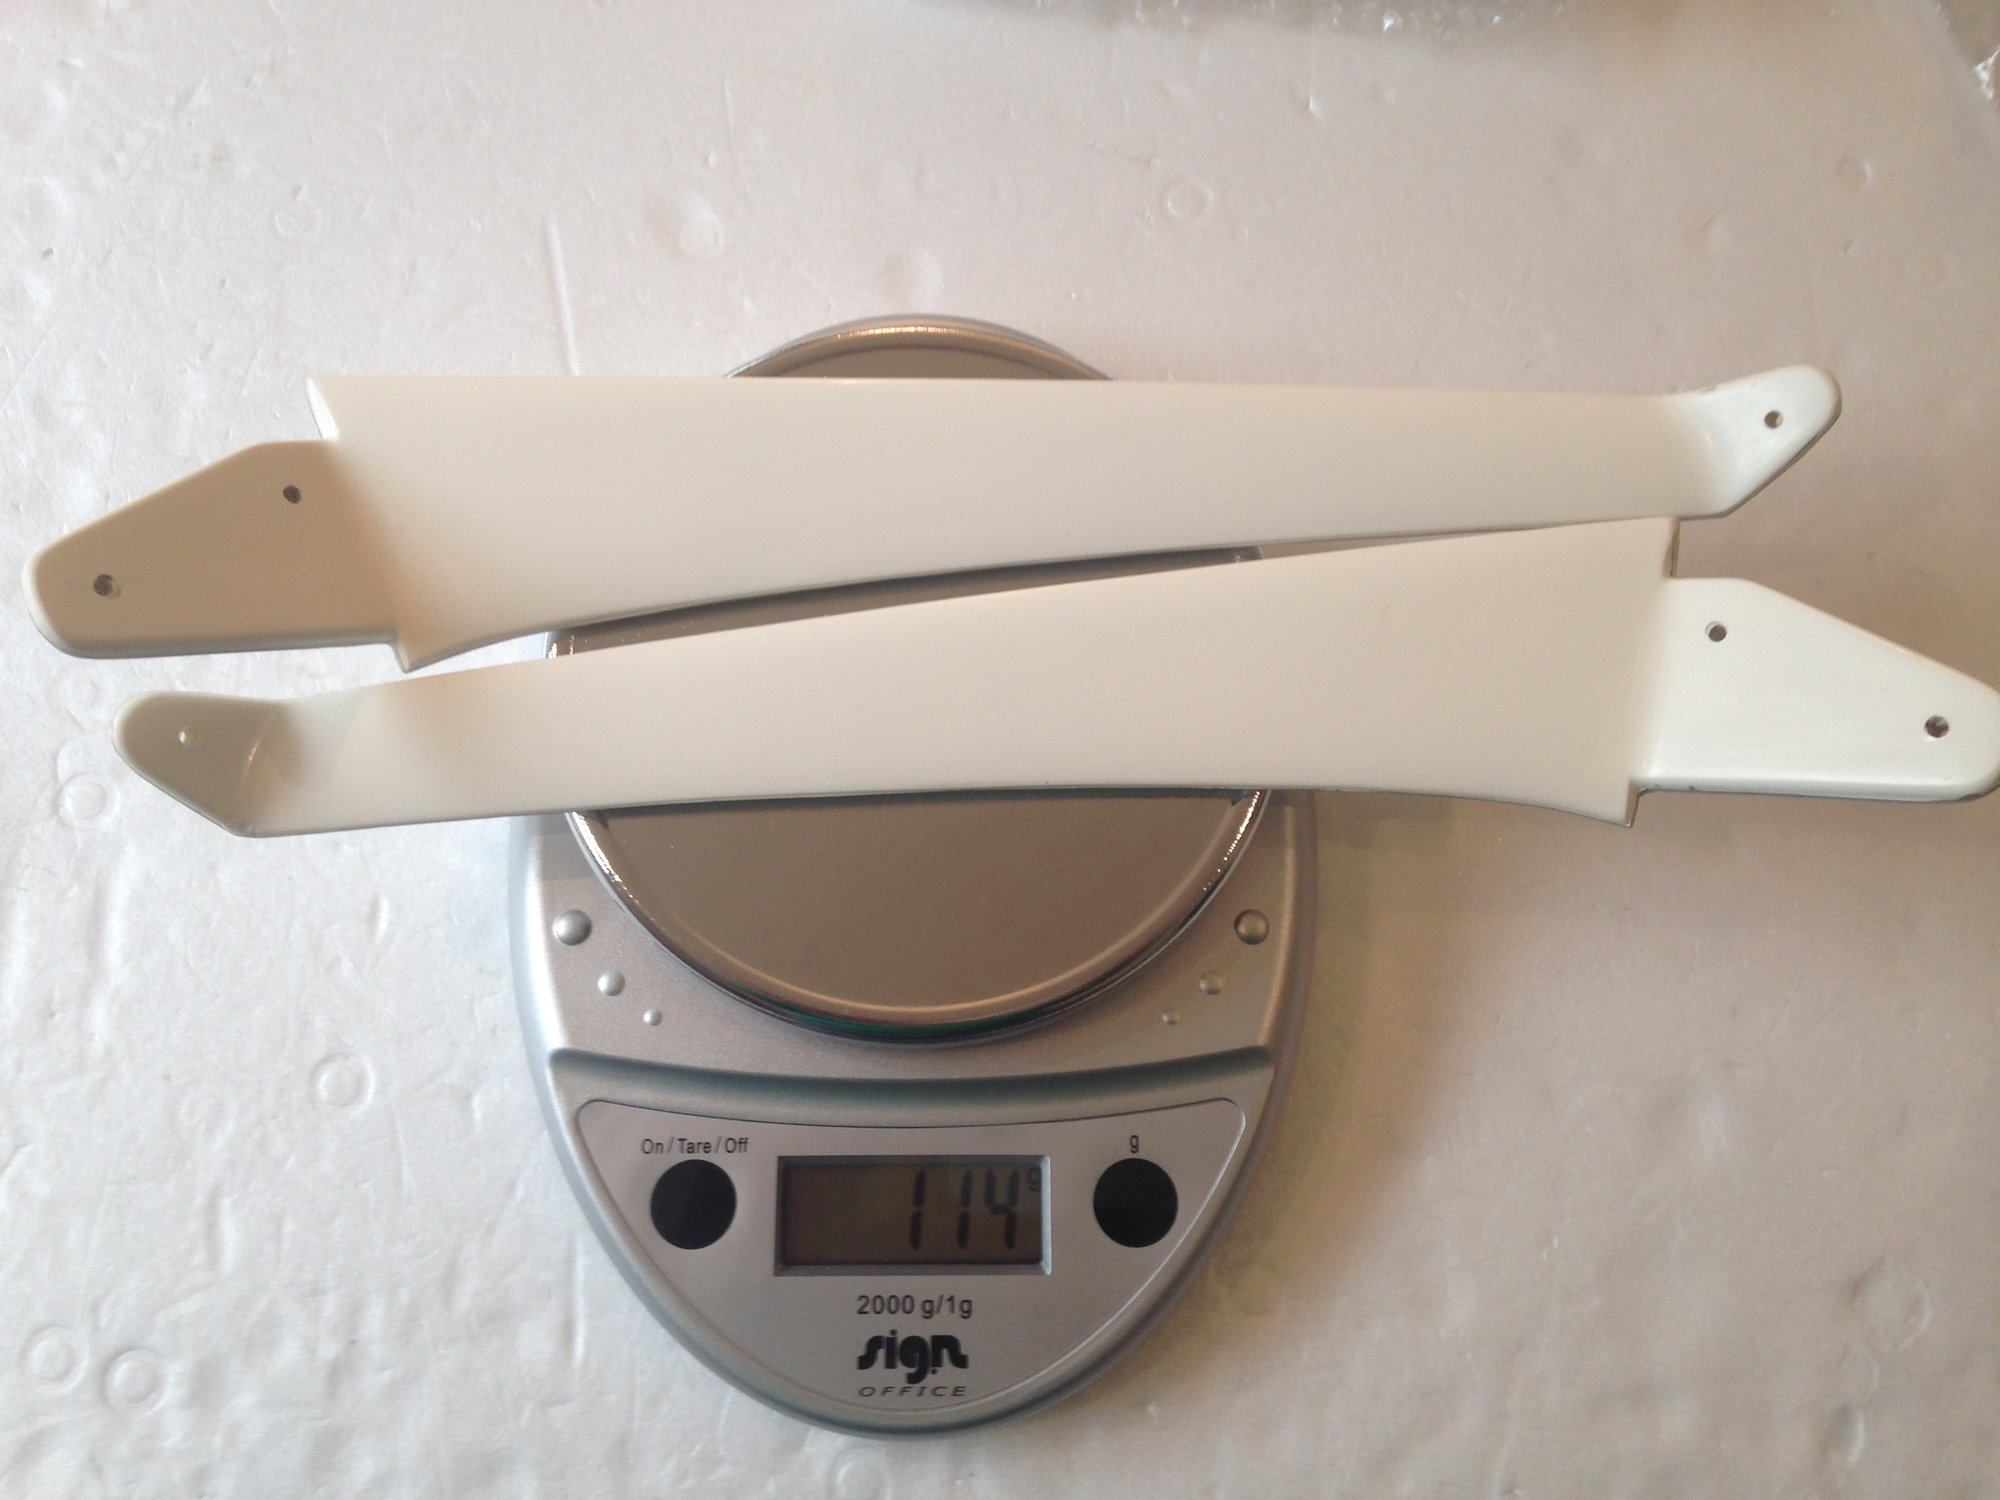
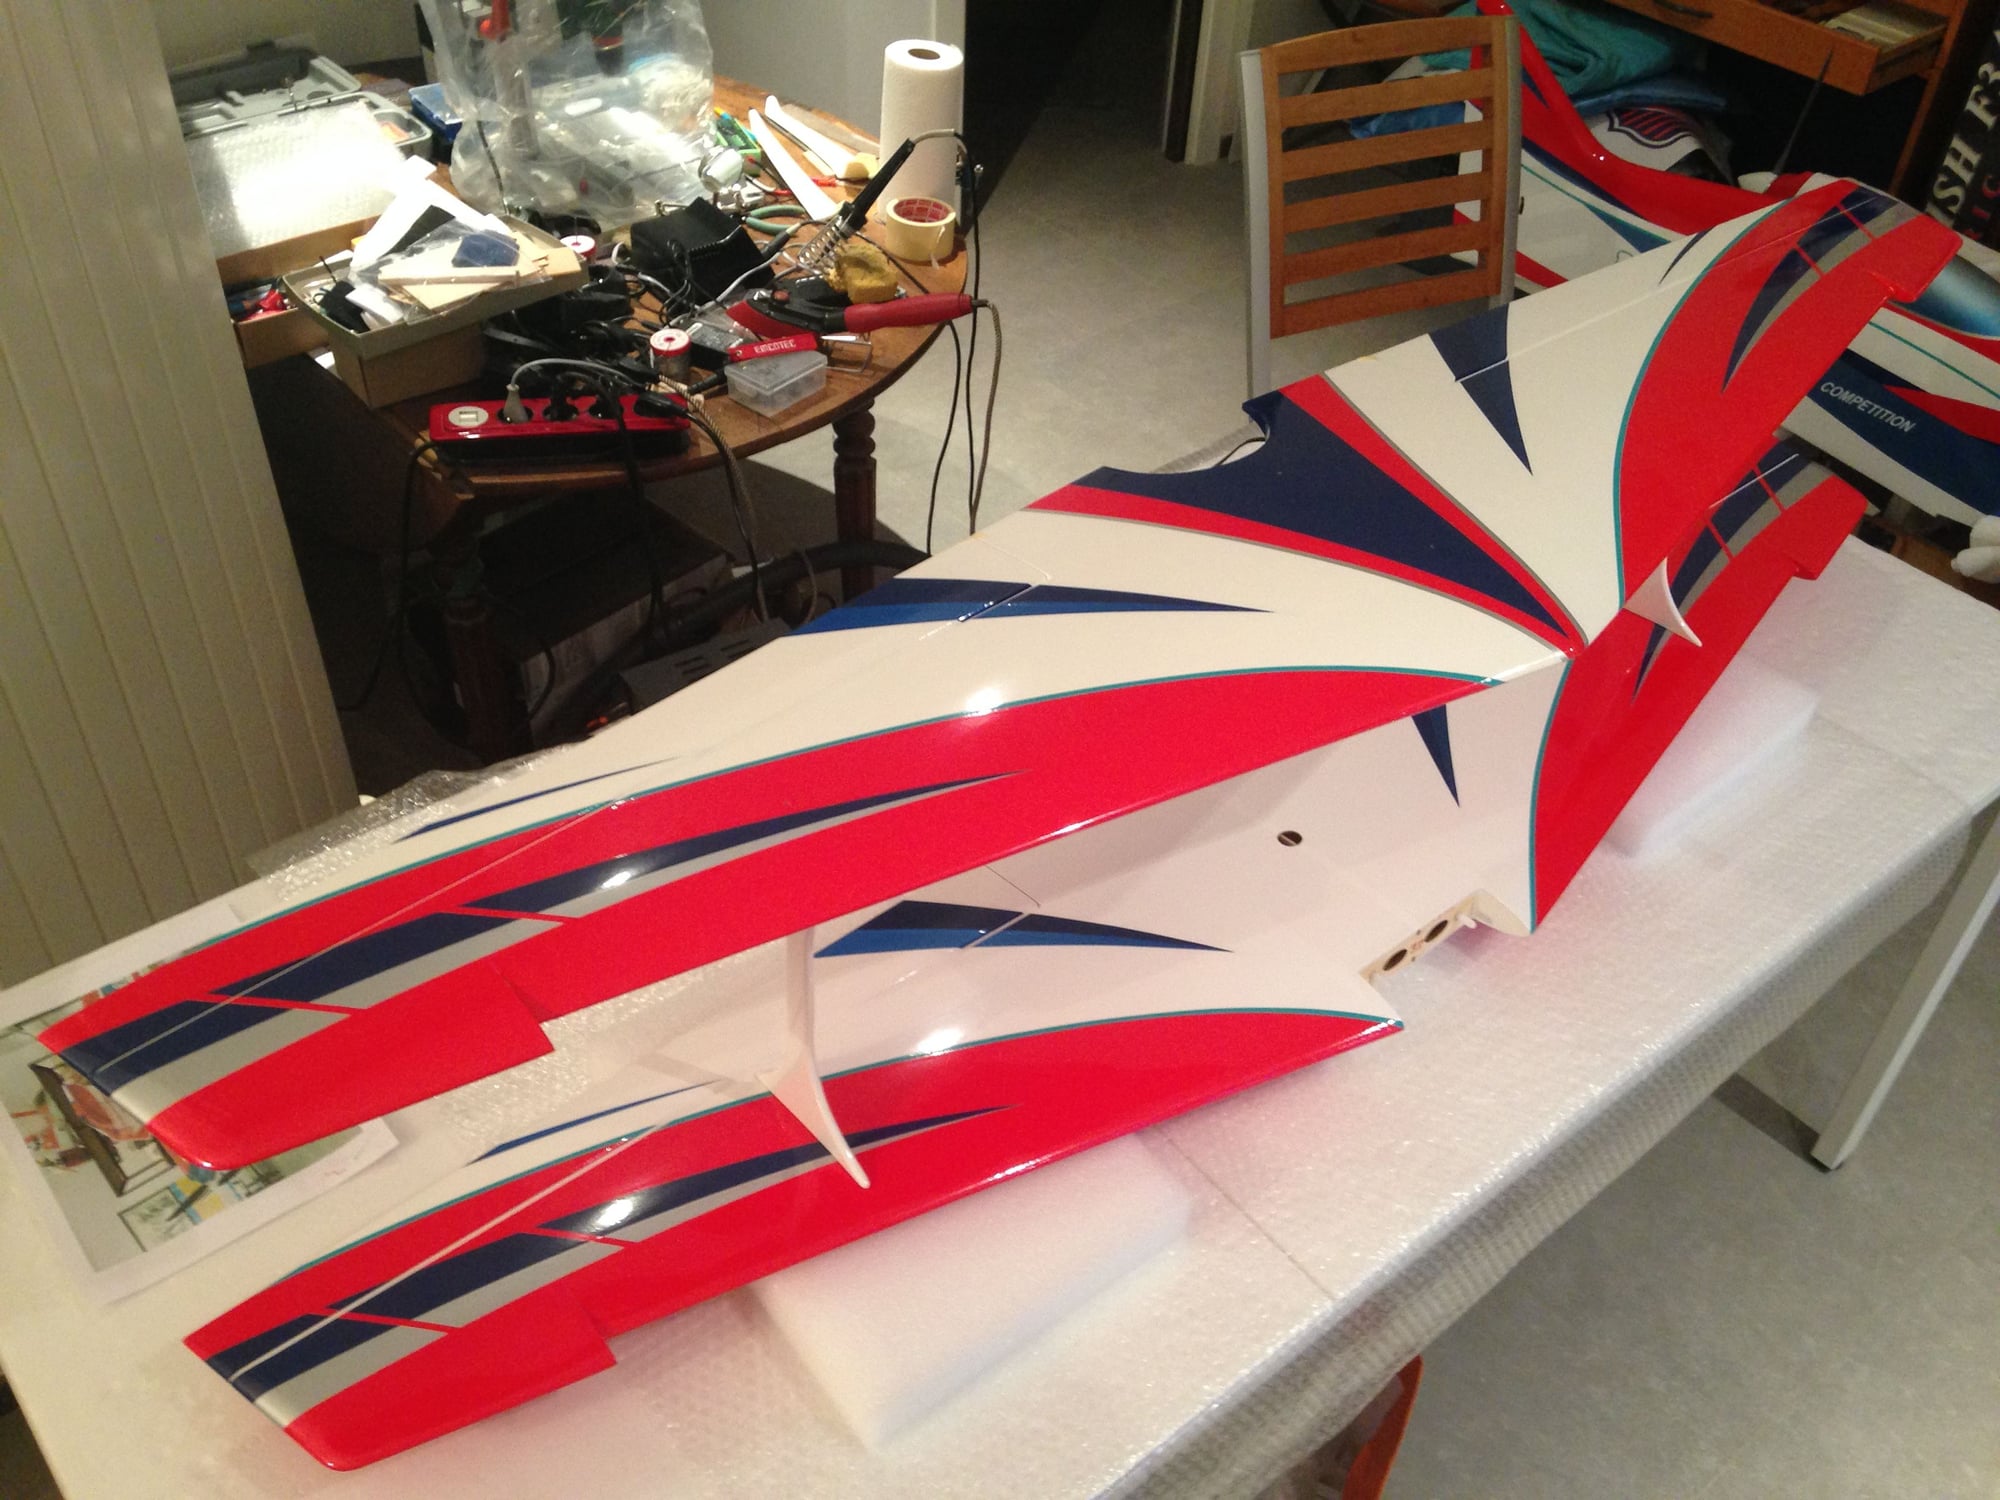
It's time now to check and weight the parts
Fuselage 986g
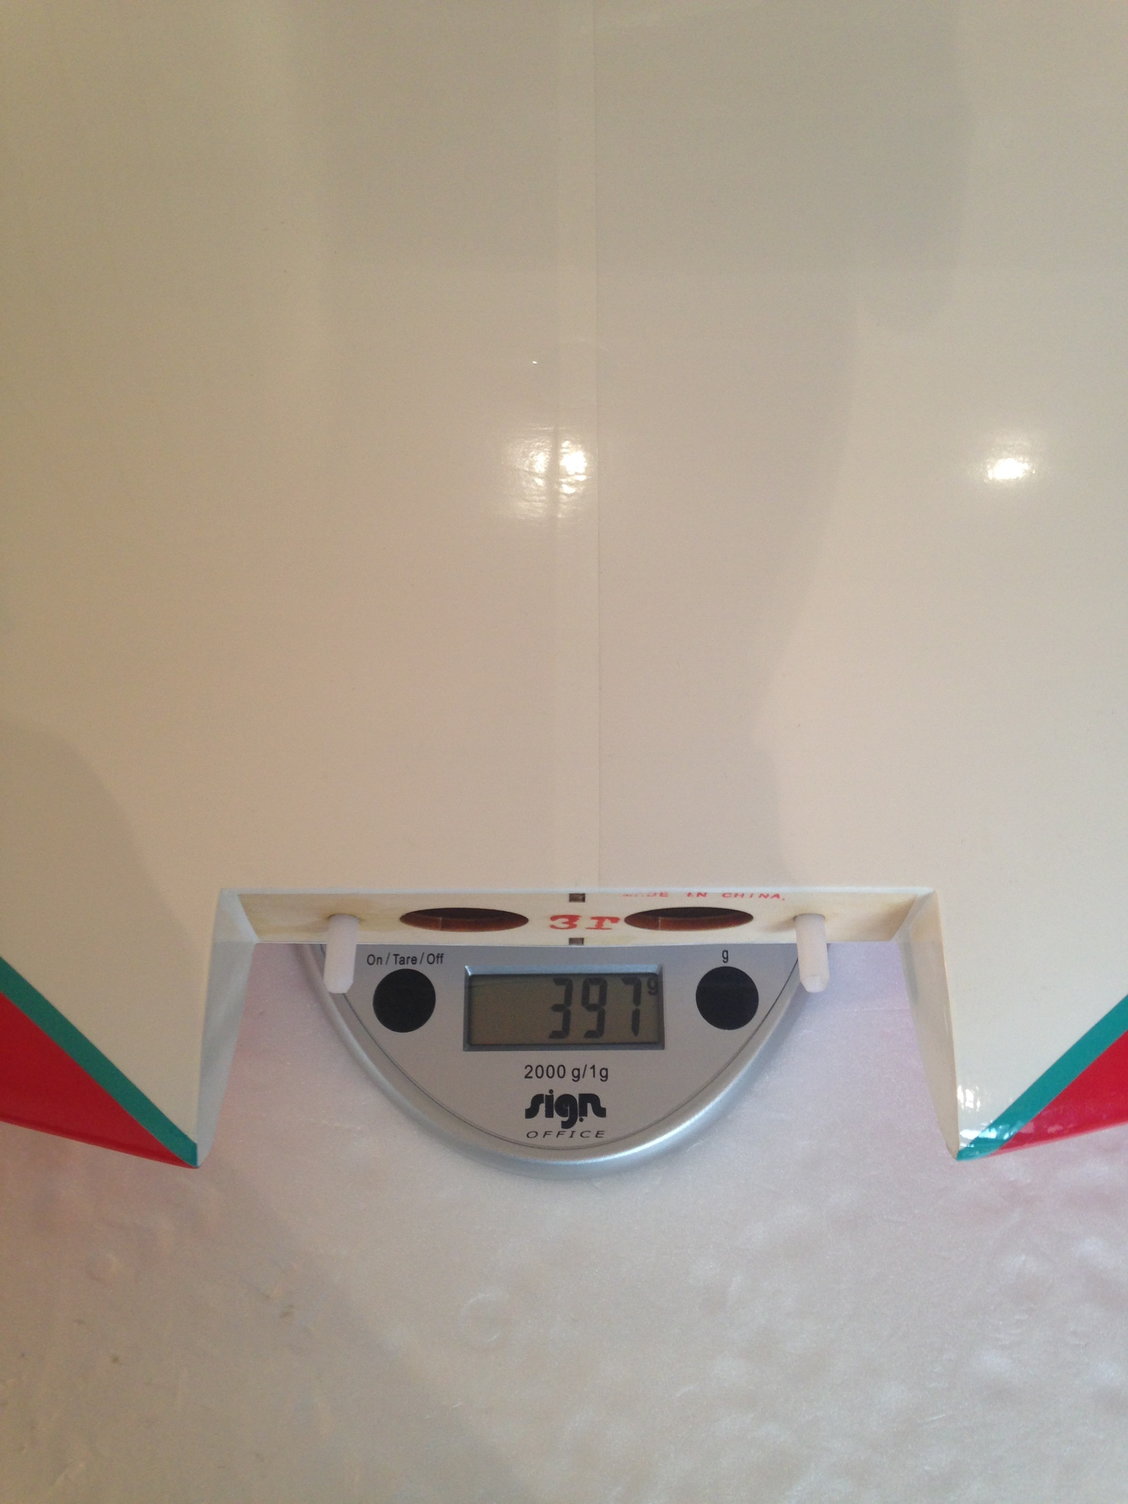
Lower wing 397g
Top wing 417g
Flying stab with tubes 169g
Rudder 67g
Struts 53g
Gear legs 114g
Wheels, pants, hardware 53g
Total is 2256 g
This really large fuselage is light at 986g, and rigid.
Covering is just perfect, no need to work on or seal something
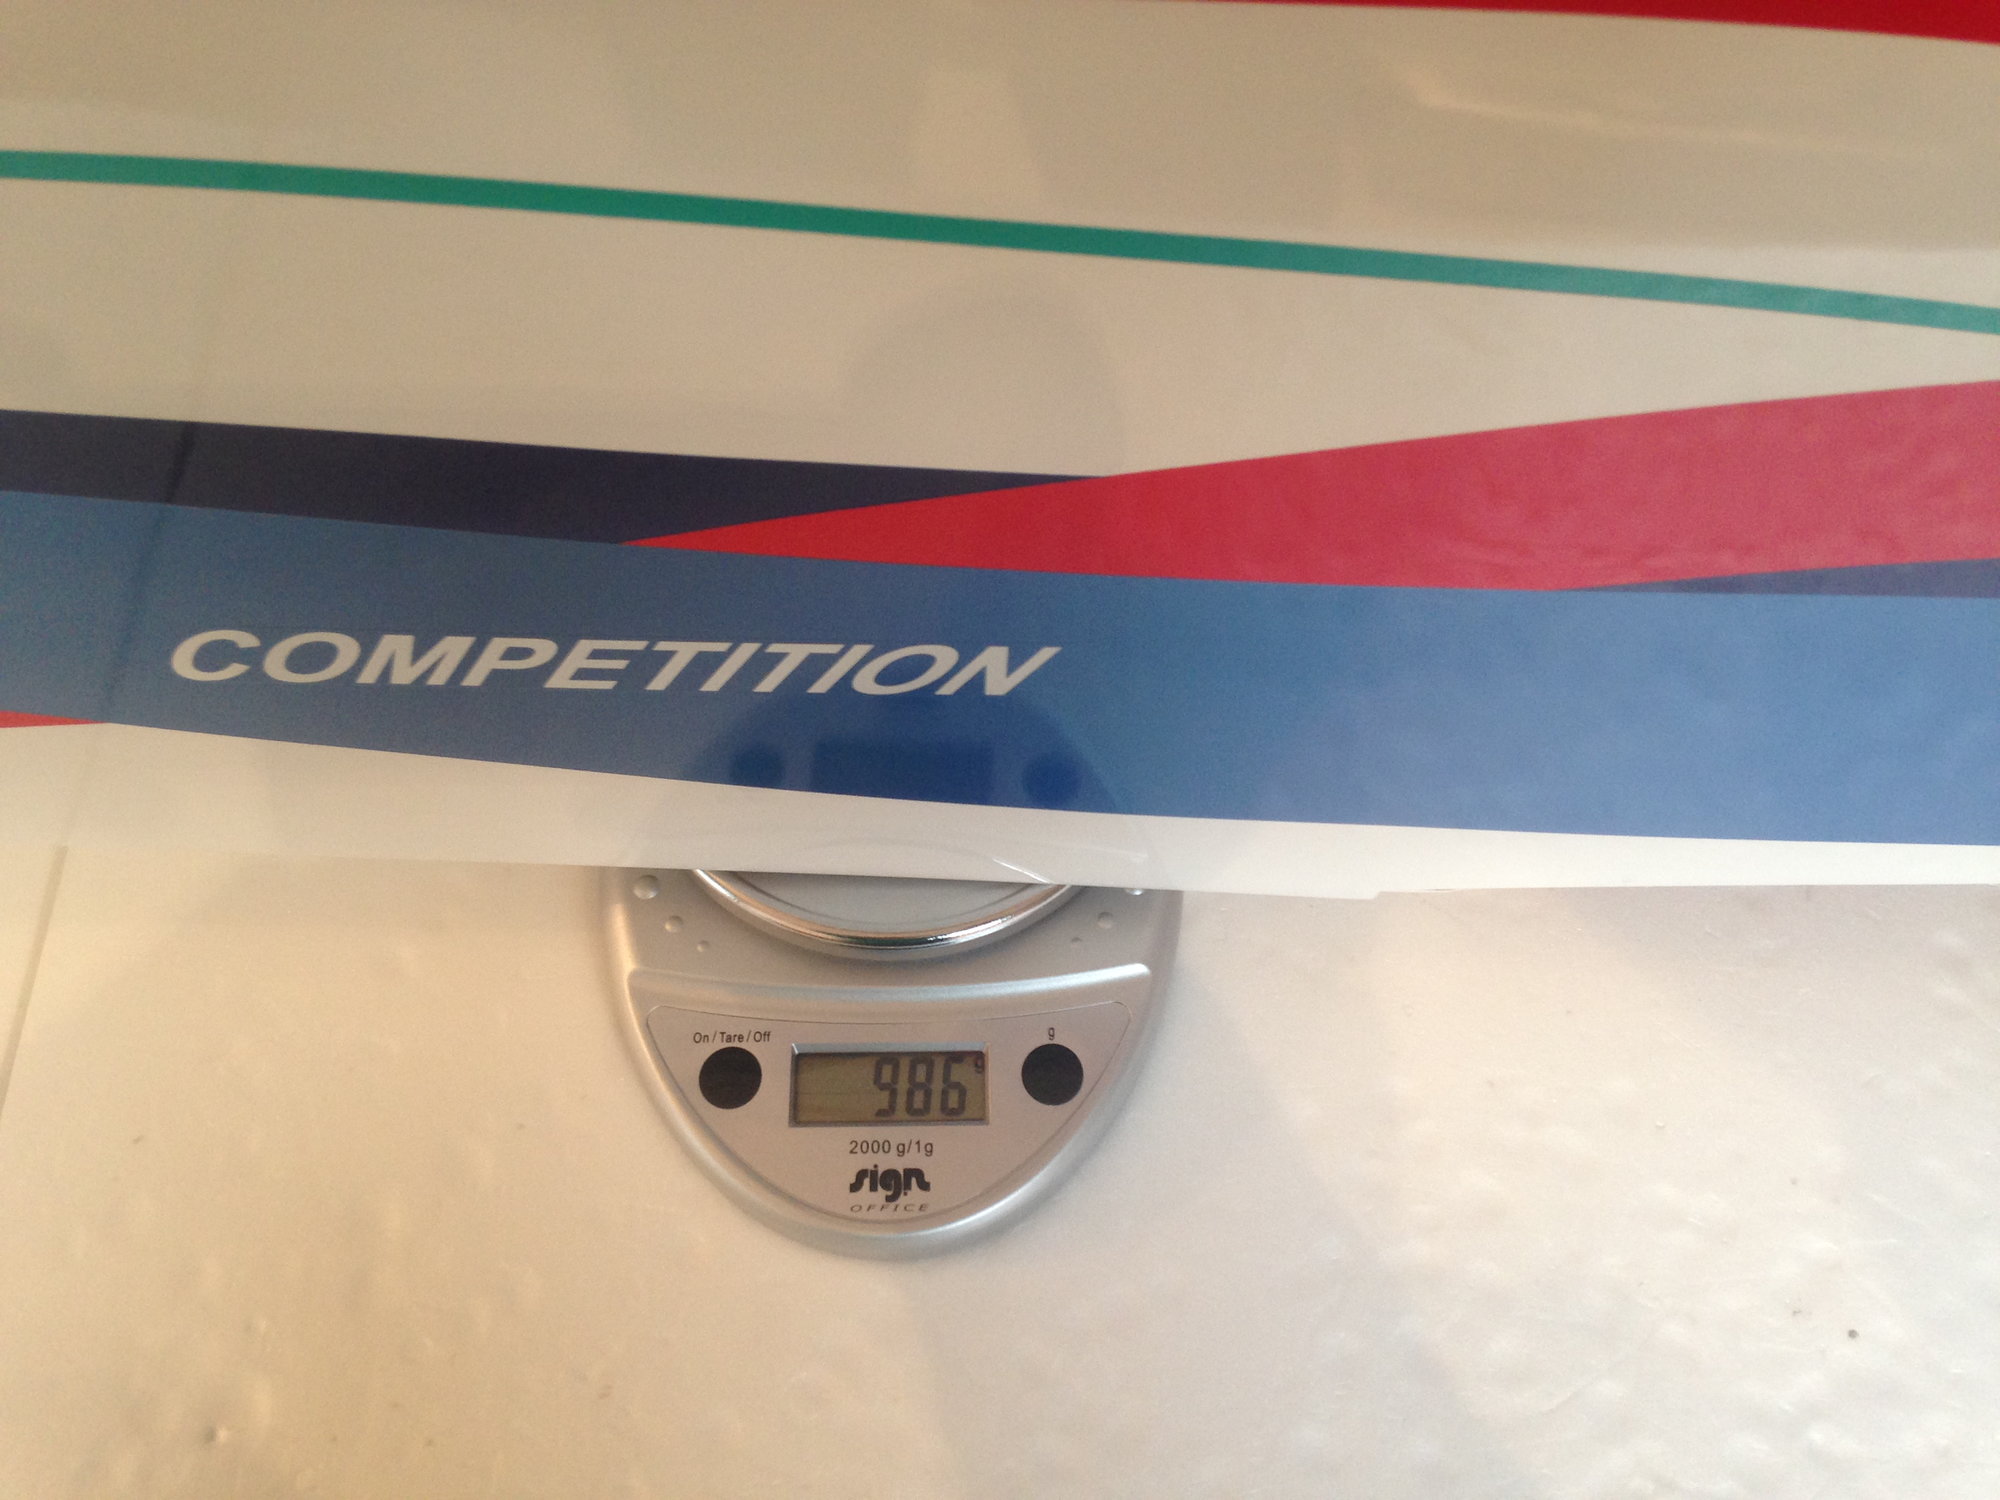


Fuselage 986g
Lower wing 397g
Top wing 417g
Flying stab with tubes 169g
Rudder 67g
Struts 53g
Gear legs 114g
Wheels, pants, hardware 53g
Total is 2256 g
This really large fuselage is light at 986g, and rigid.
Covering is just perfect, no need to work on or seal something
Last edited by J-P; 03-30-2018 at 11:09 PM.
03-30-2018, 11:37 PM
#4
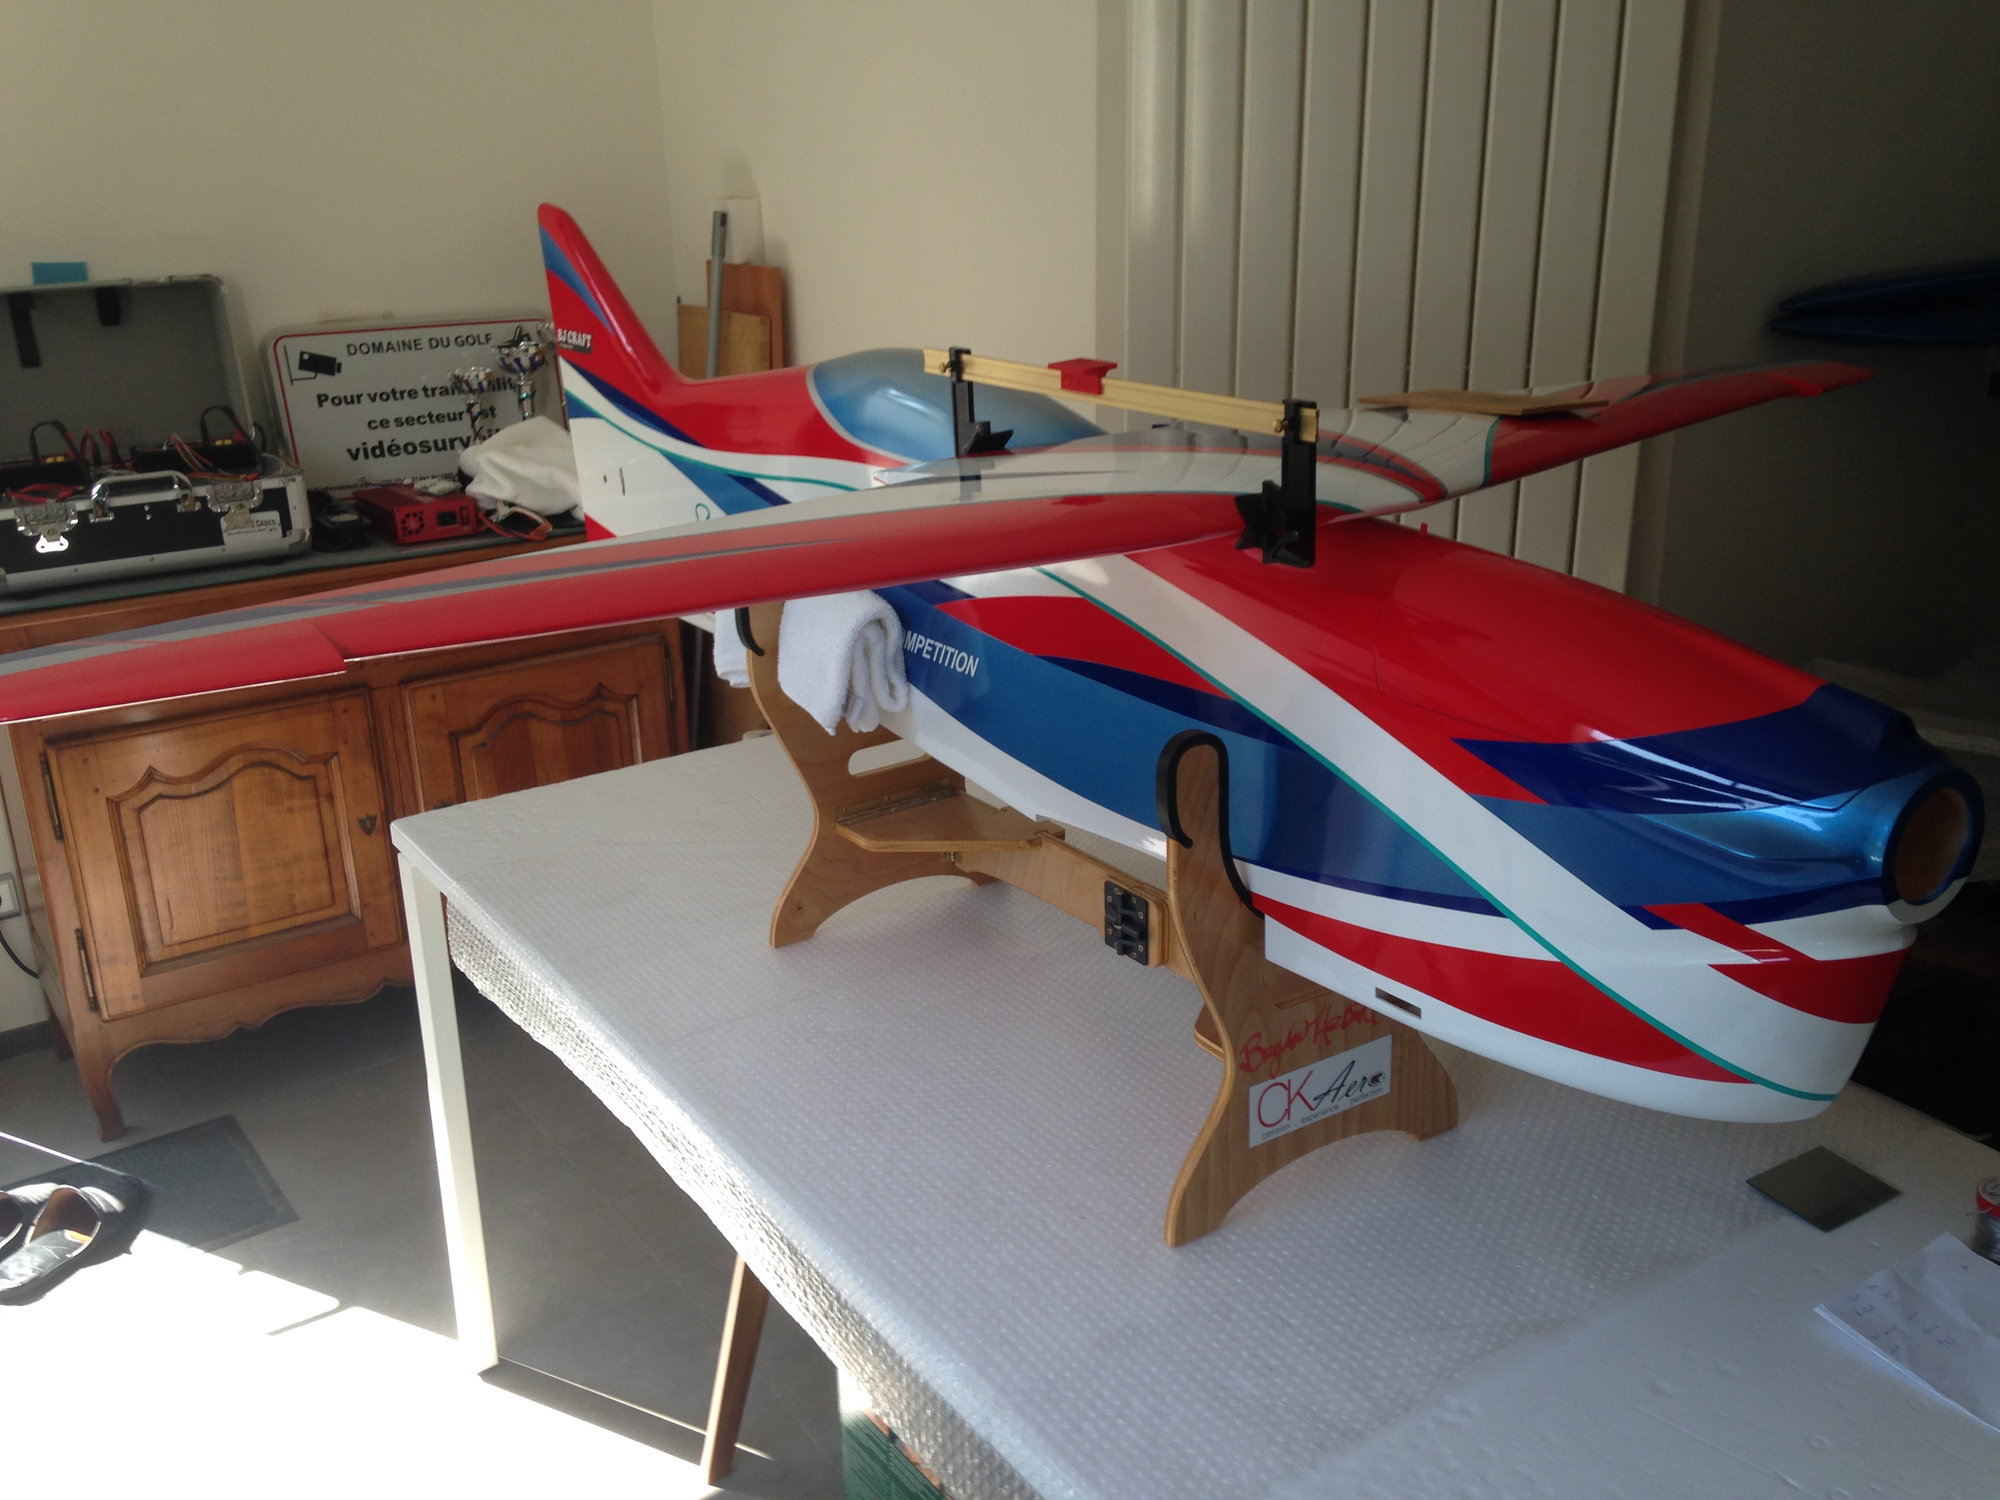
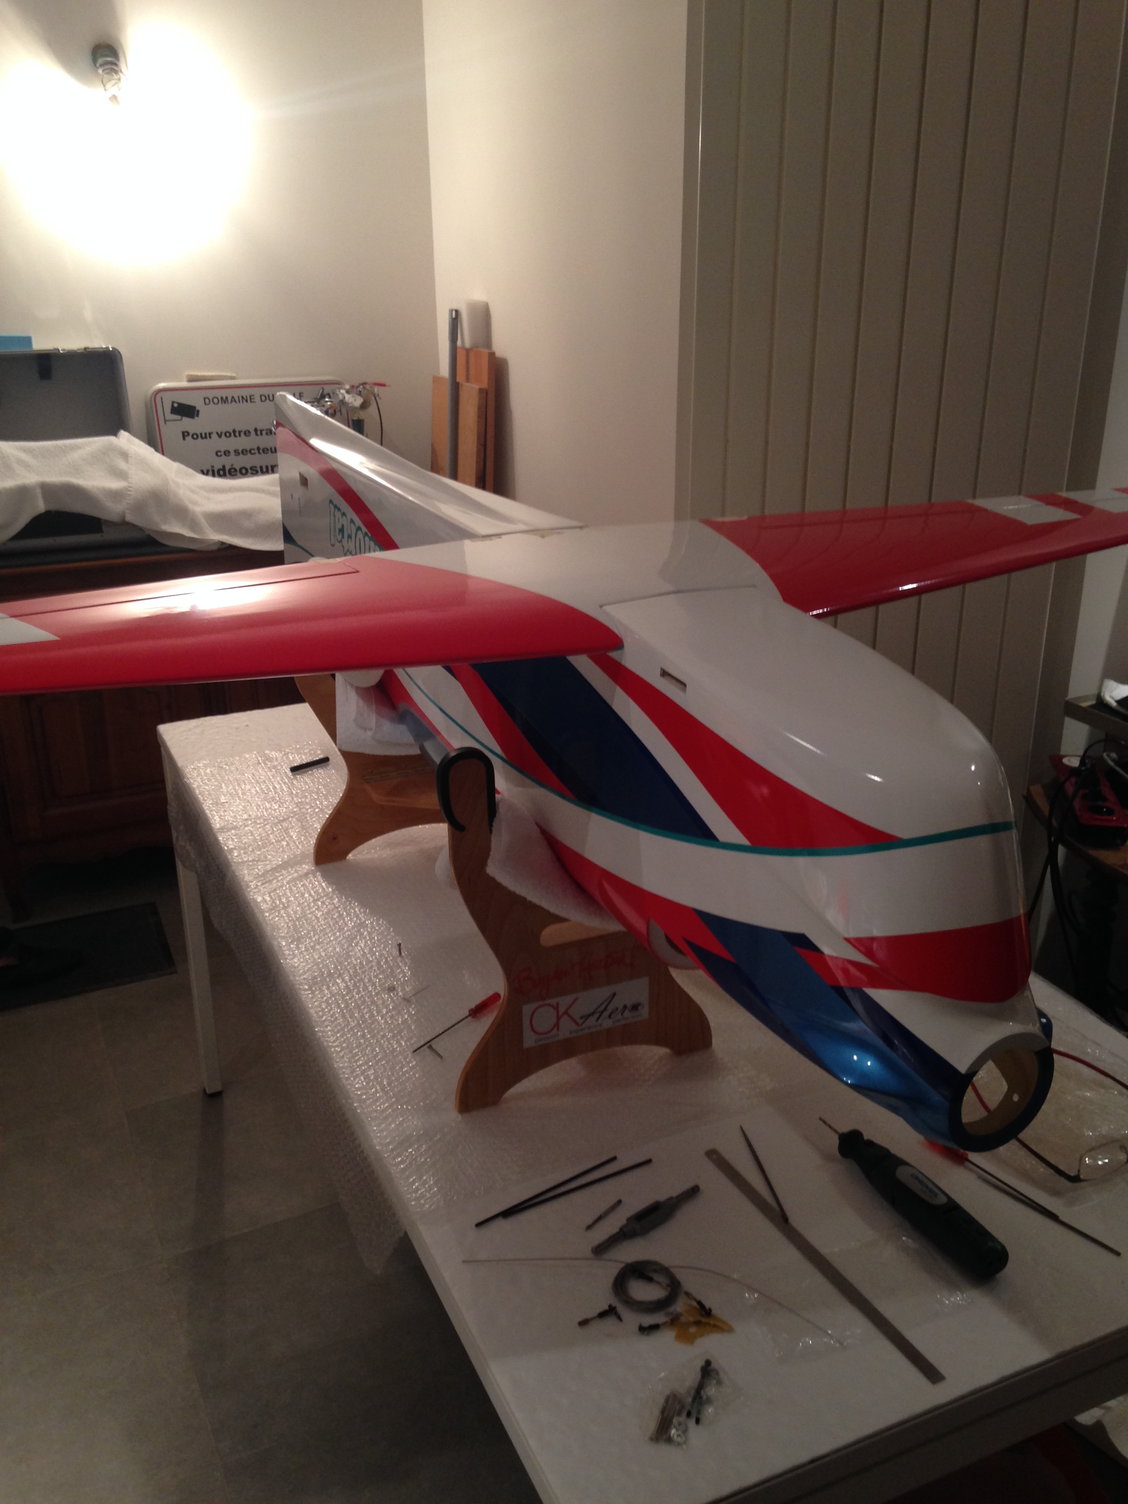
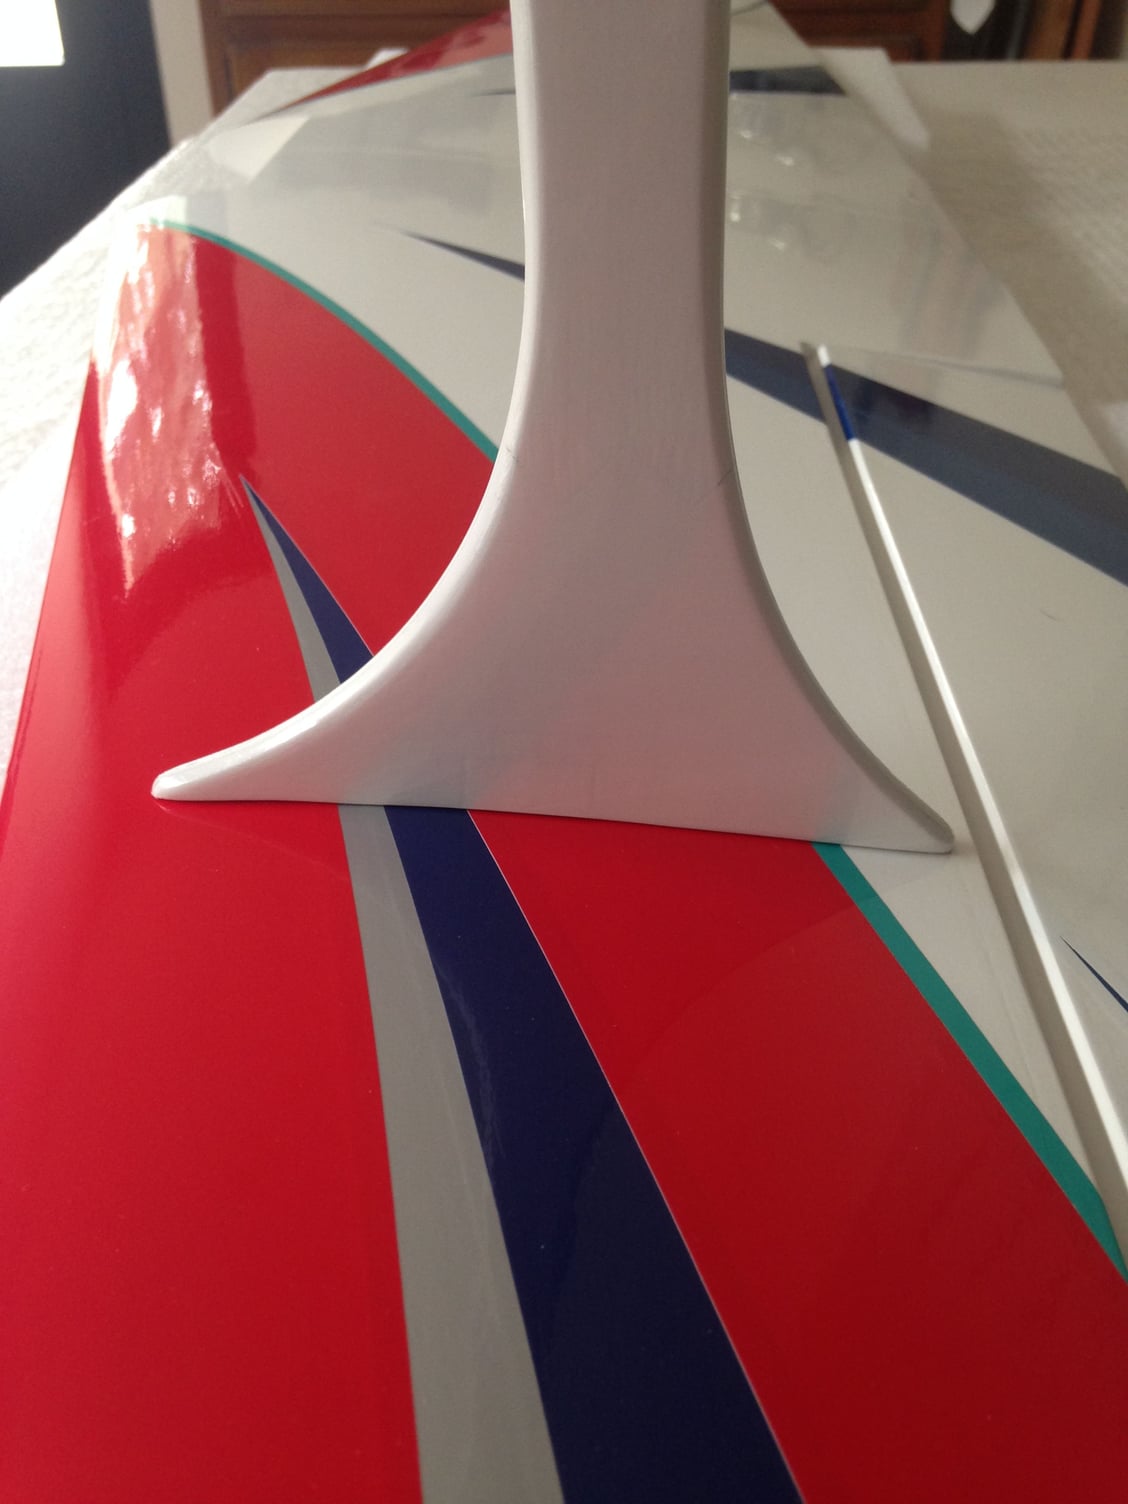
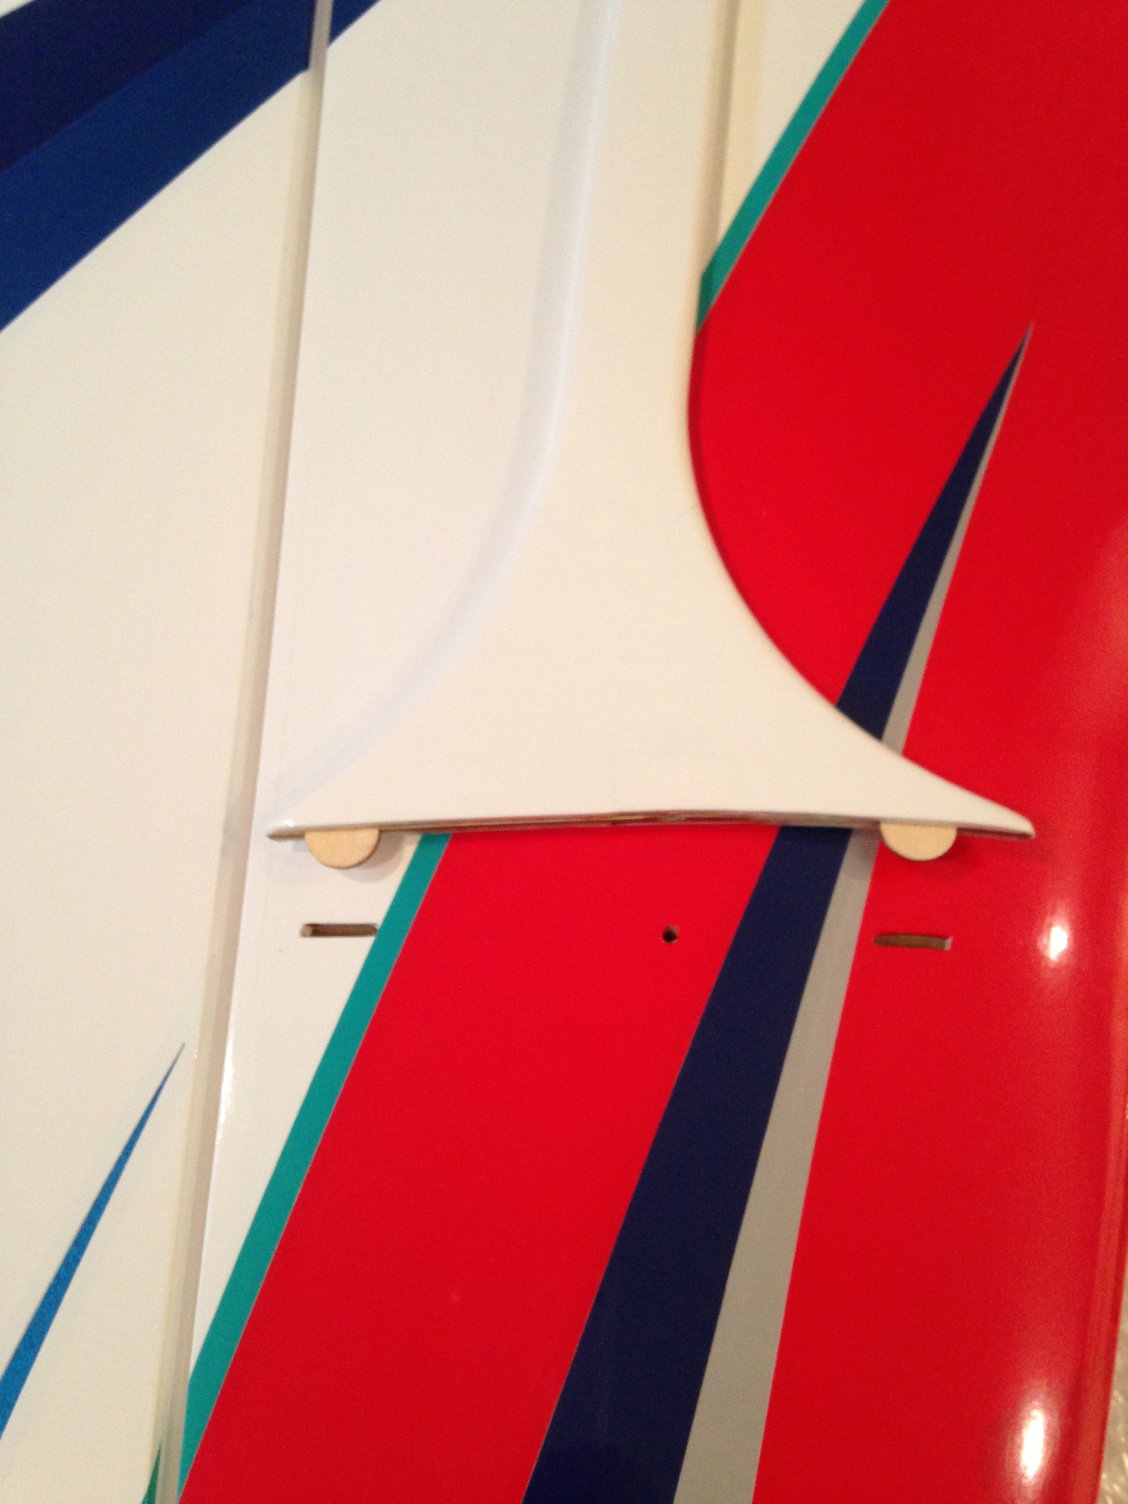
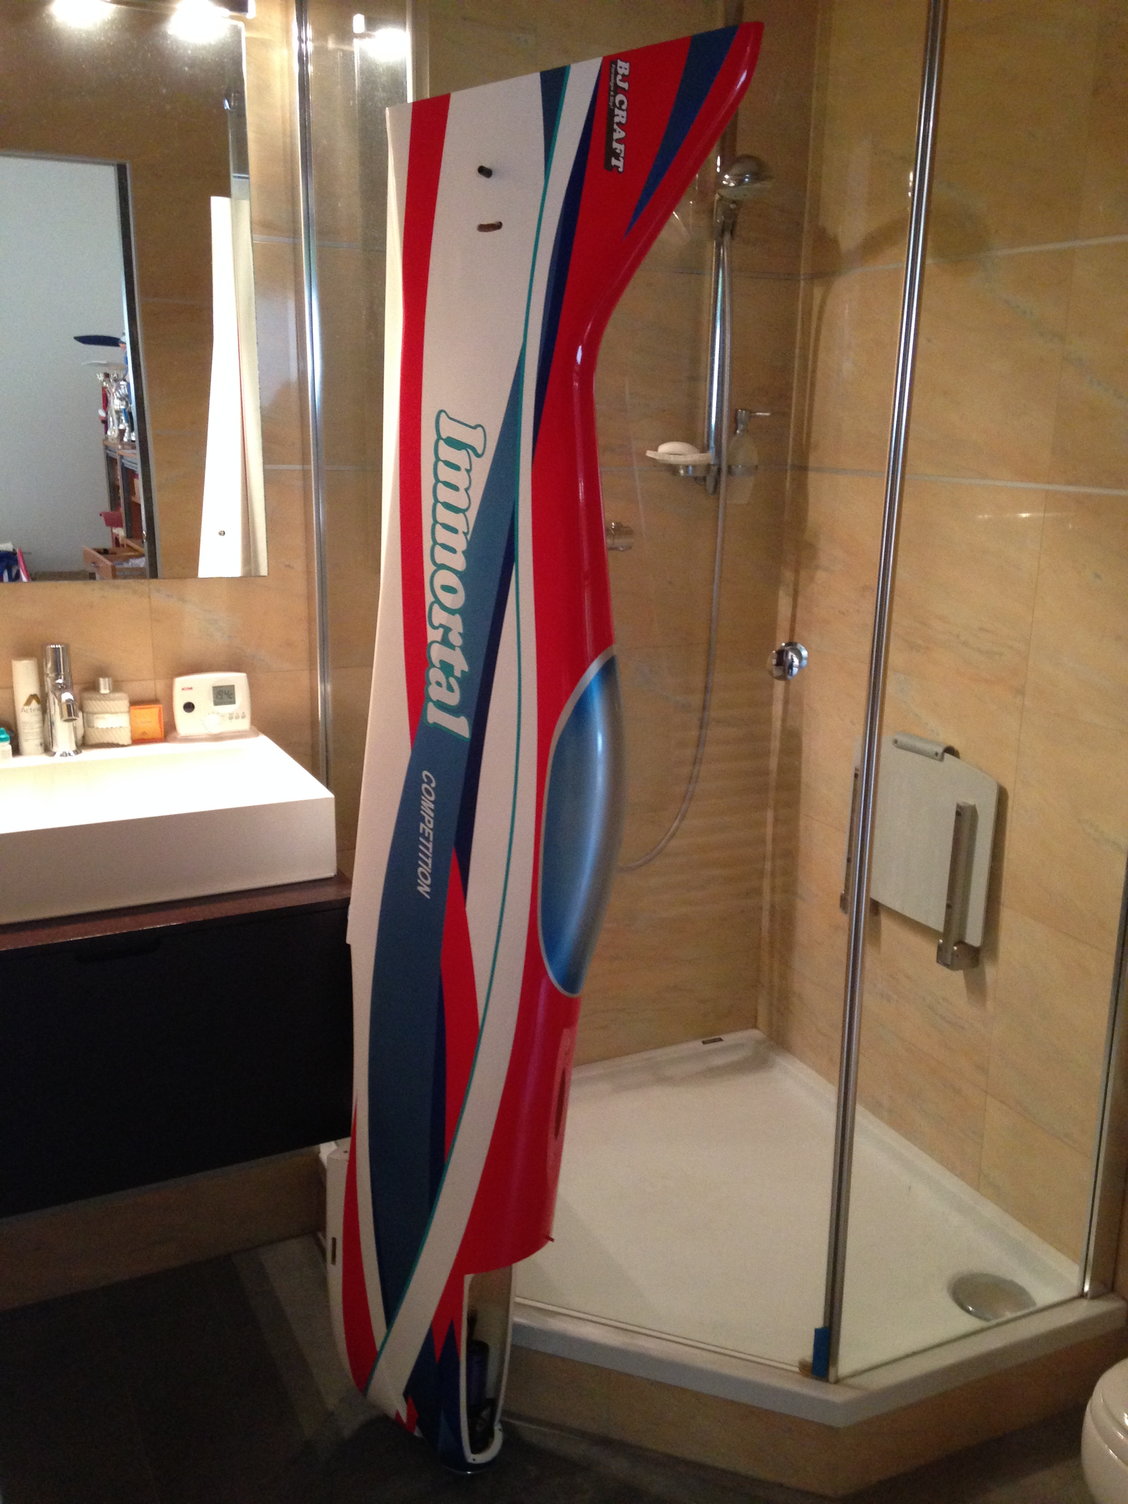
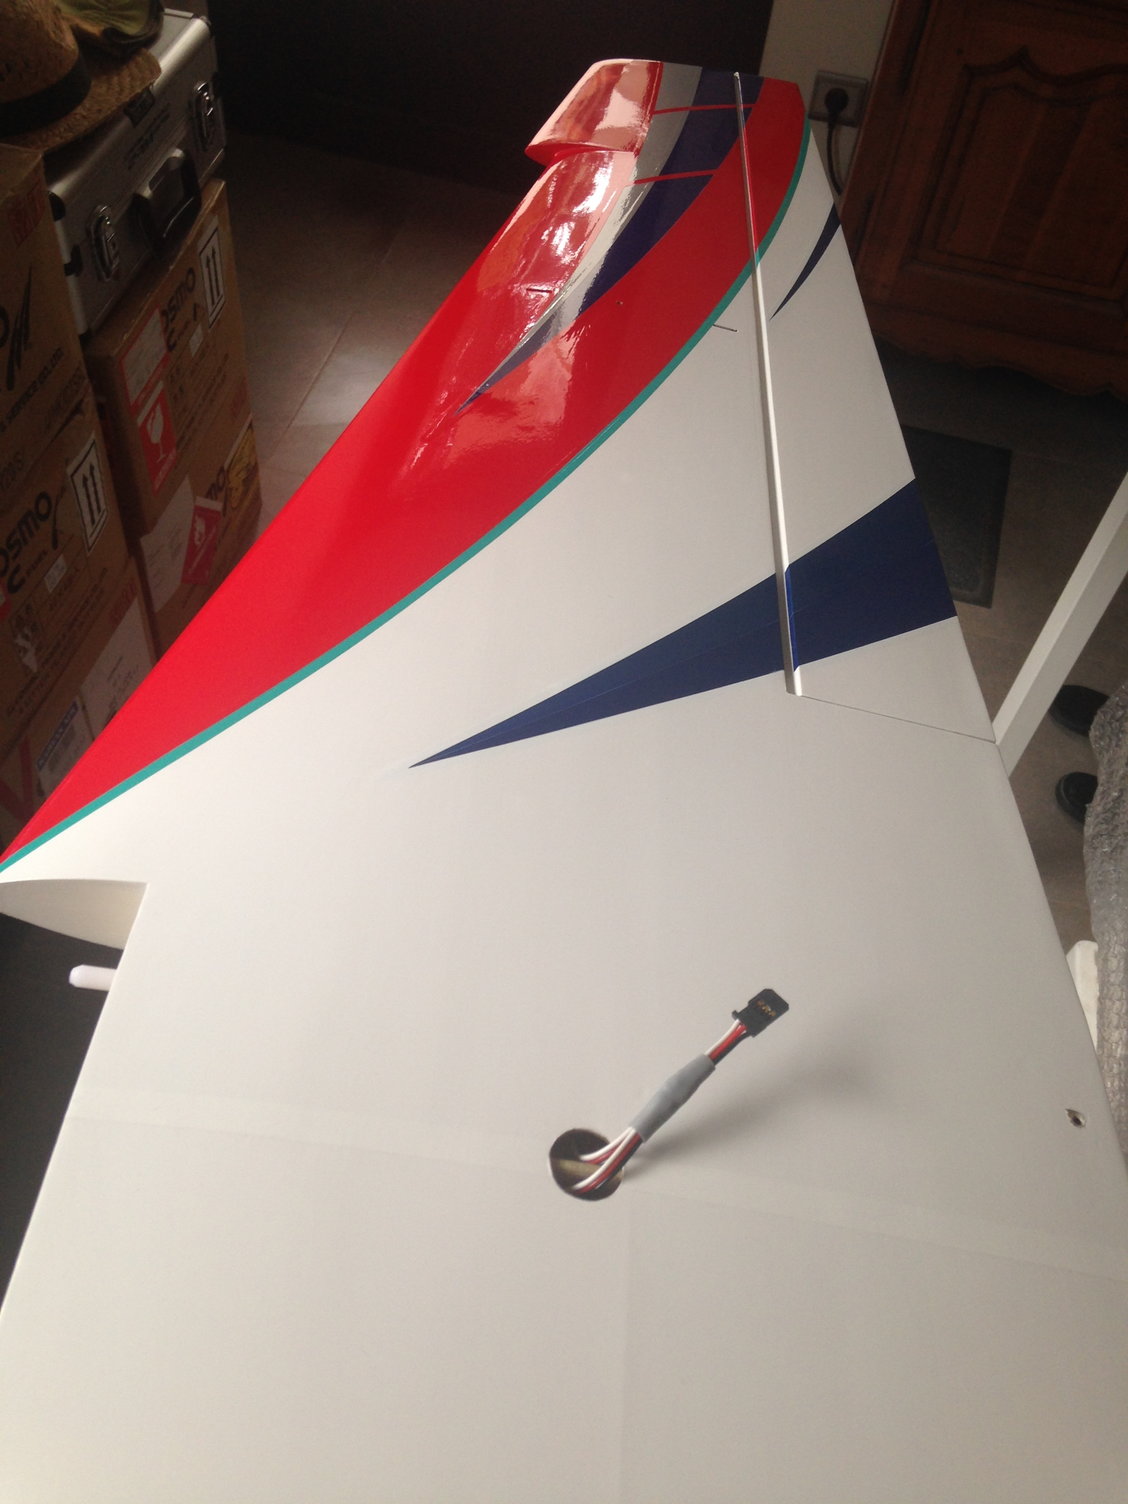
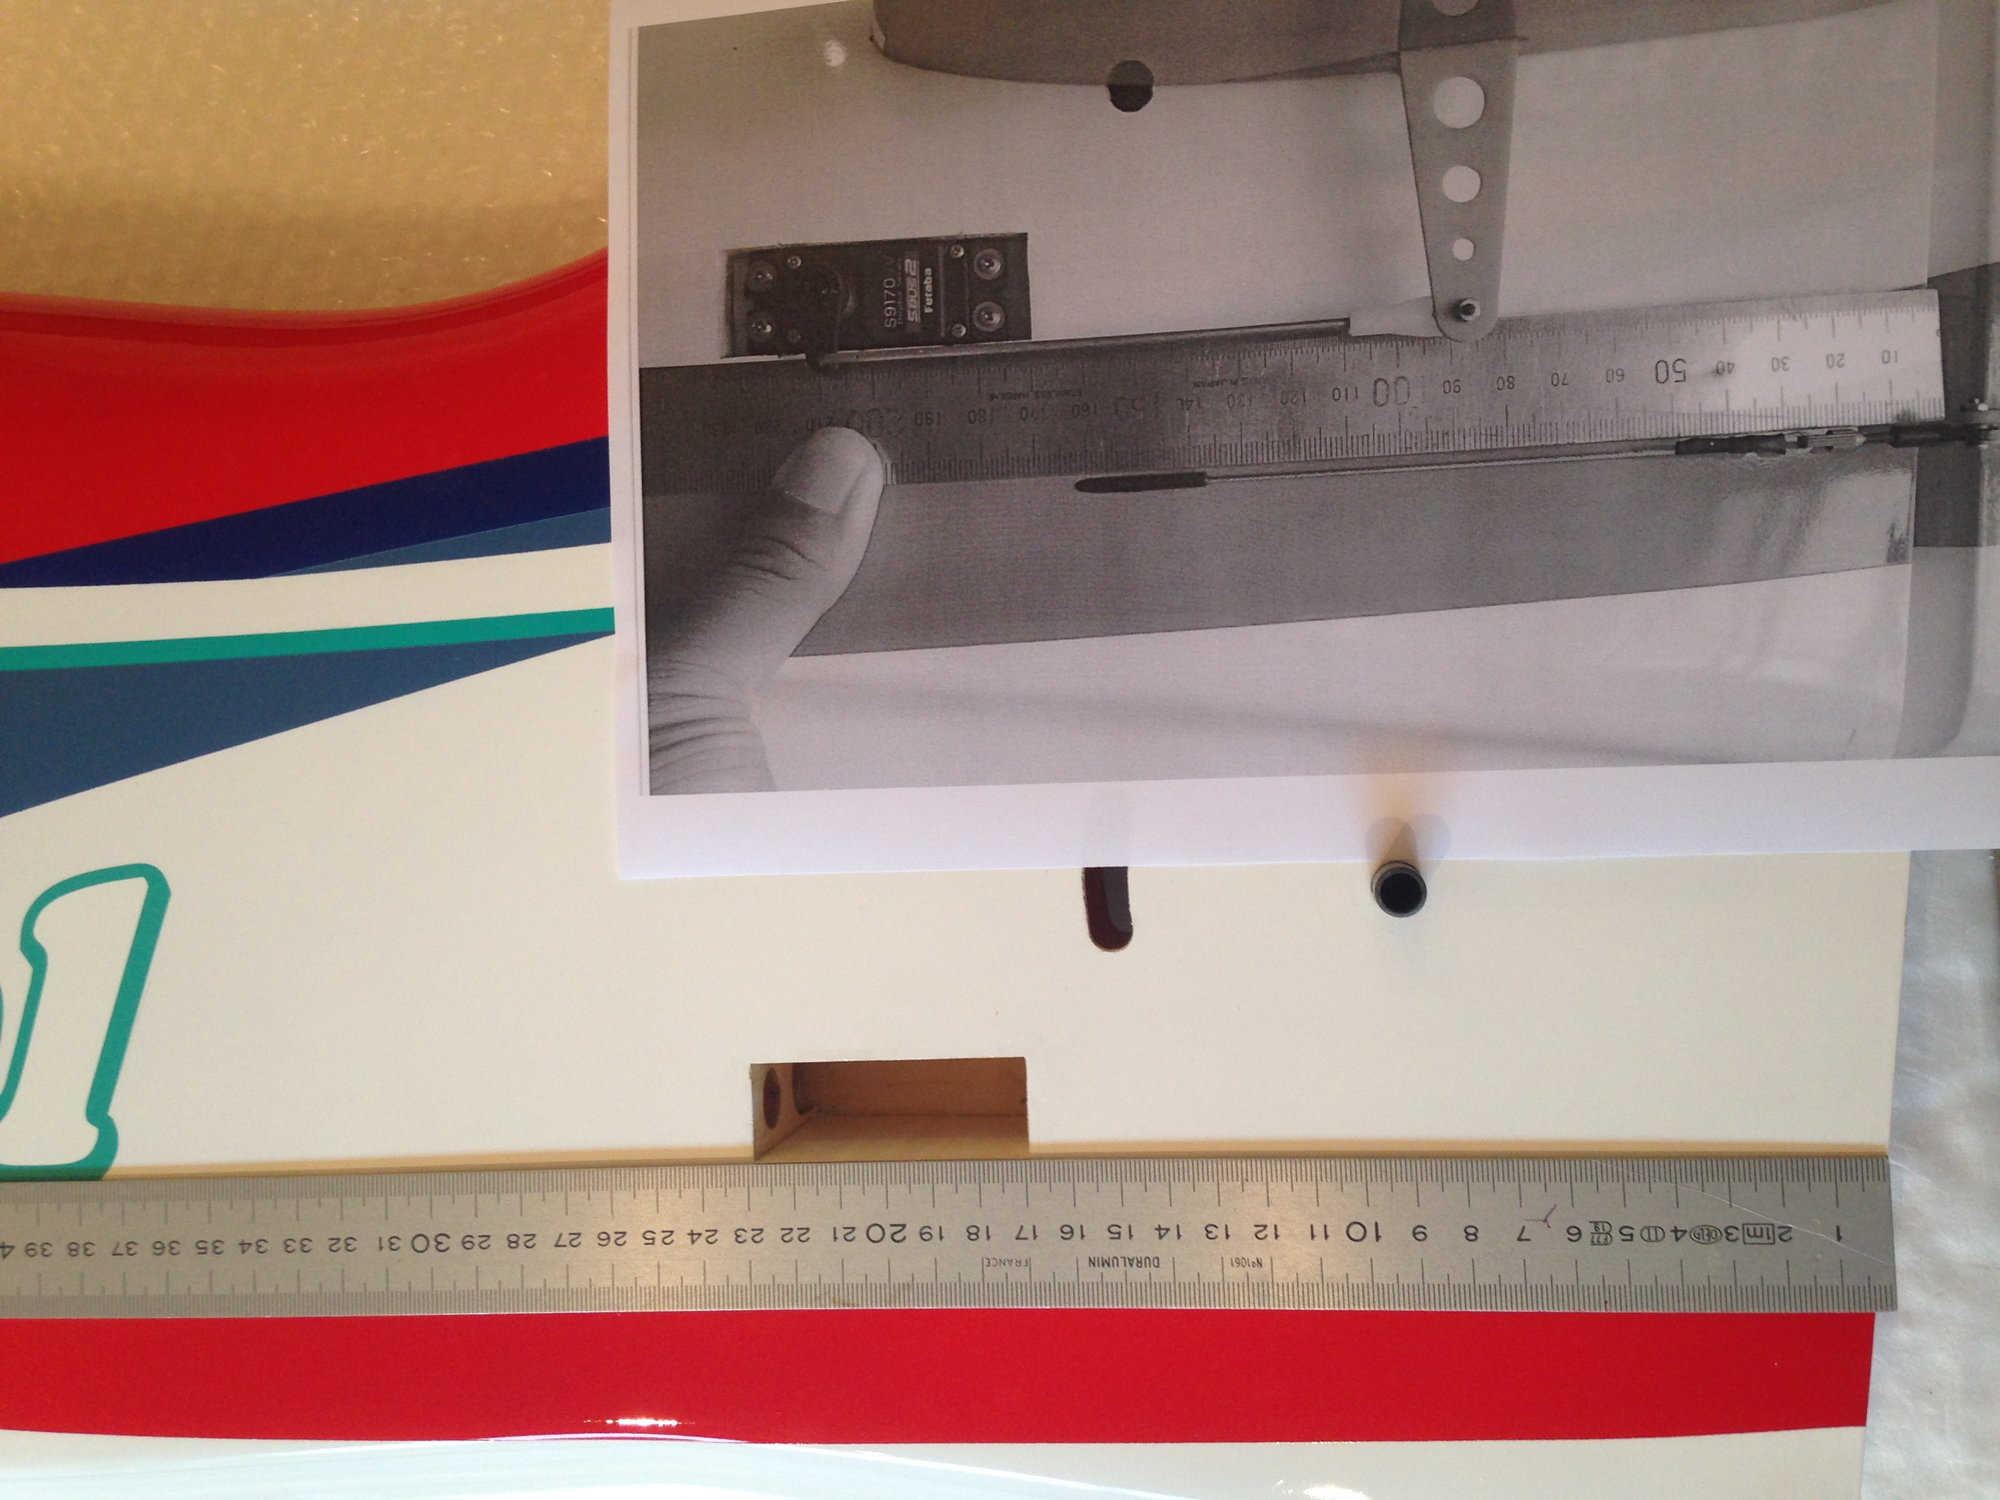
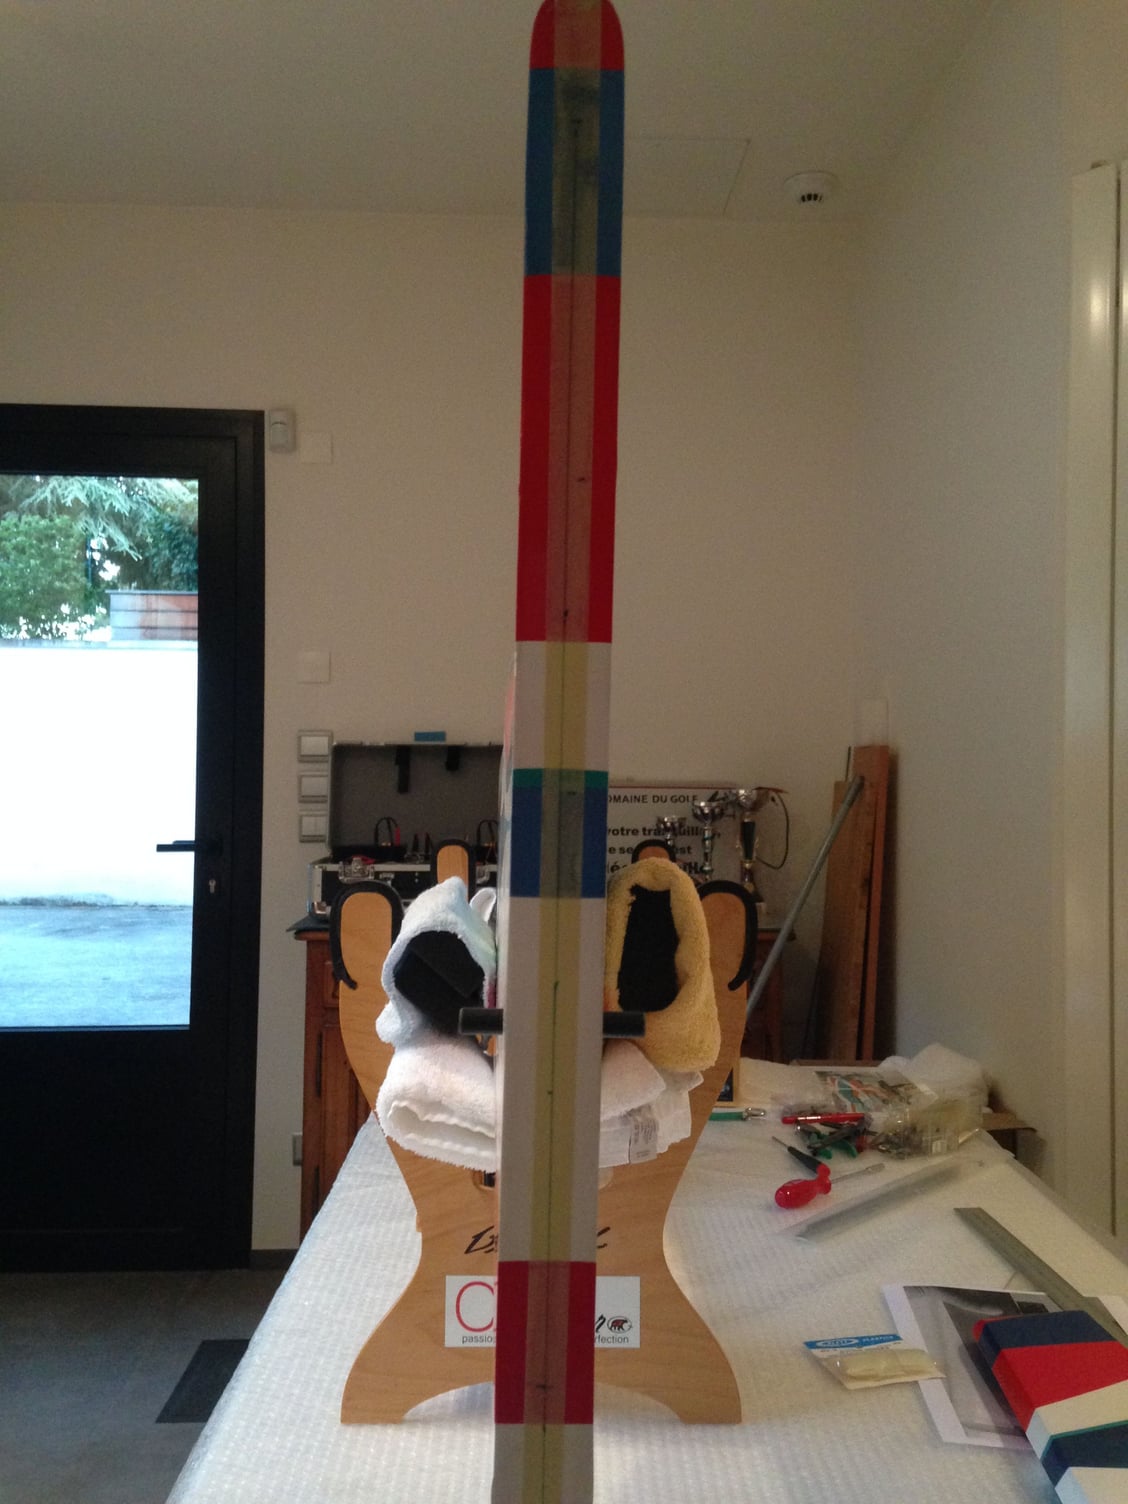
First thing I'm interested in is to check the plane is straight , the wings incidence, the down thrust on the fuselage, and for a flying stab with both half stabs non adjustable if they are aligned.
For that, I use the best tools on the market ...
For the flying stab, the picture say it all, it's close to perfect.

For that, I use the best tools on the market ...
For the flying stab, the picture say it all, it's close to perfect.
03-30-2018, 11:48 PM
#5
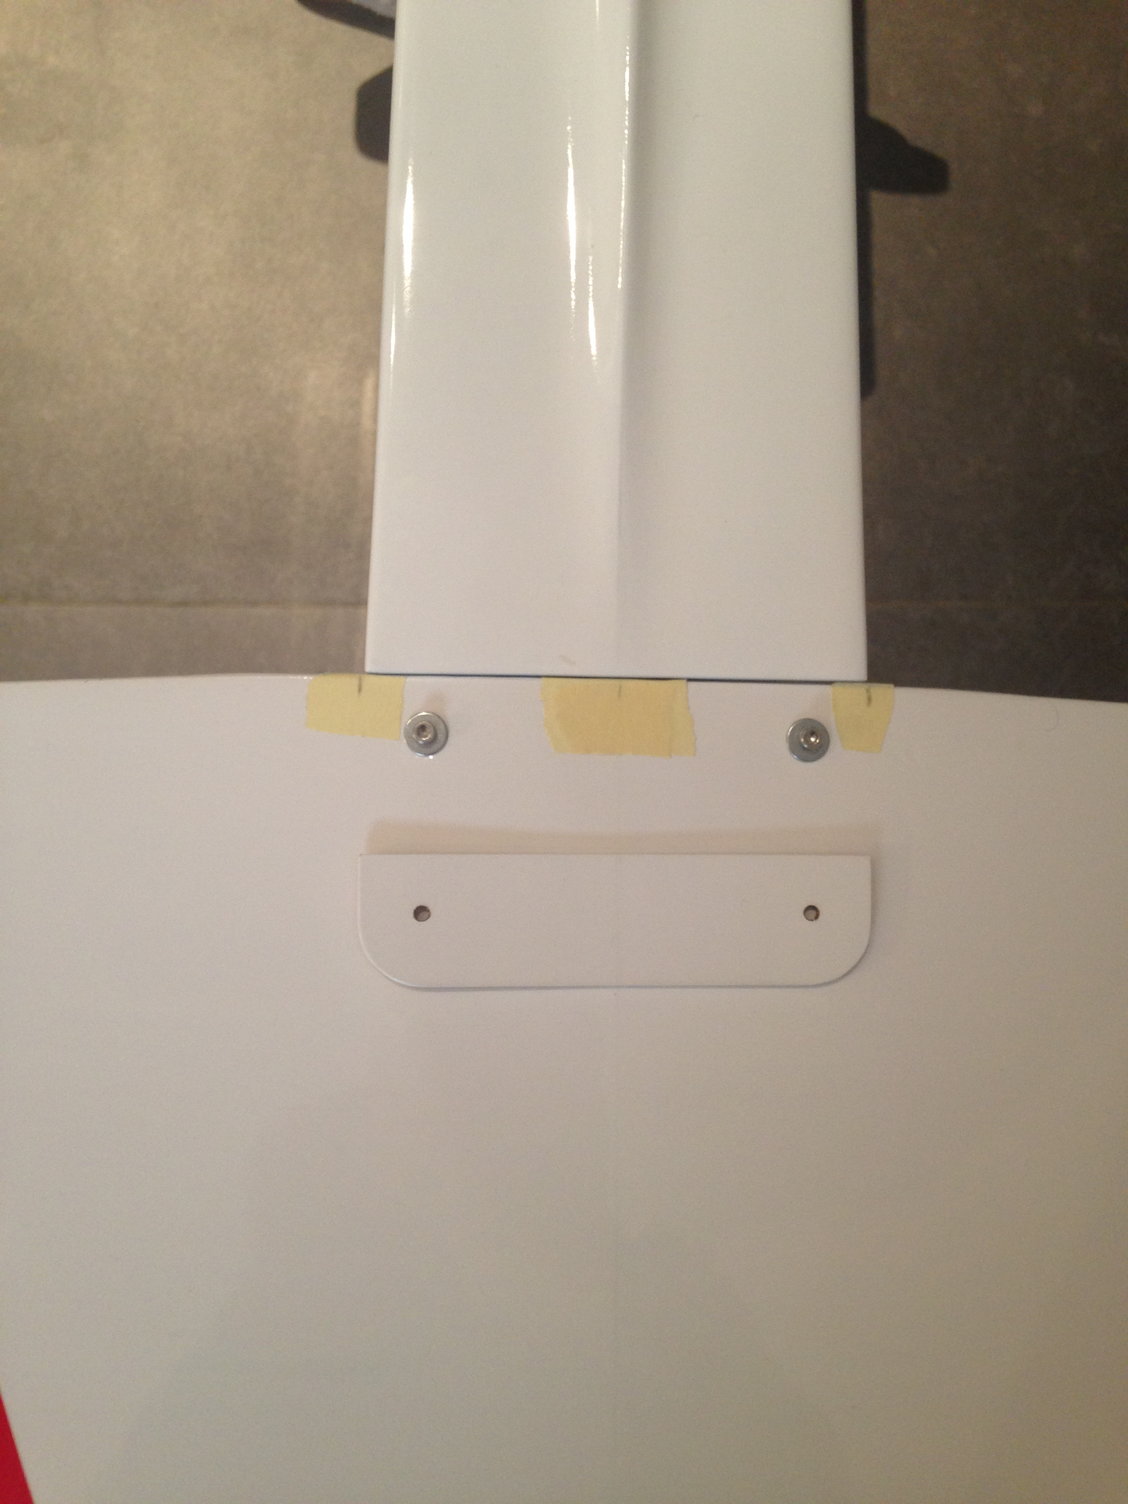
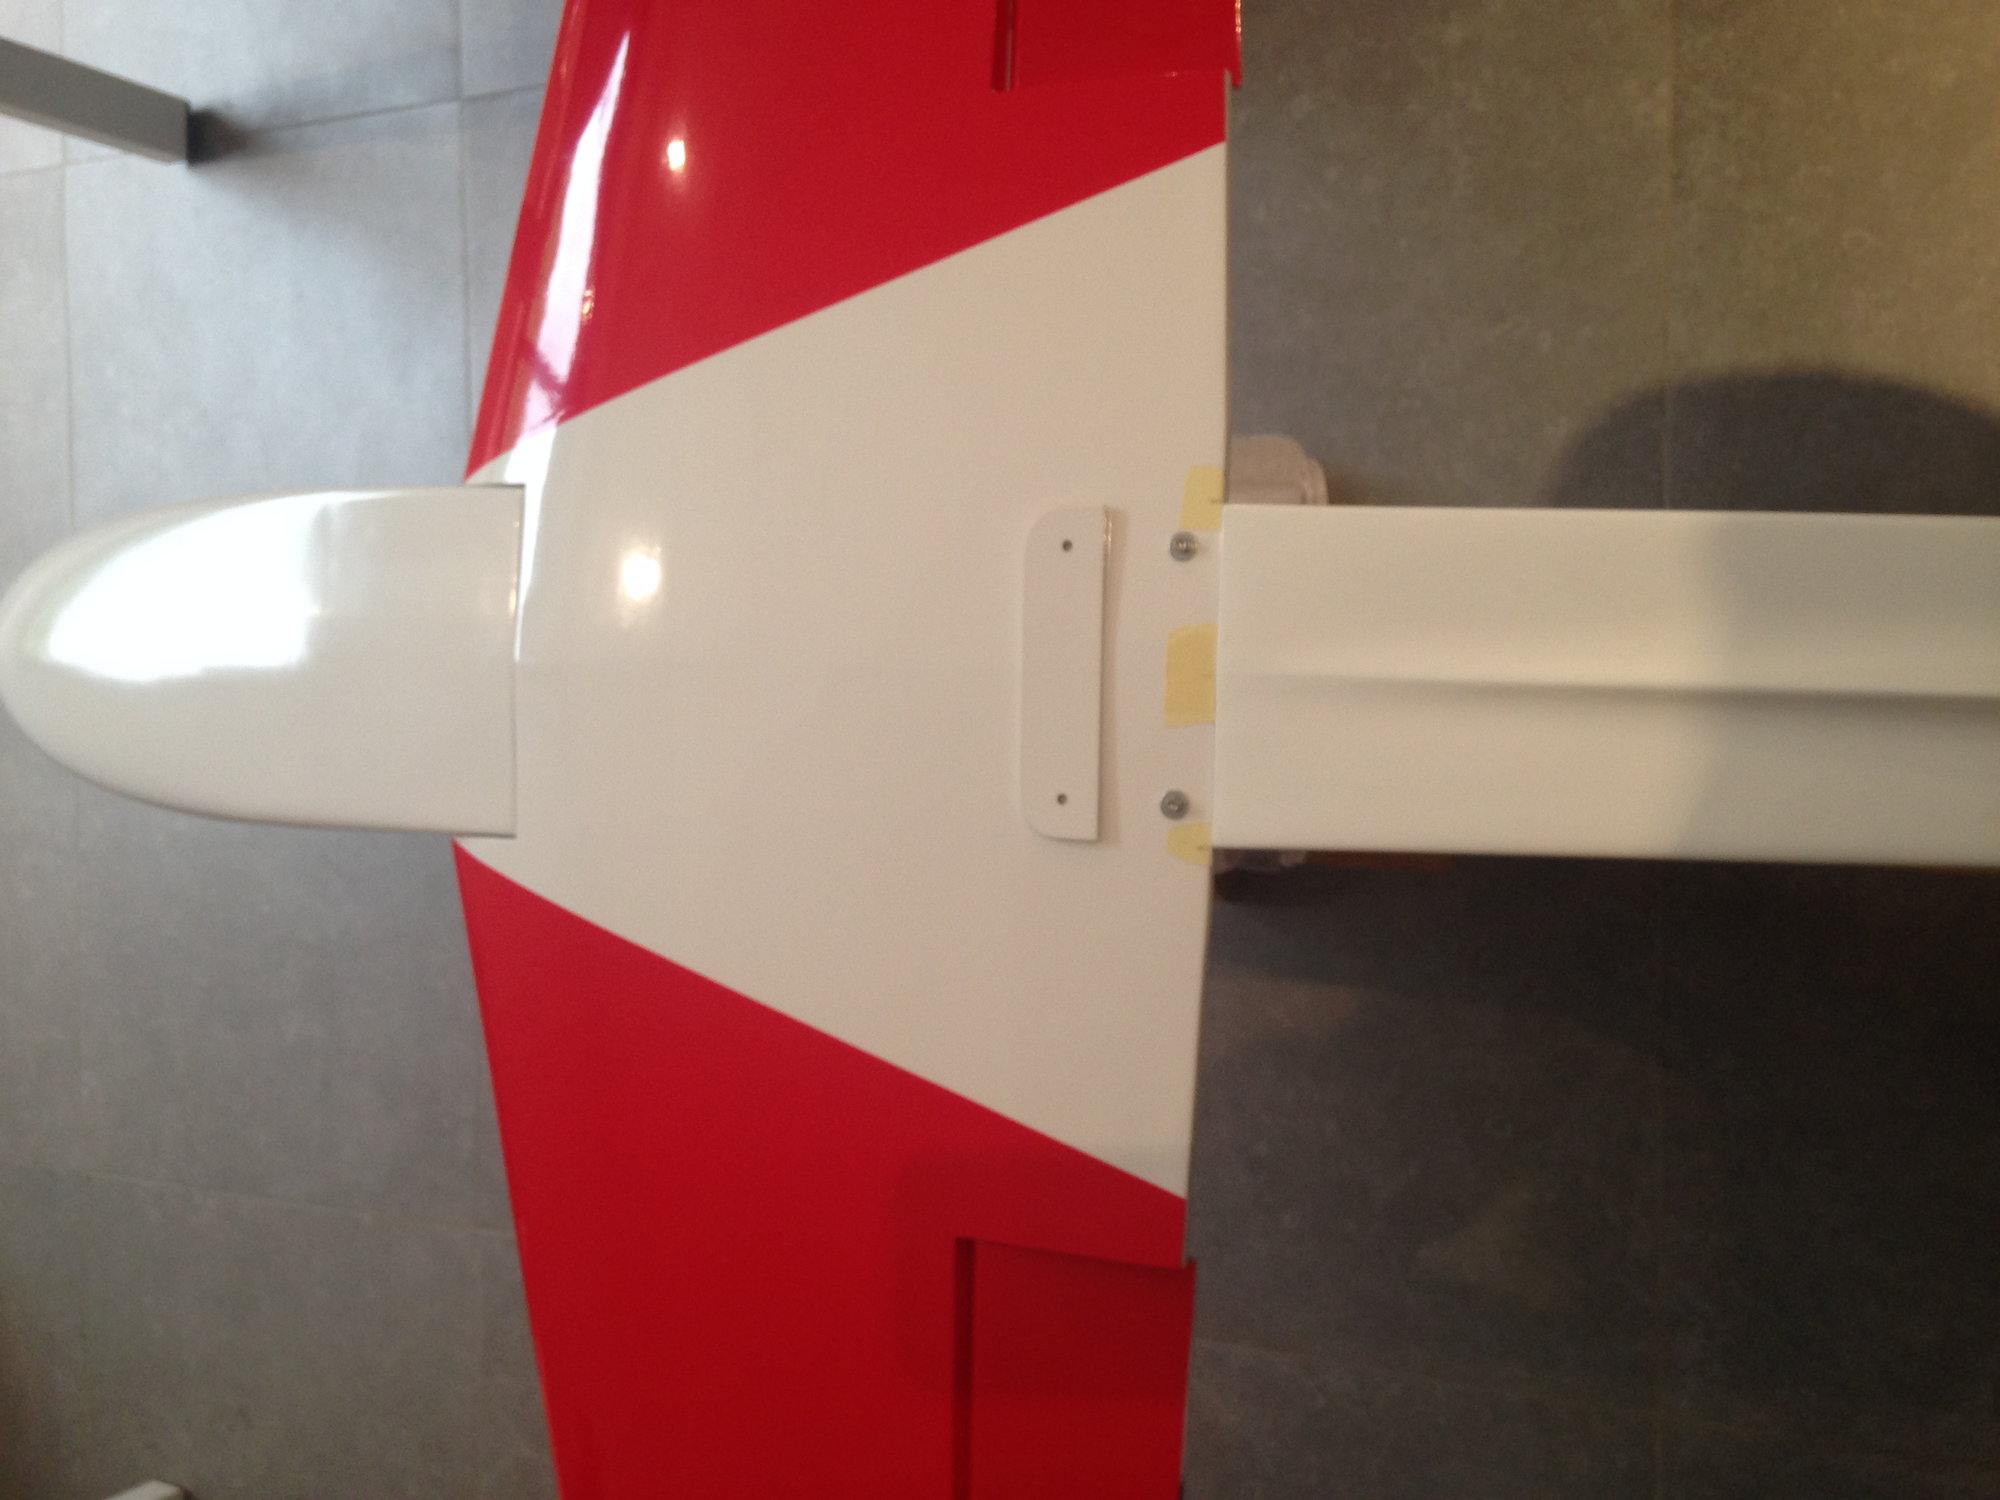
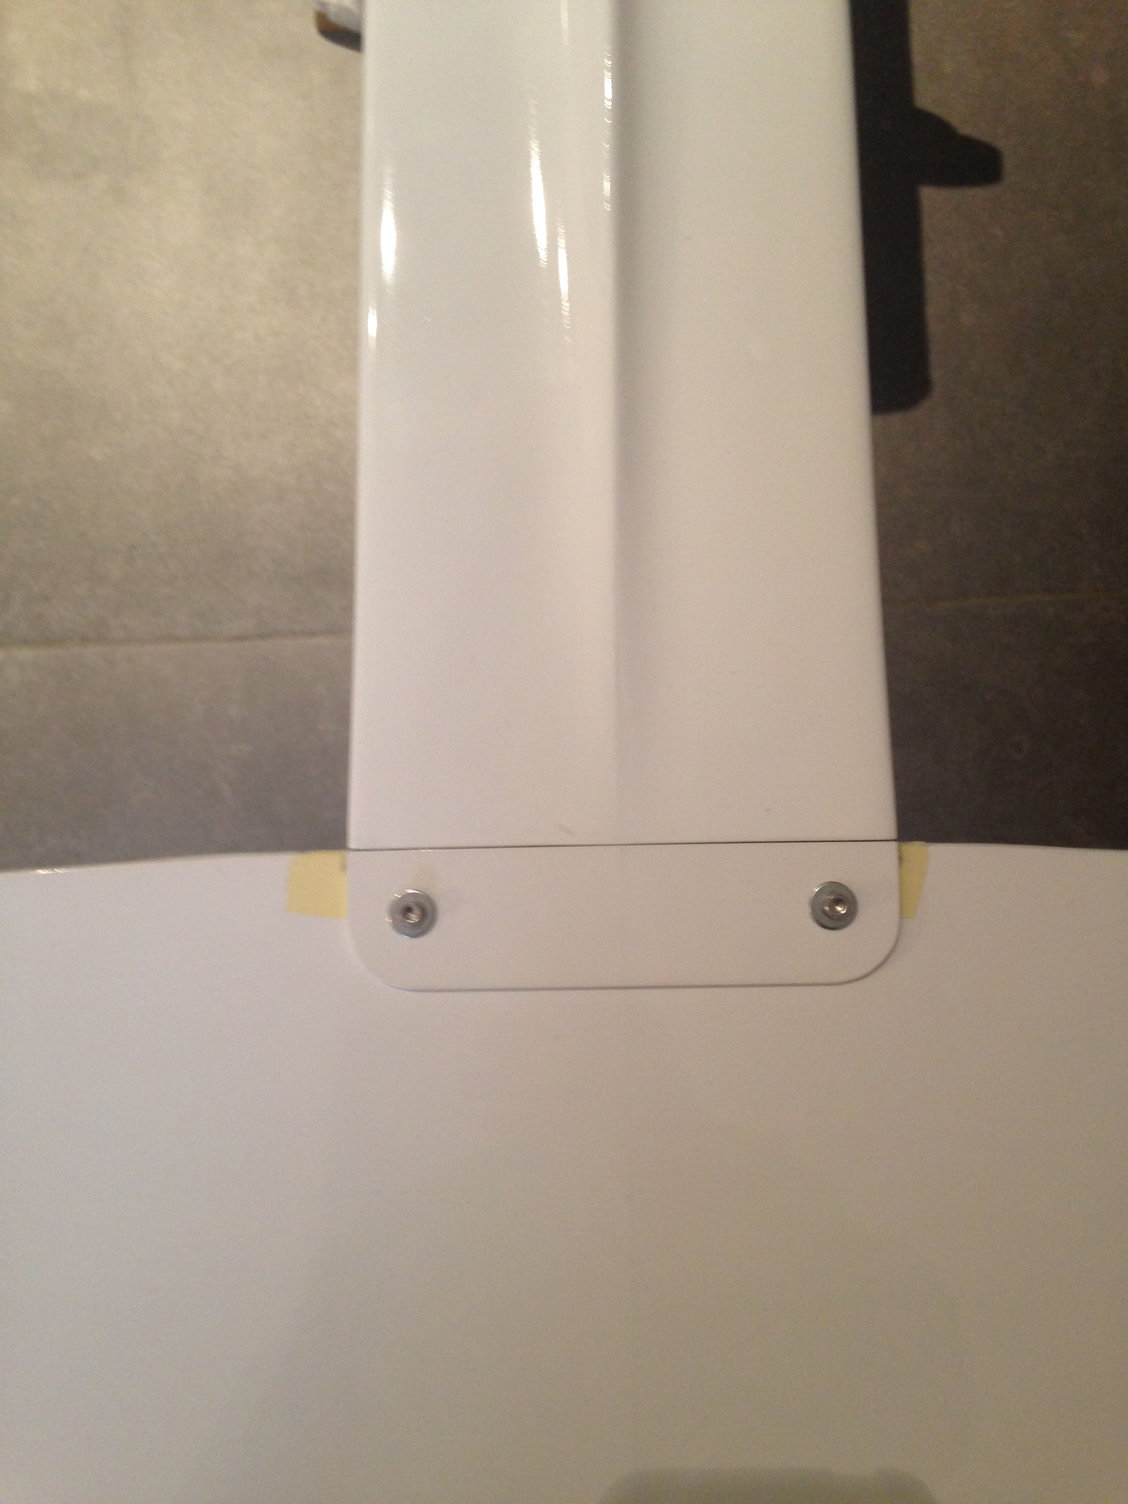
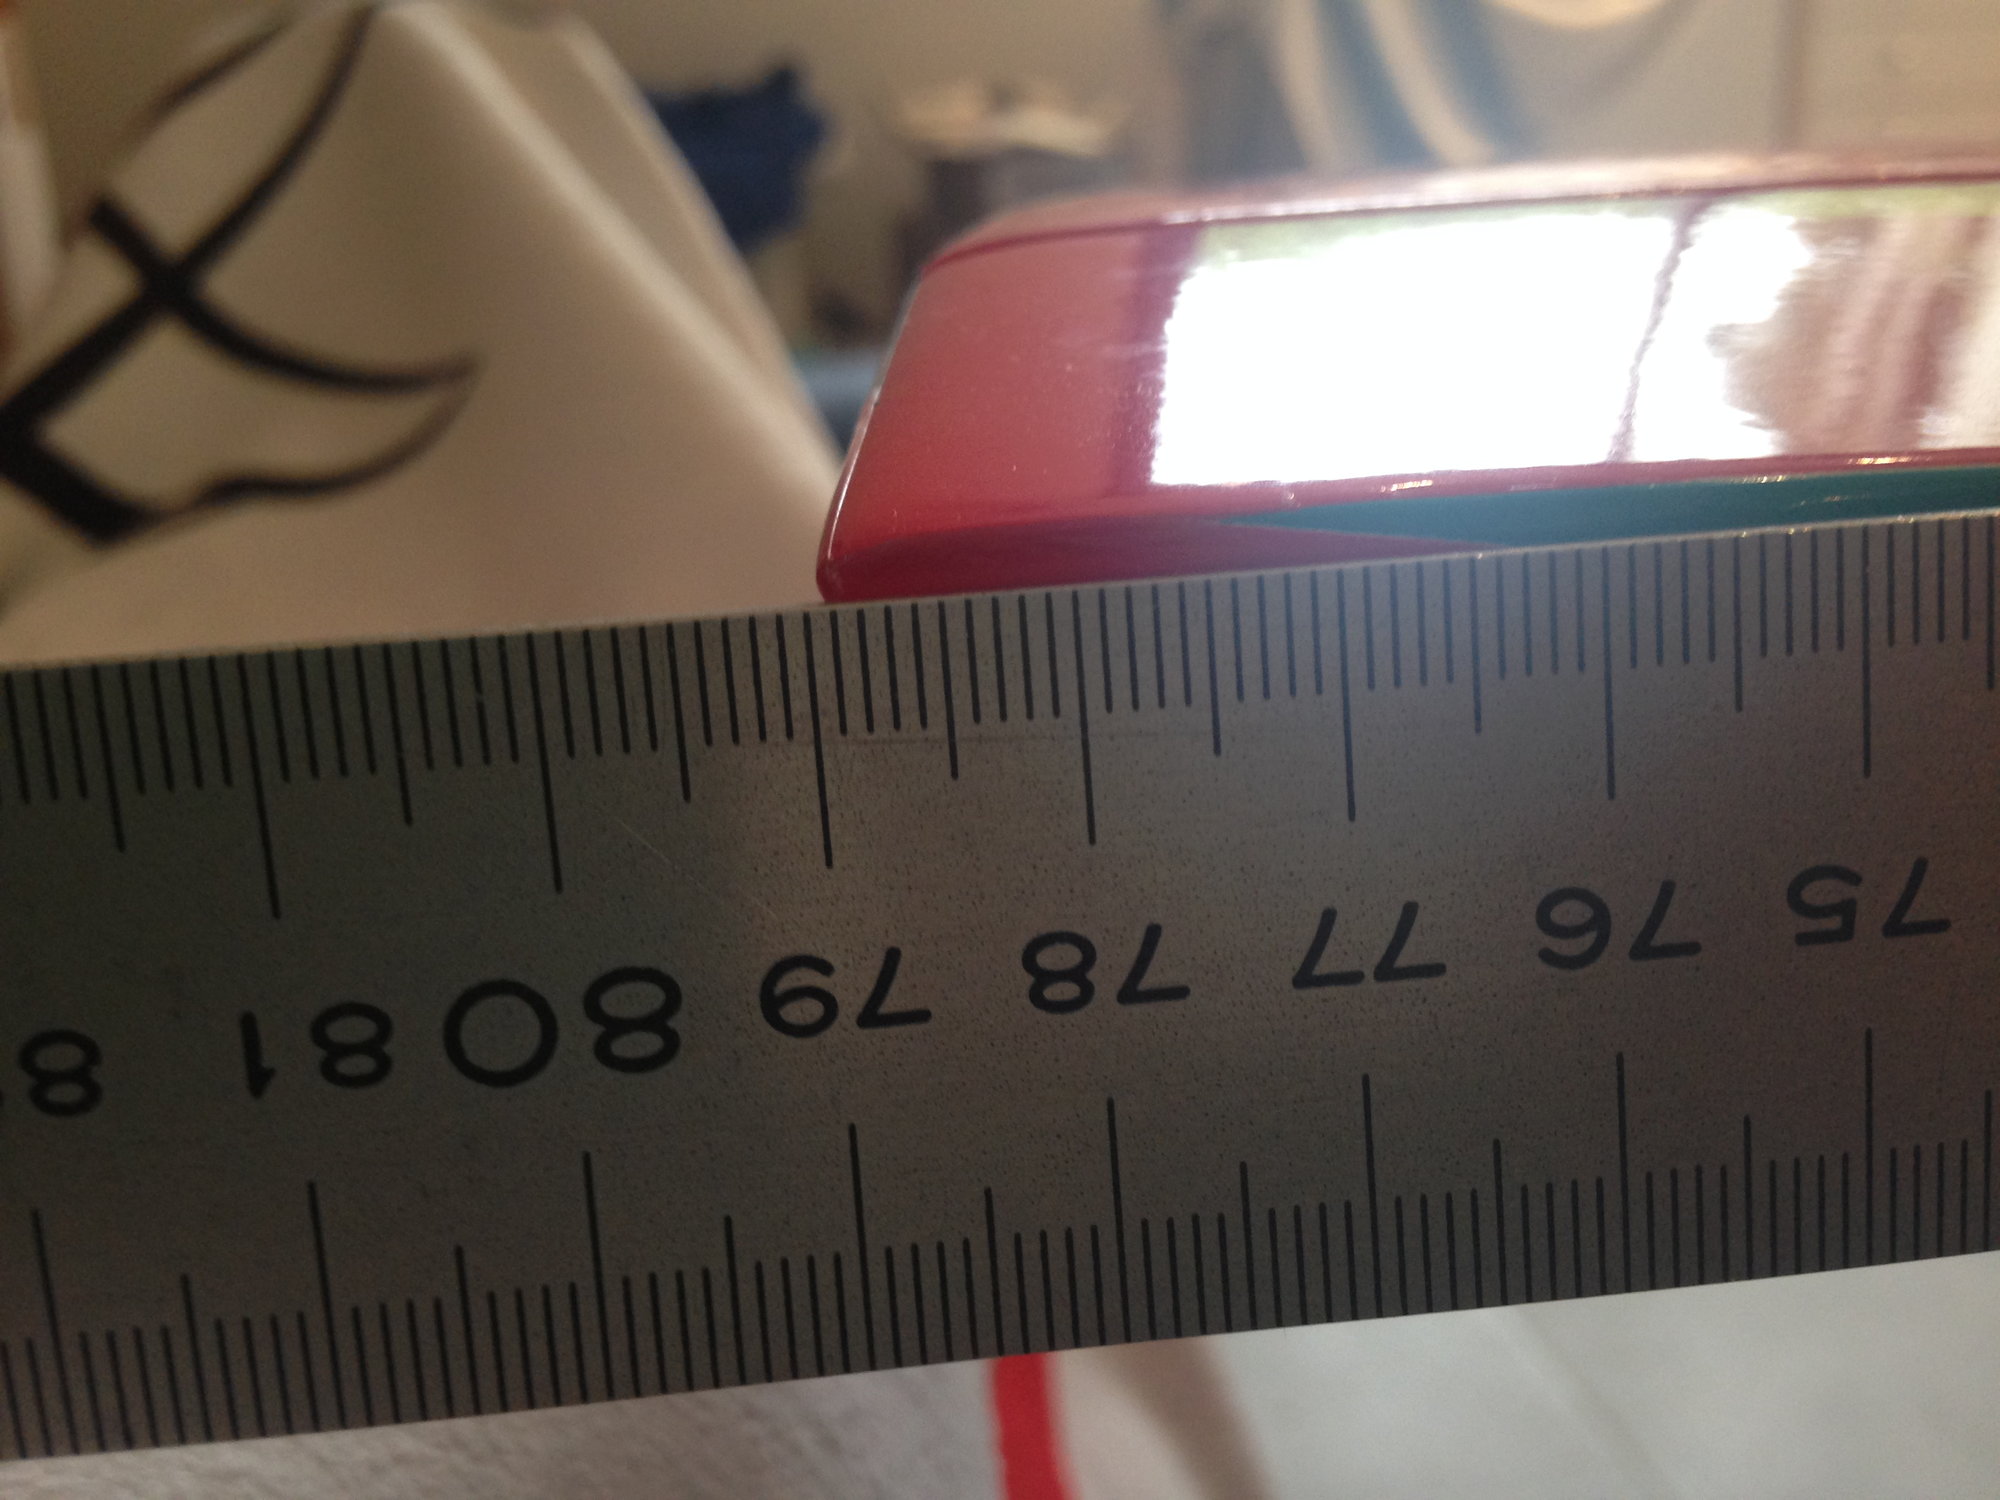
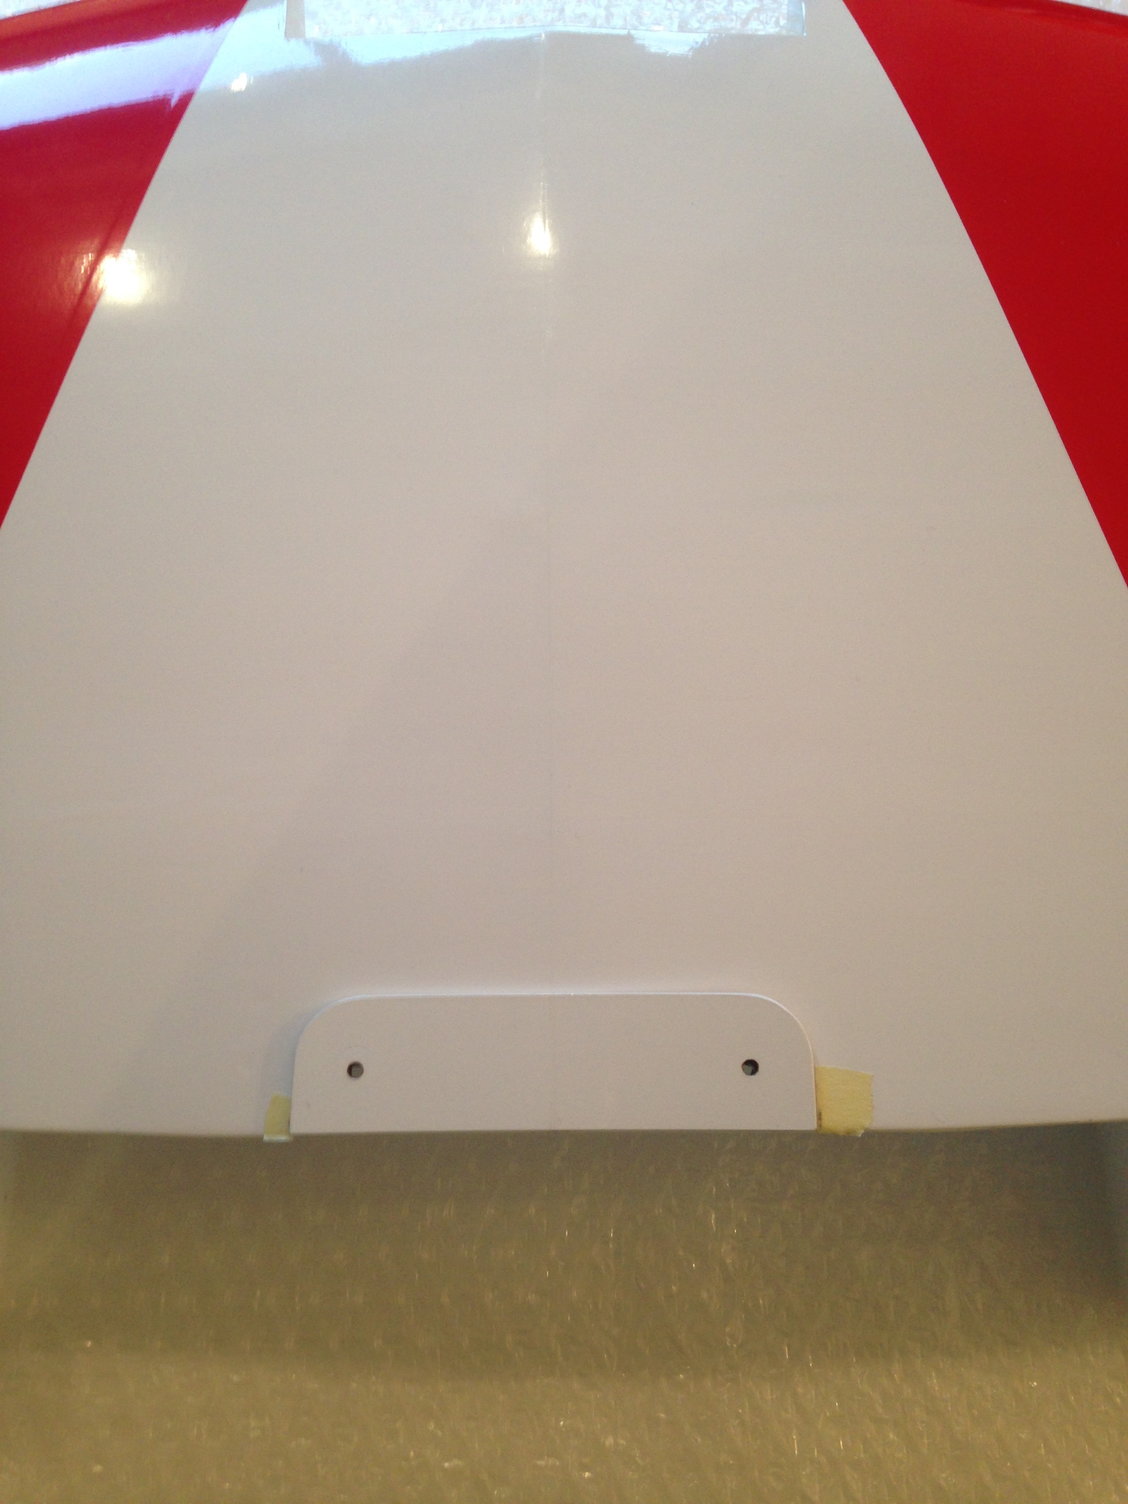
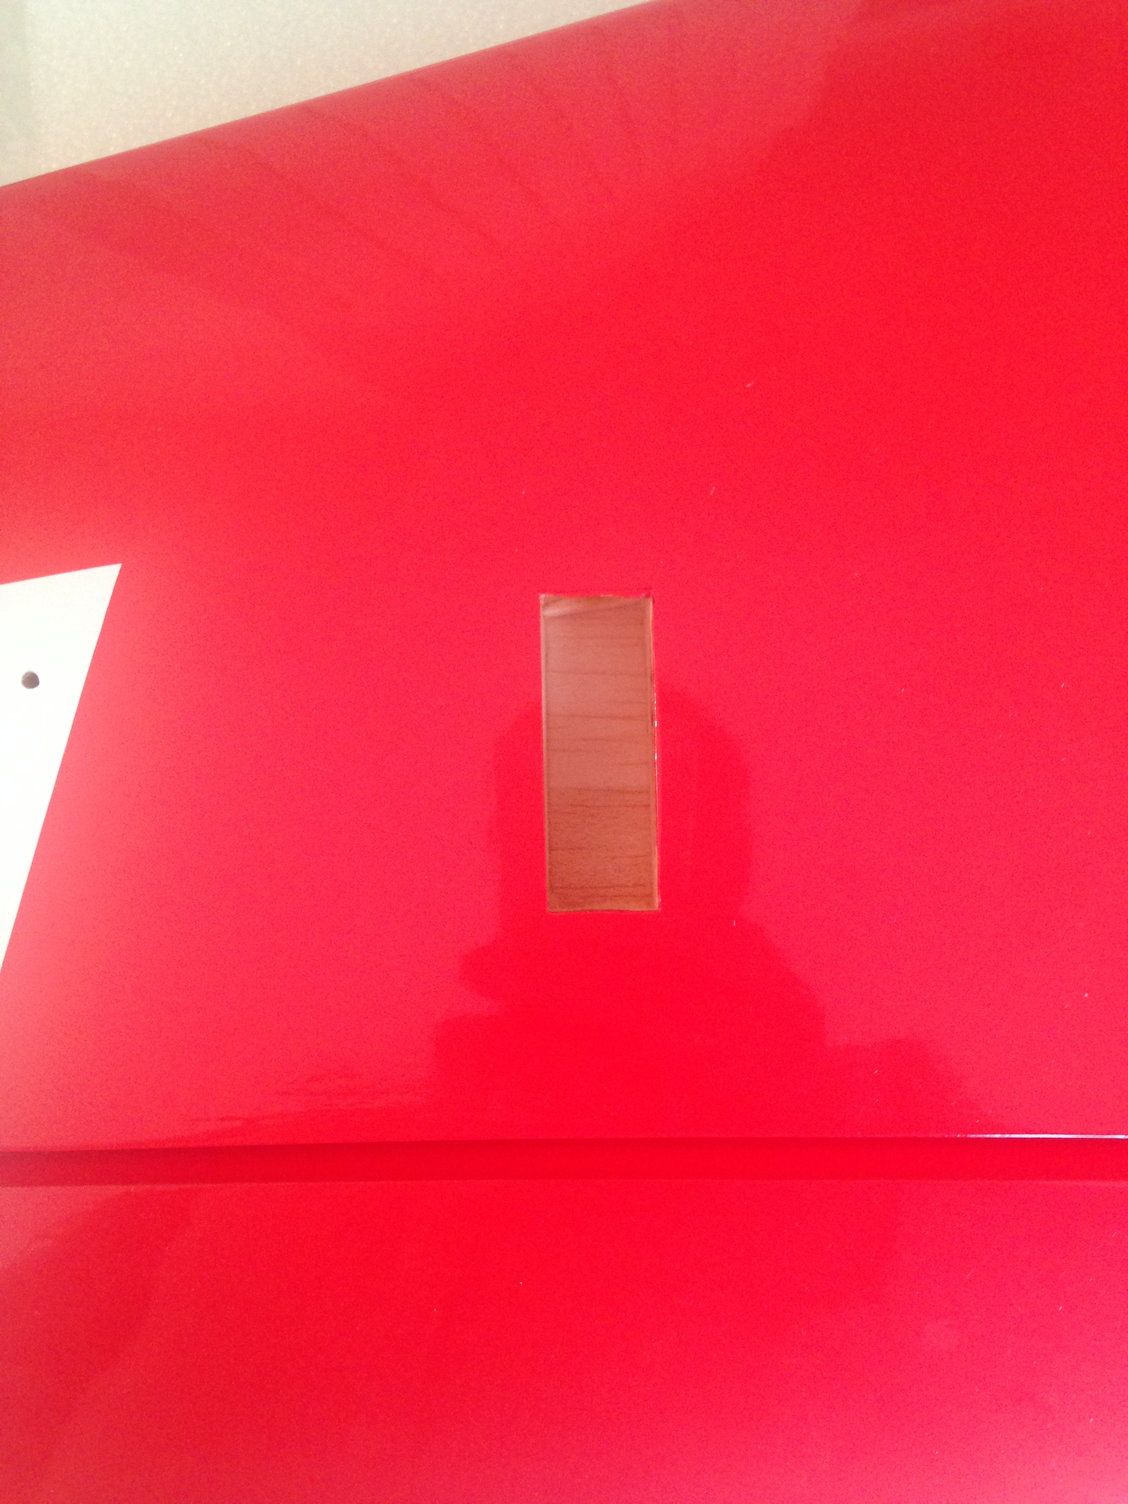
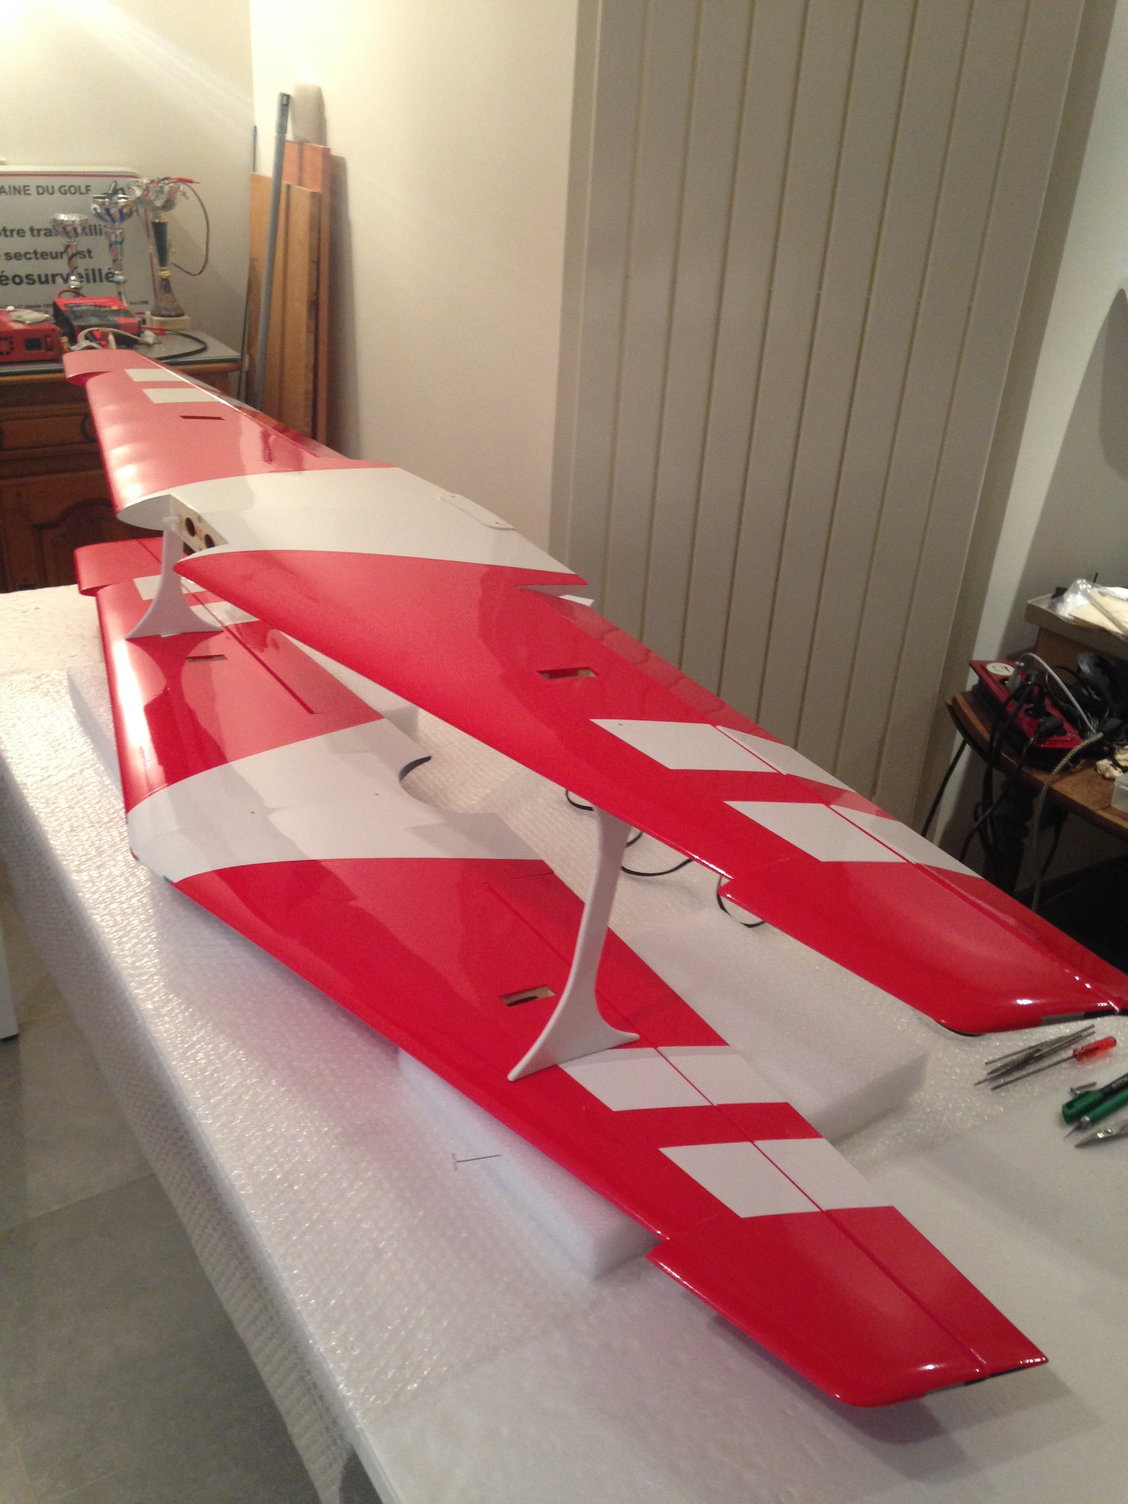
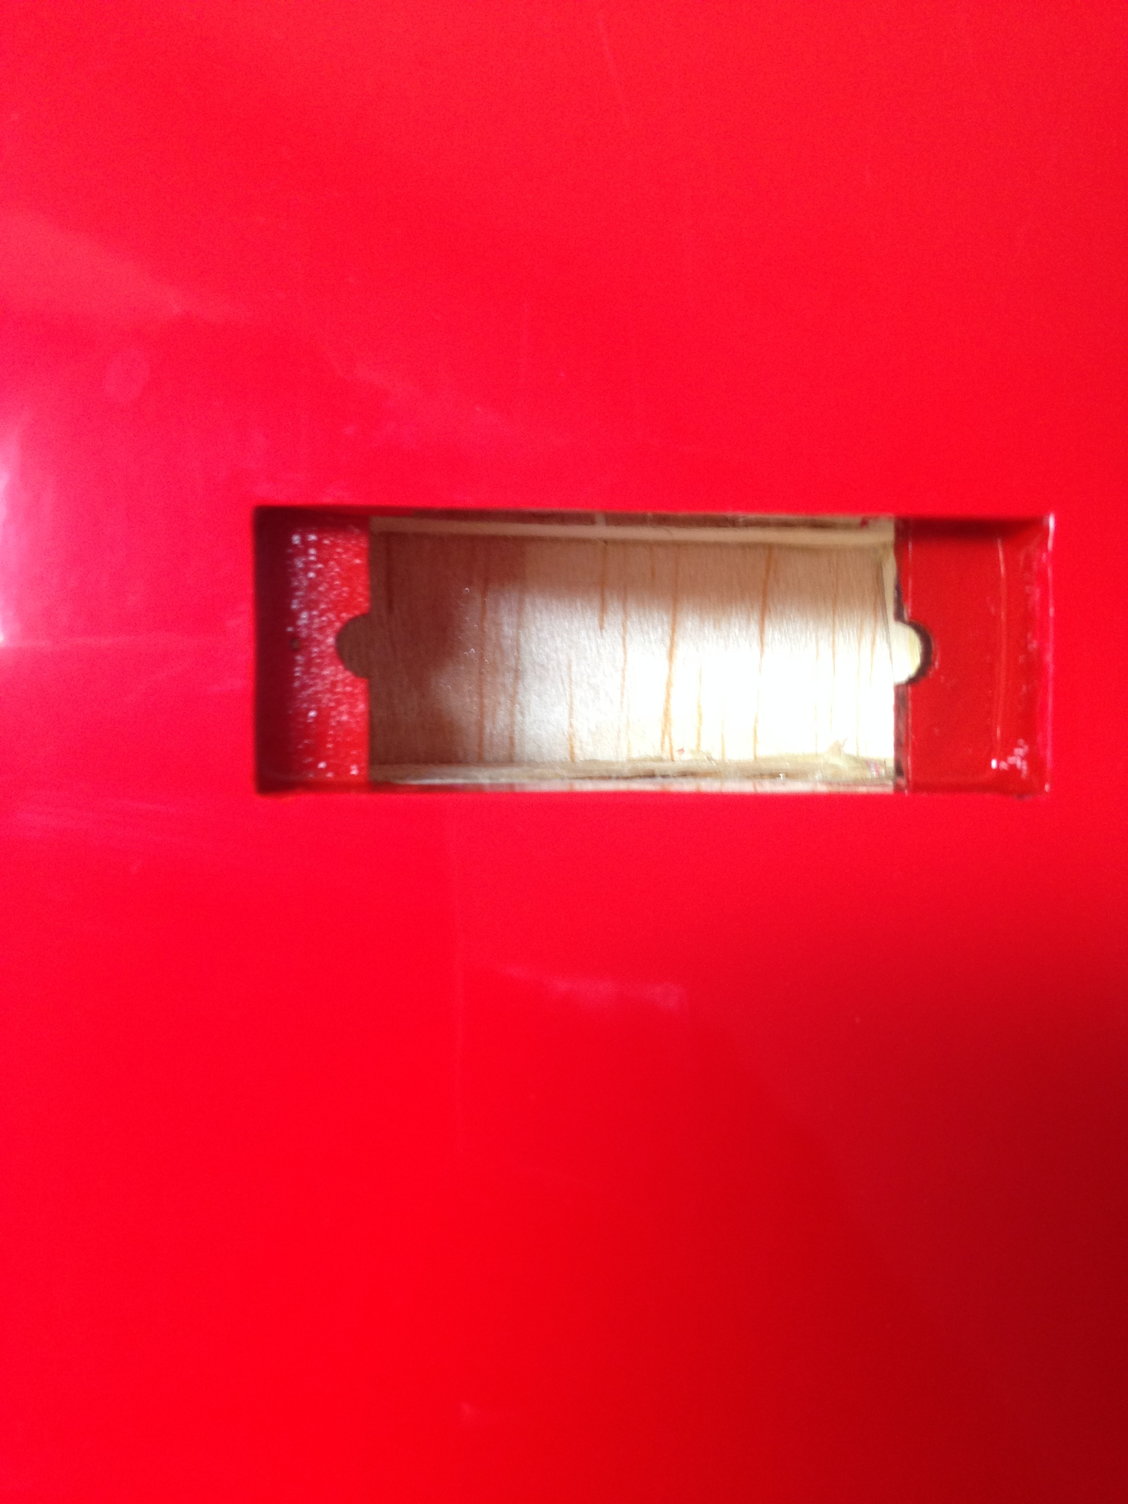
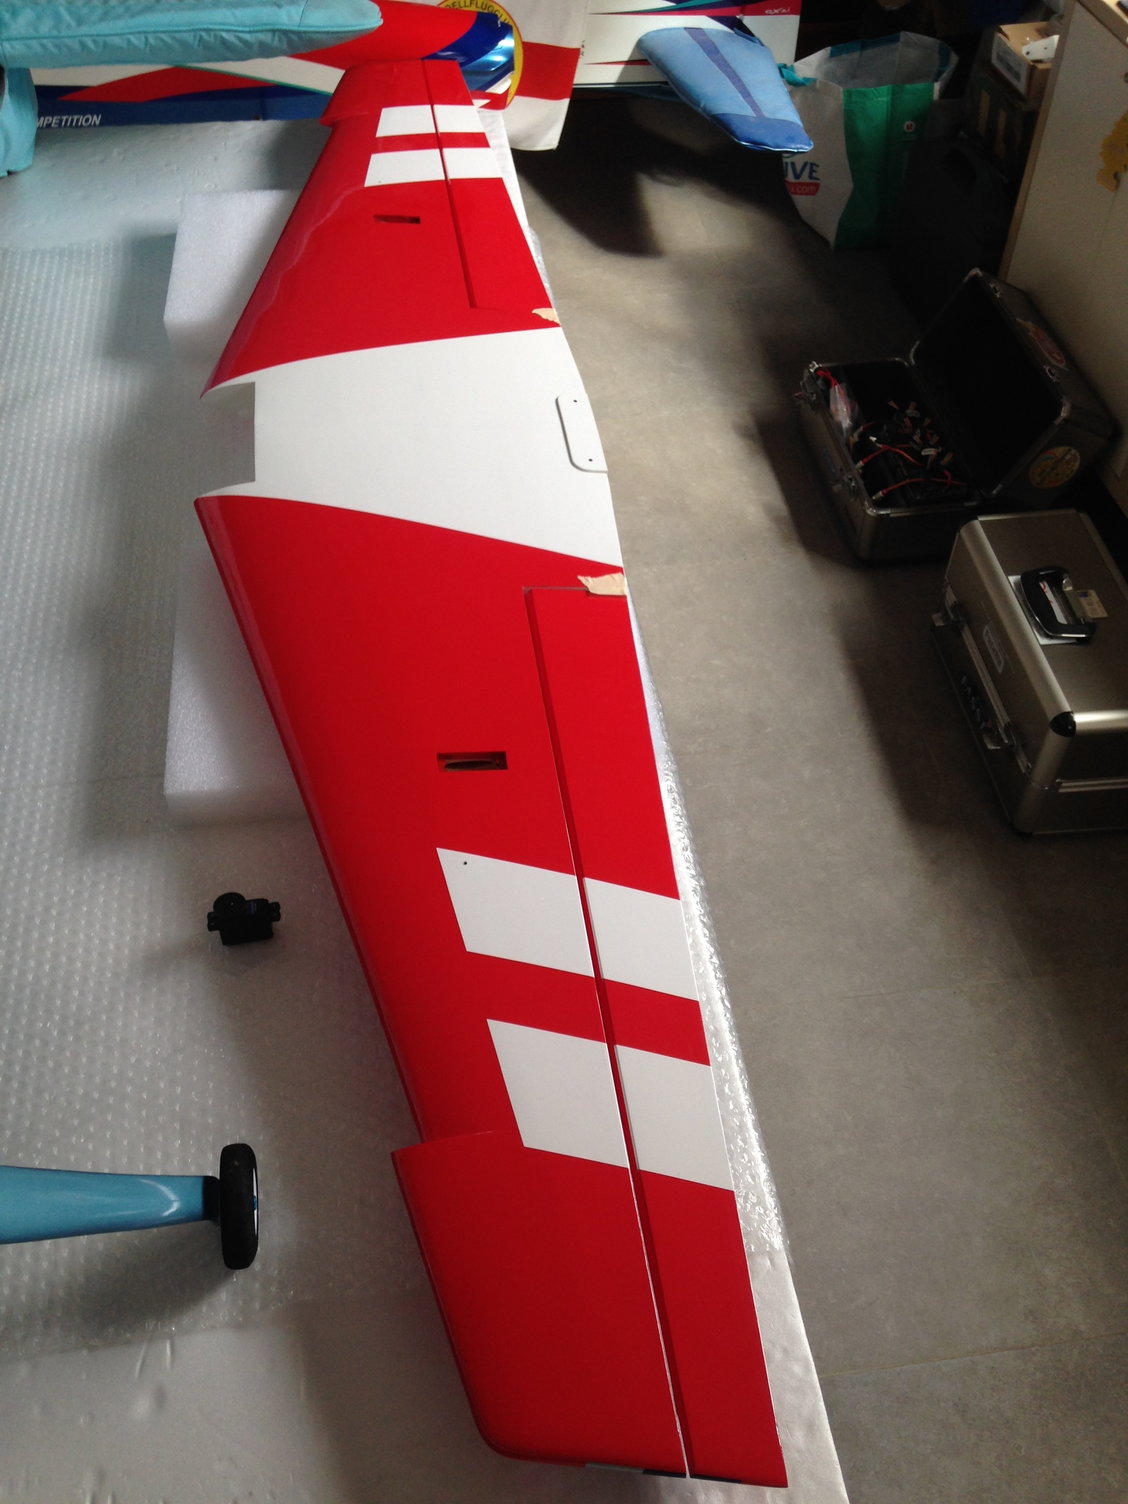
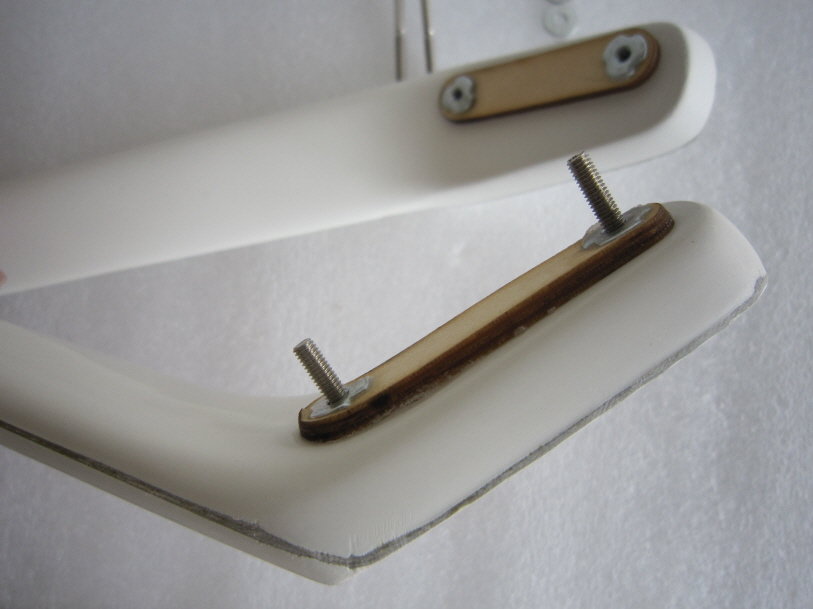
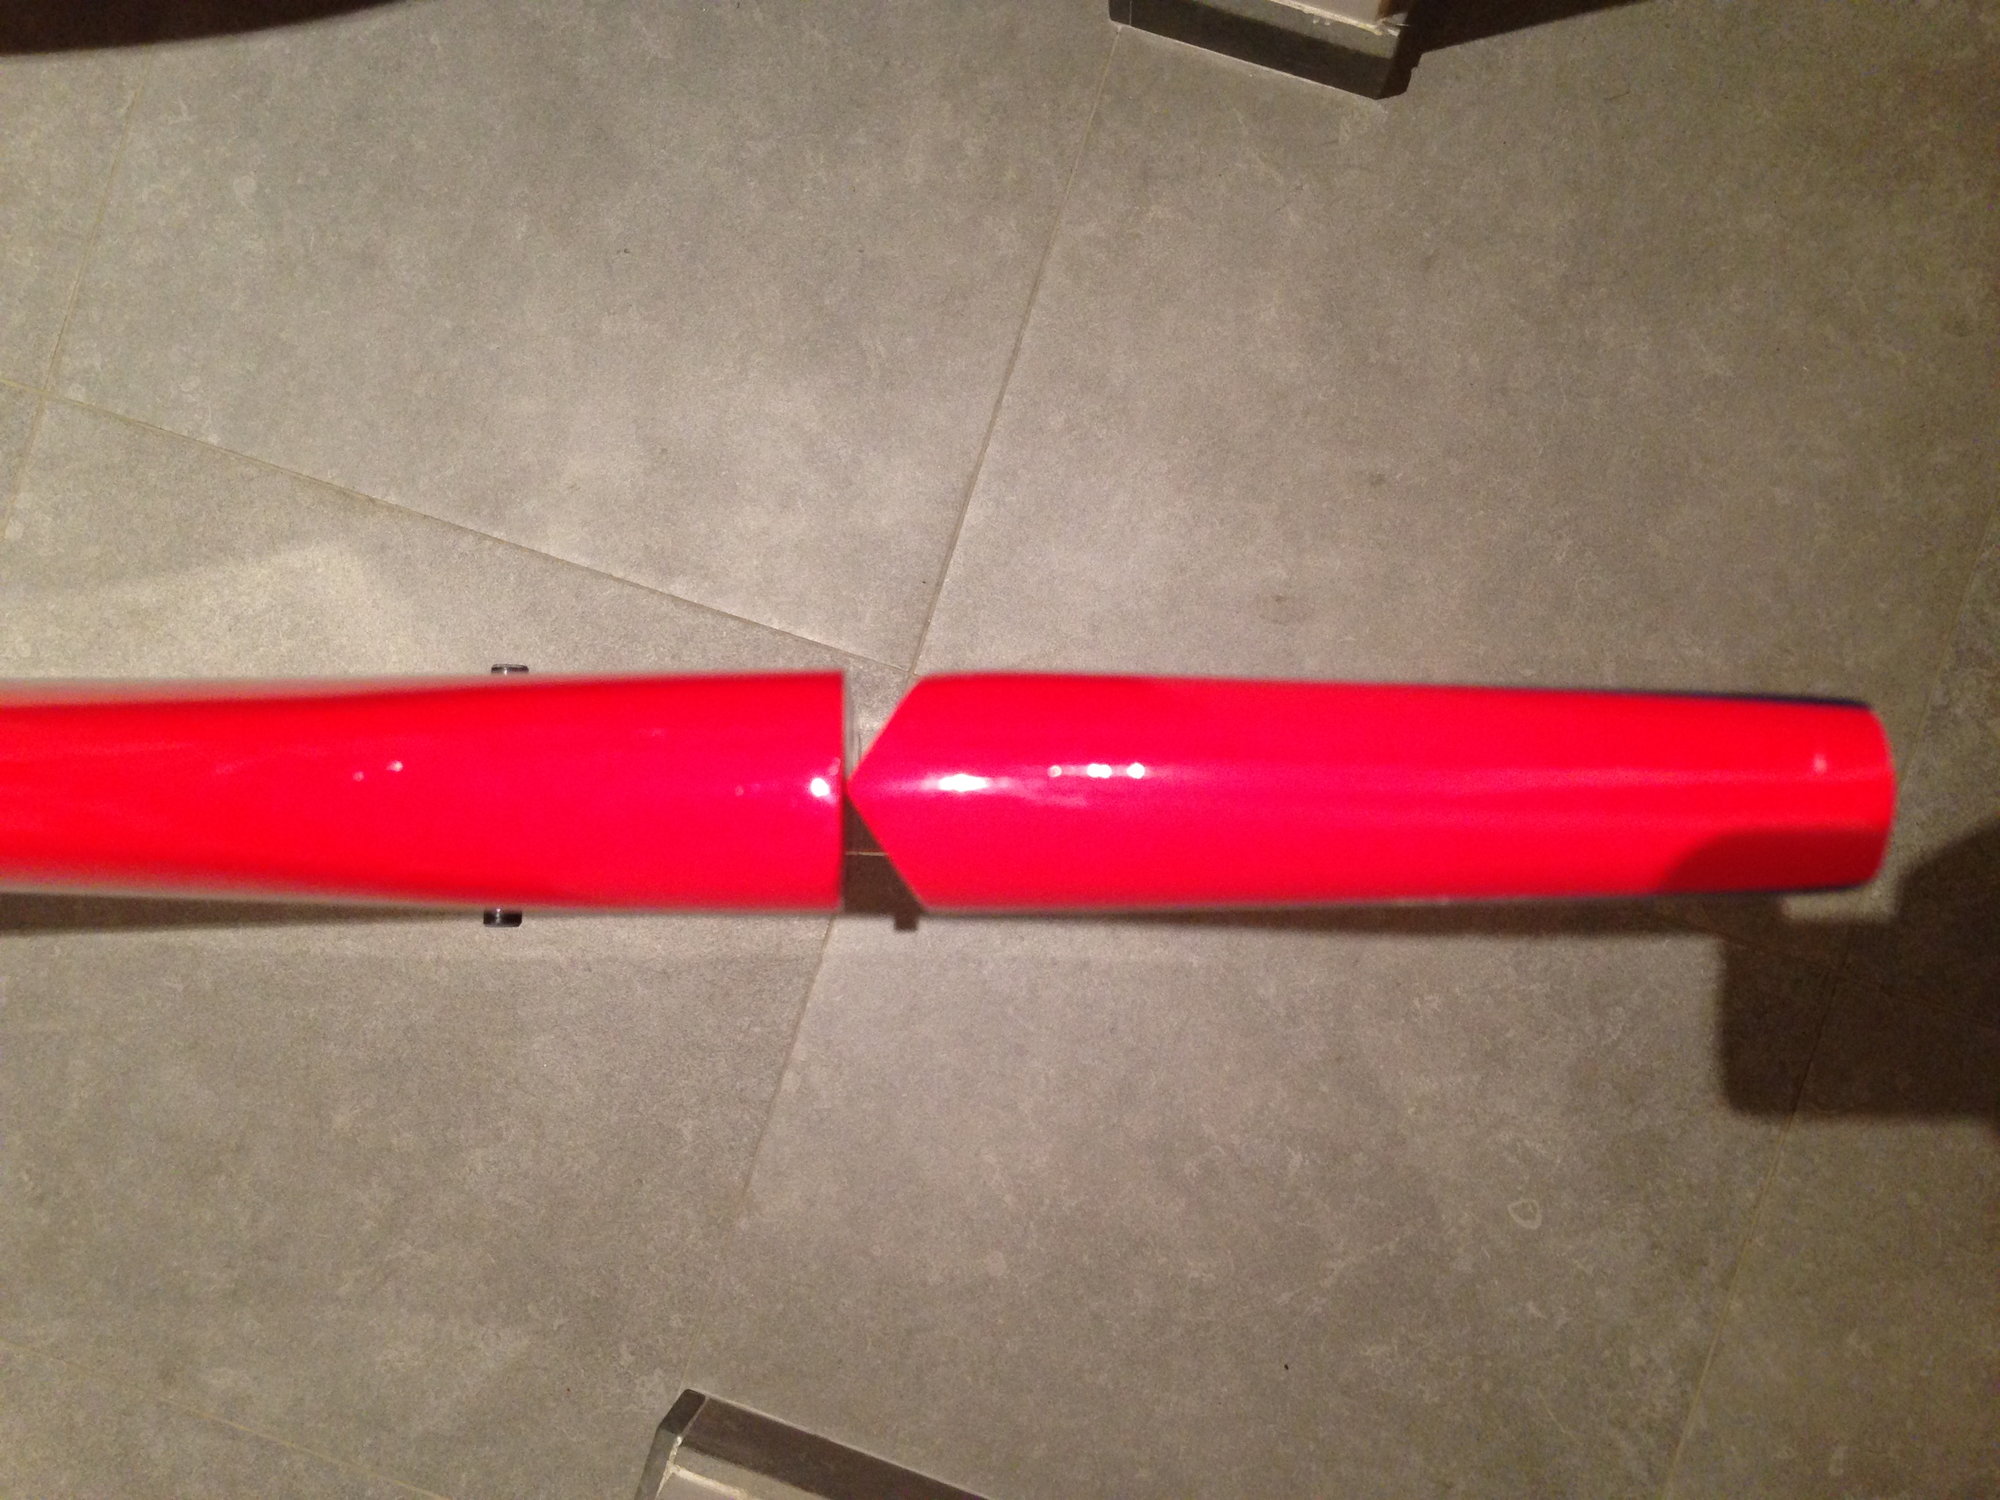
Last thing I wanted to check before the week end, I hope to go to a contest, is the lower wing position, square to the fuselage.
It take time, you have to measure a couple of time to be sure you have the wing perfectly centered, that's the easiest part, and then that from aileron tip to the rear of the fuselage, you have the same distance on both side of course ...
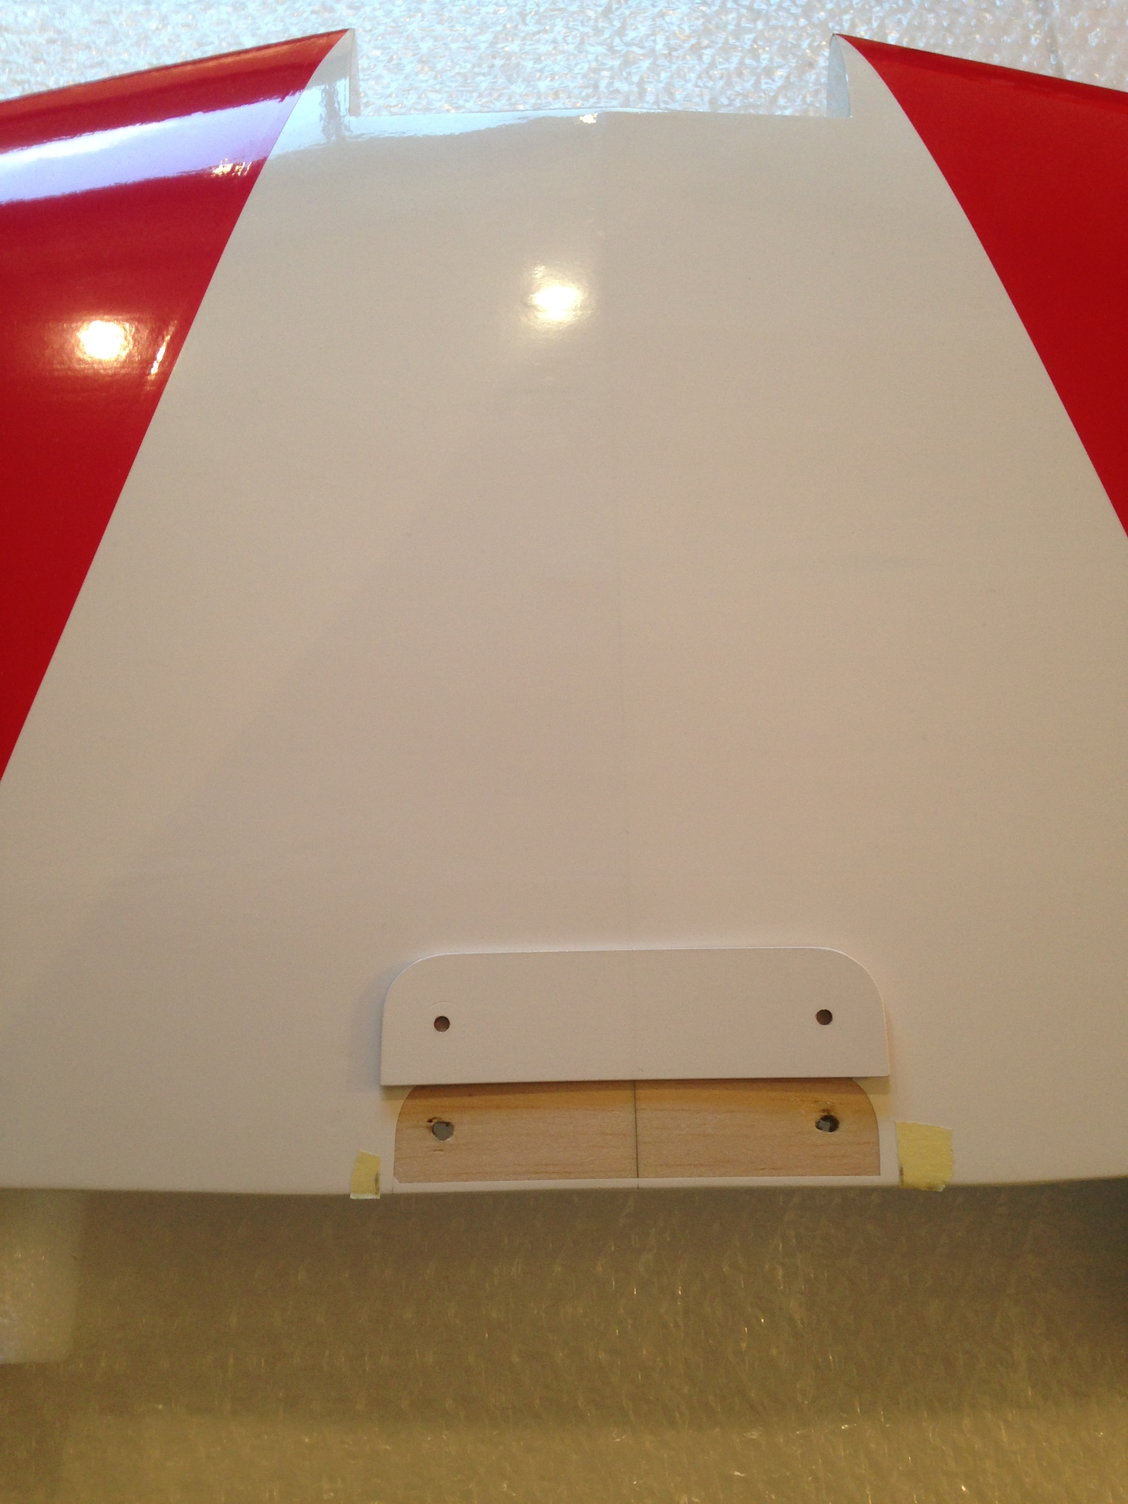
Then you can proceed and glue the already covered plywood reinforcement on the lower wing.
The pre-drilled holes on this part were perfectly positioned.
It take time, you have to measure a couple of time to be sure you have the wing perfectly centered, that's the easiest part, and then that from aileron tip to the rear of the fuselage, you have the same distance on both side of course ...
Then you can proceed and glue the already covered plywood reinforcement on the lower wing.
The pre-drilled holes on this part were perfectly positioned.
03-31-2018, 03:58 AM
#6
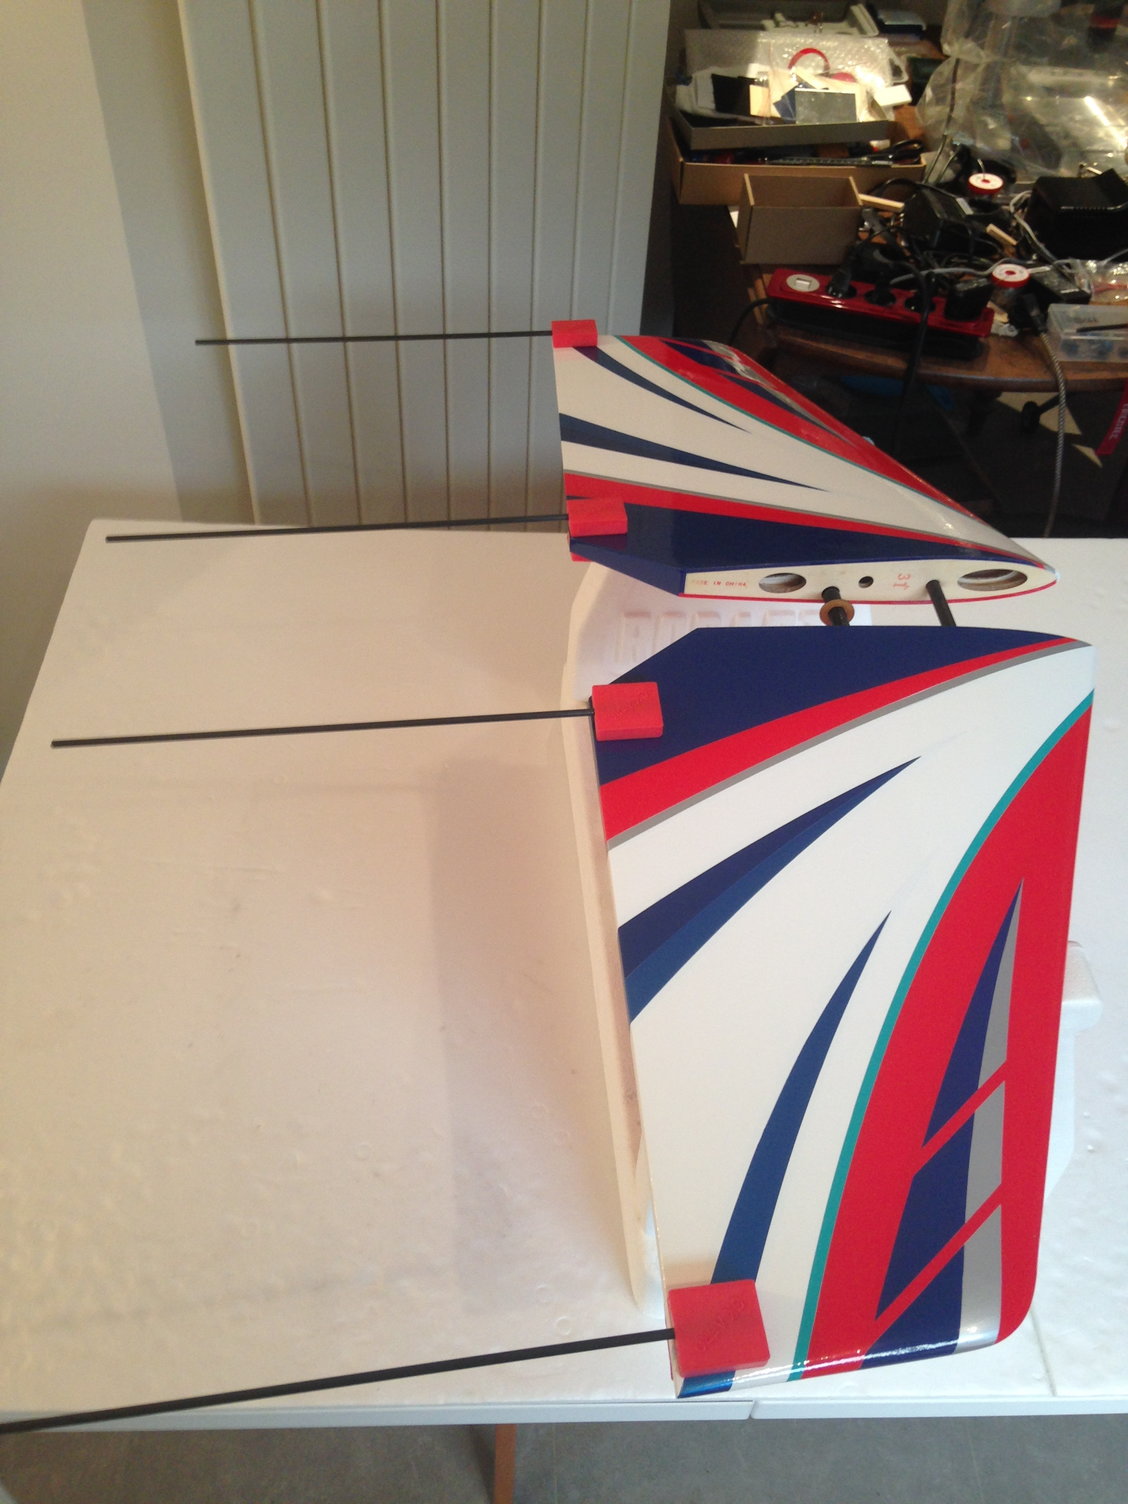
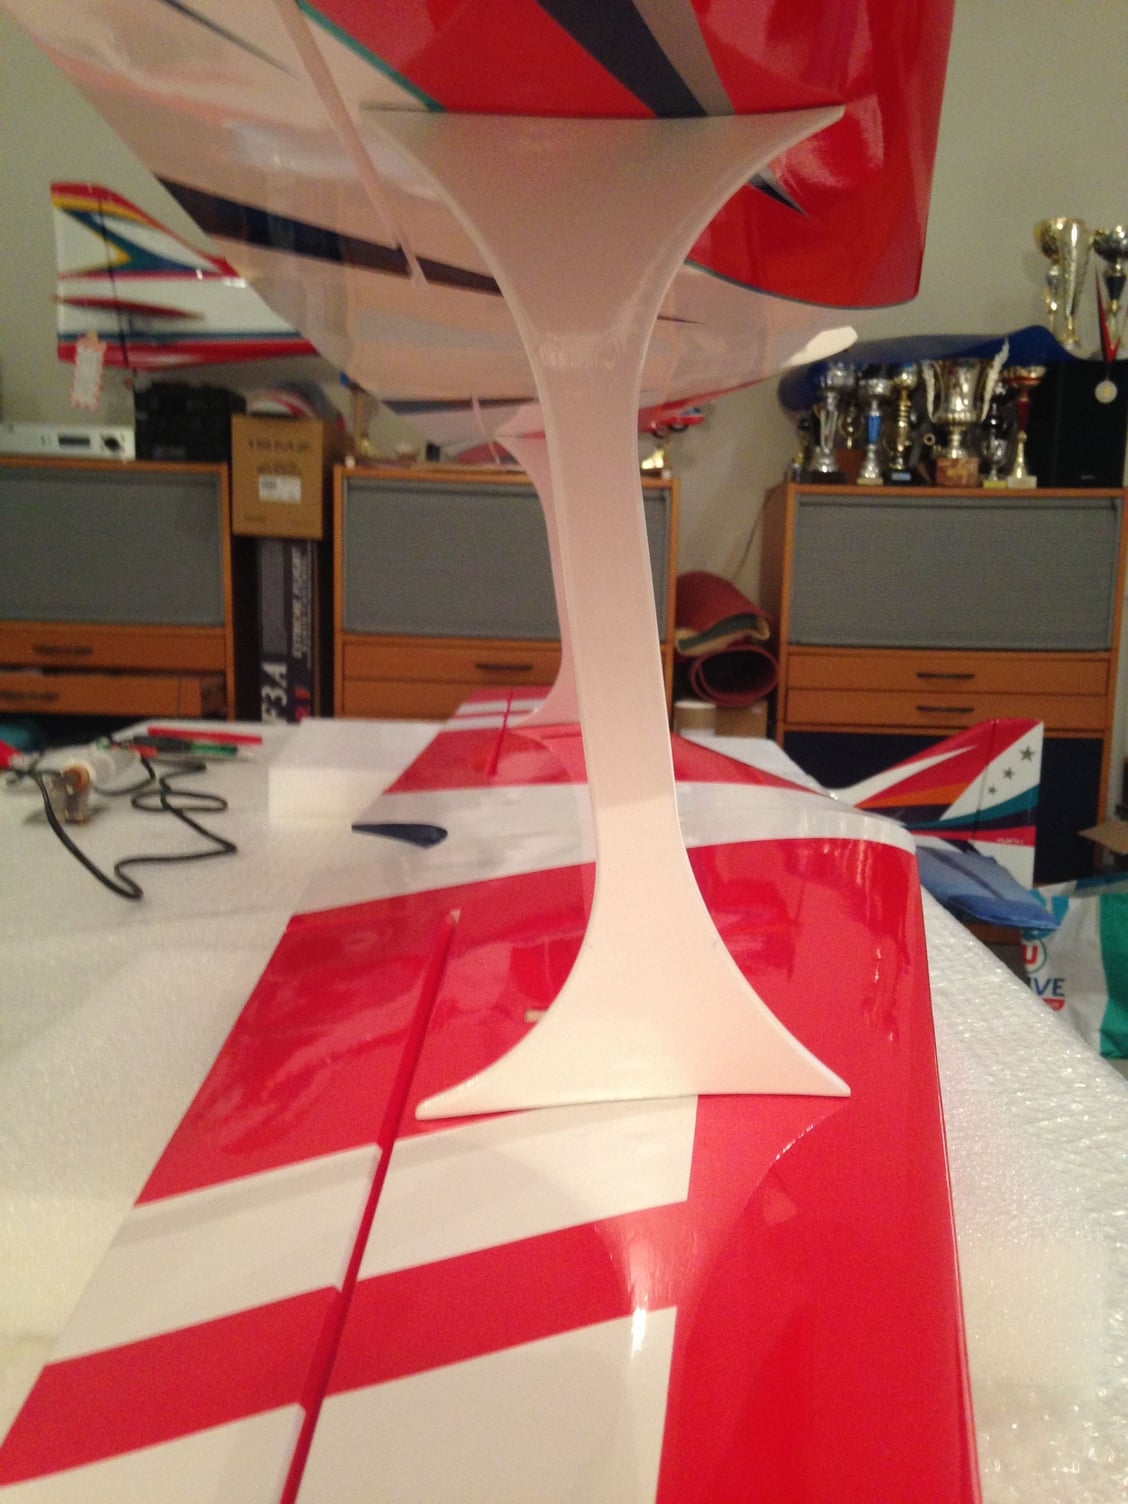
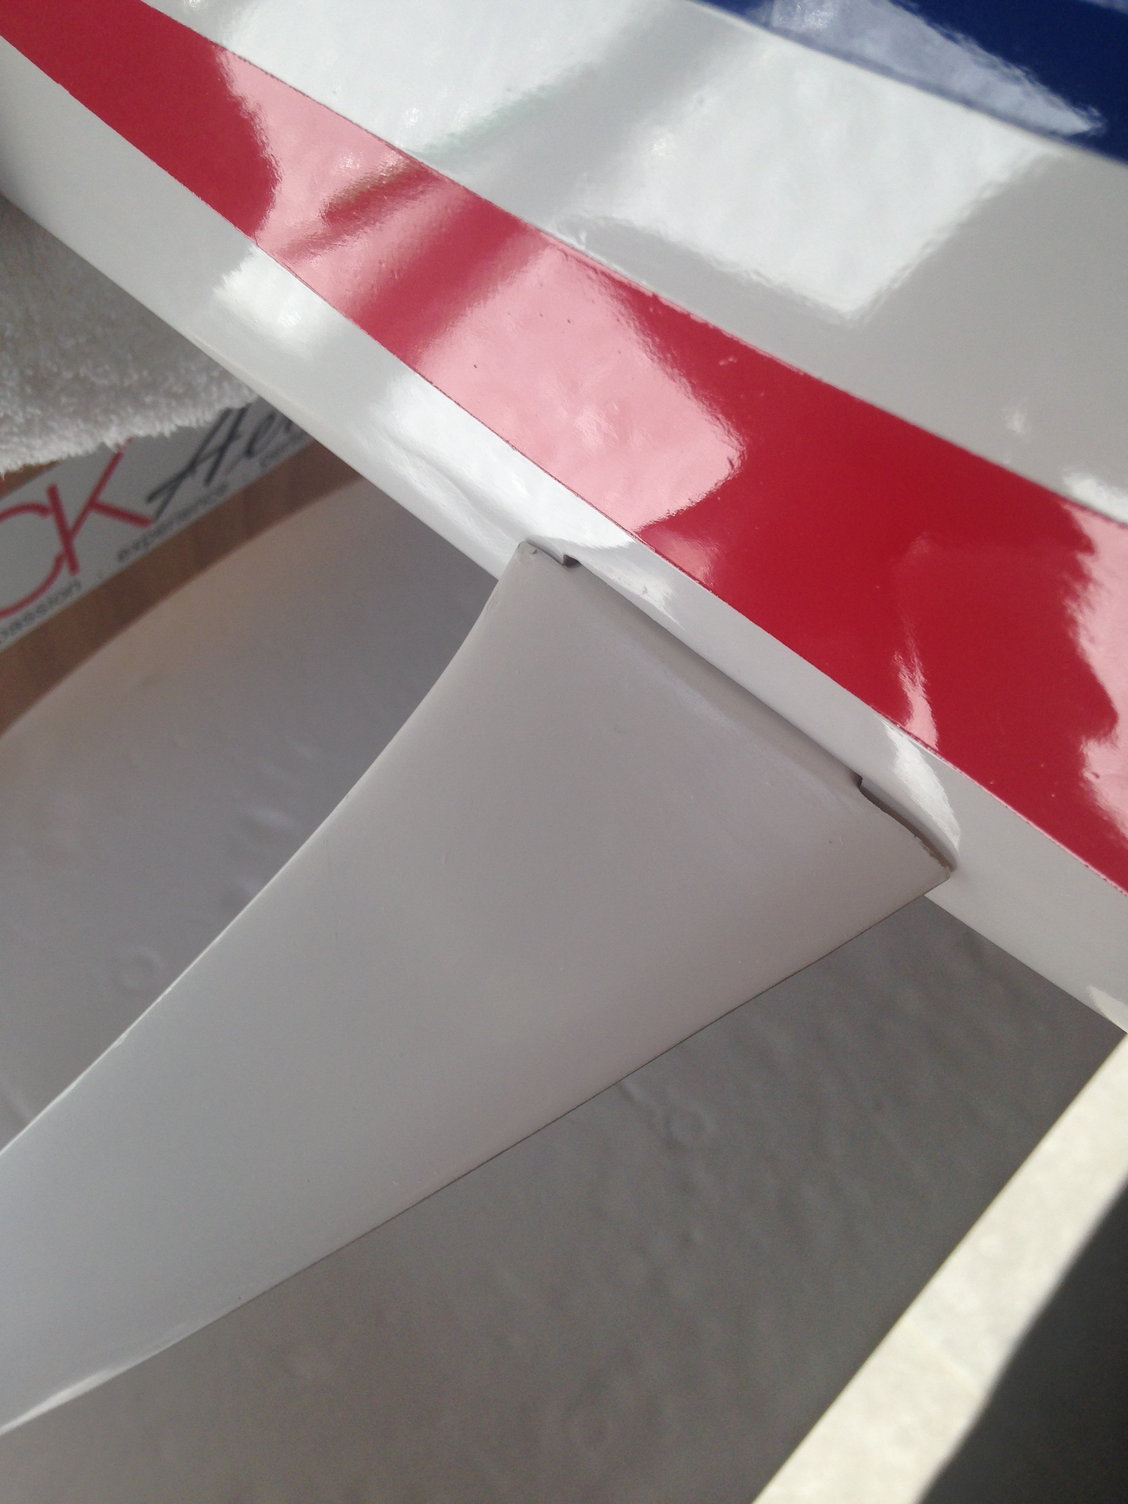
With the IMMORTAL wings shape different of the ETERNITY, the struts location is slightly different.
An X-Acto blade 2 is perfect to cut the covering just in the middle of the receptacle, pushing in the strut complete the job before using trim sealing iron to have a neat result.
Good fit of the struts on the lower wing

An X-Acto blade 2 is perfect to cut the covering just in the middle of the receptacle, pushing in the strut complete the job before using trim sealing iron to have a neat result.
Good fit of the struts on the lower wing
Last edited by J-P; 03-31-2018 at 10:39 AM.
03-31-2018, 11:06 AM
#7
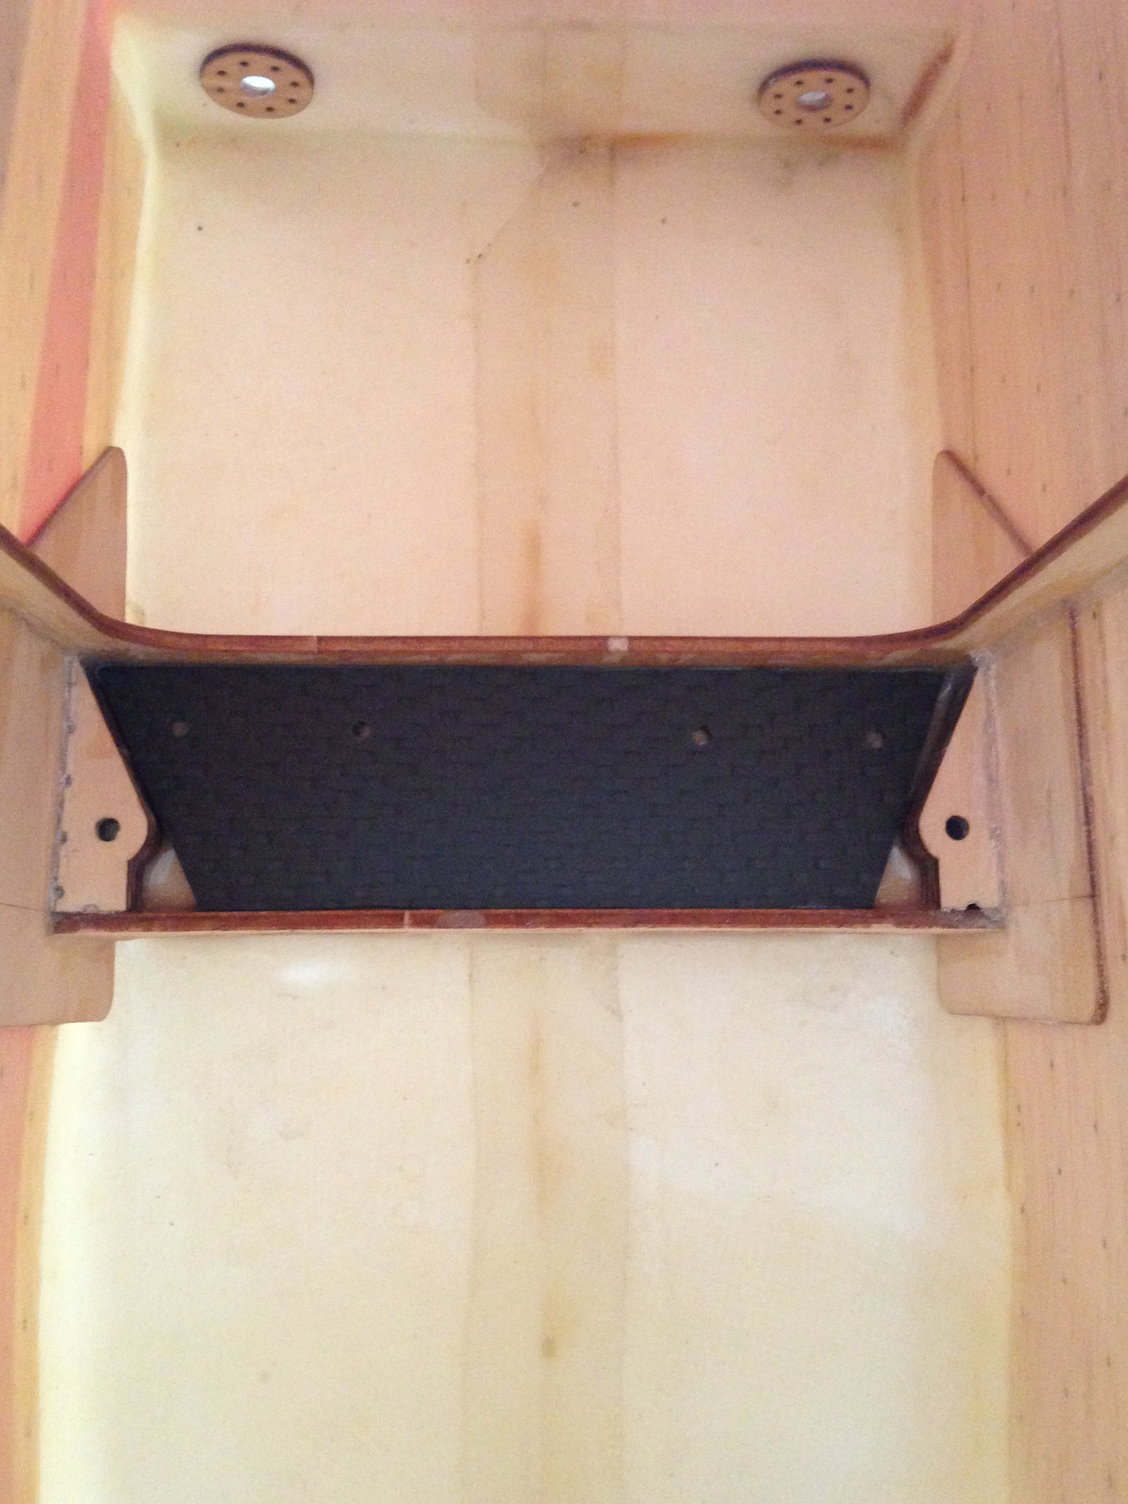
Flying in my club and practicing most of the time on a grass runway, I'm concerned about the landing gear strength .
Plywood quality is not always stable, so I will reinforce the landing gear plate as recommended by B.J., with thin CA.
When it's time to reinforce, first idea is to use carbon fiber. Looks nice, it's strong and light, and we can see a lot of guys using balsa laminated with carbon fiber for battery tray, pull pull rudder installation...
But considering EMI and some puzzling crash, adding the fact that some manufacturers don't recommend it, I will just use minimum carbon fiber if needed.
Safety first.
I don't want to install the receiver and the antennas in the vicinity of carbon.
😎😎🇫🇷
JP
Last edited by J-P; 03-31-2018 at 11:10 AM.
04-02-2018, 12:45 PM
#8
Back from my first contest of the year, I kept on working on the wings on this rainy monday.
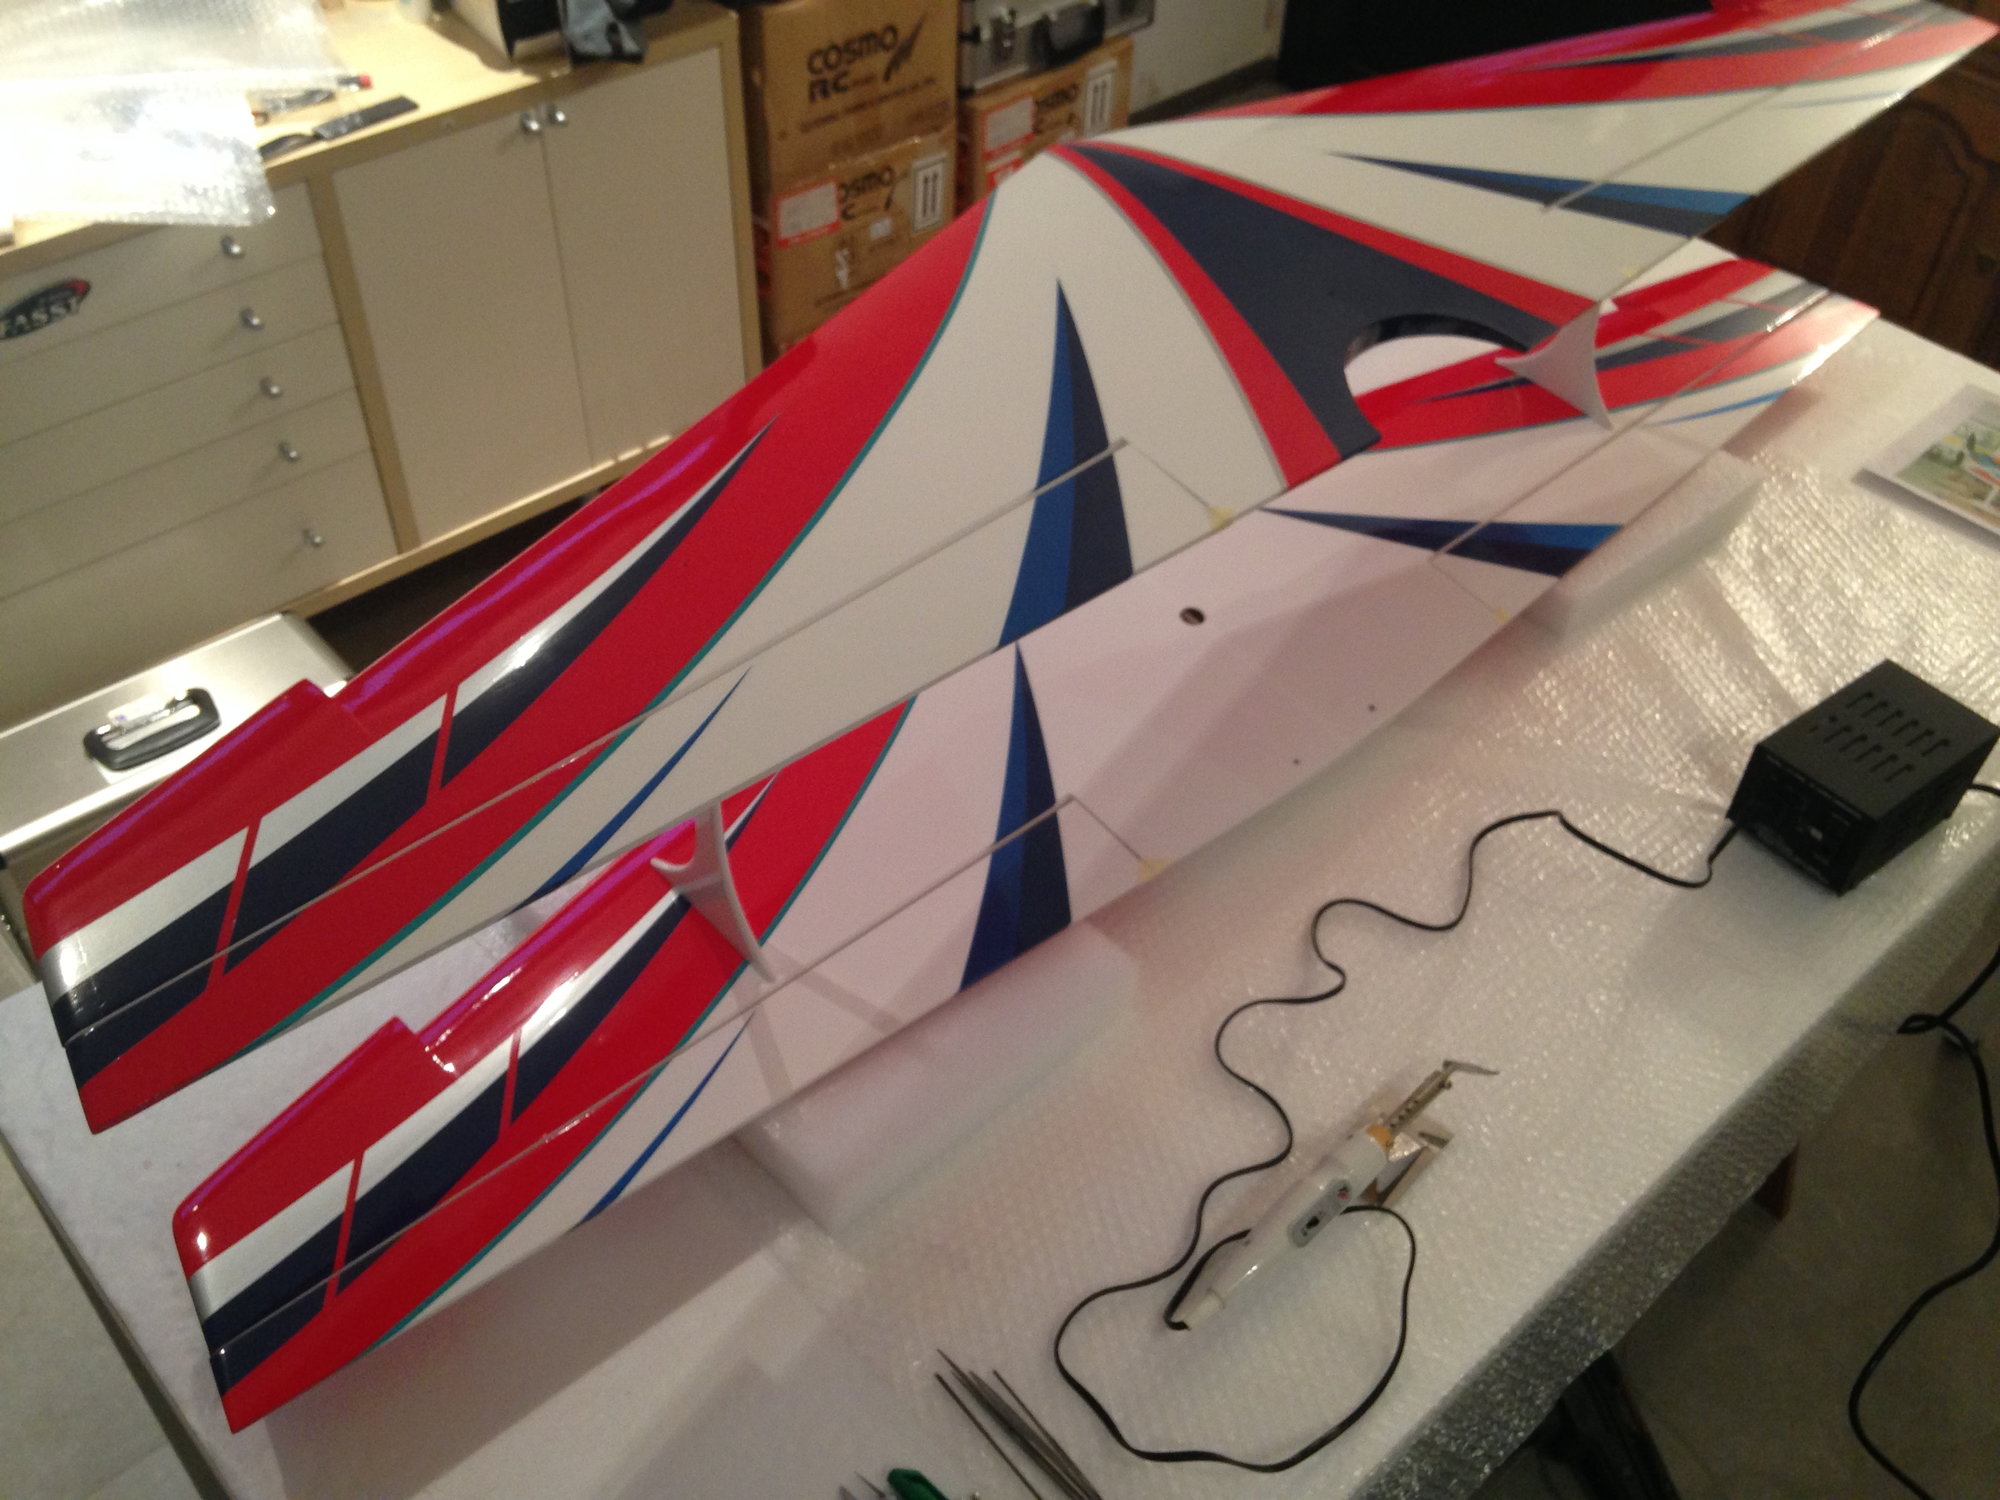
Finding the struts fixations location was easier than expected.
Wings servos holes have the right size for the FUTABA 173 SVI. All plywood parts are nicely laser precut, and the ones for servos installation have the right size, ready to glue in place.
I installed the struts on the upper wing too, and was pleased to have nothing to adjust, the struts having a very good fitting on the upper wing too.
Last edited by J-P; 04-02-2018 at 01:00 PM.
04-02-2018, 11:34 PM
#9
Hi
This is what I did , first I glued 2mm plywood in the bottom off the UC plate and then glued 2mm Ply standing towards the "Towers" at the sides and a 1mm carbon on top off that(try to to take a pic inside the plane but difficult), my first Essence I newer stop thightning the bolts on the second its thight as it was when I mounted it.
I also fly on gras and find the uc itself maybe a bit stiff I know many has change to softer UC in carbon, orignial ones are ok ligth and Nice but wery stiff.
04-03-2018, 02:09 AM
#10
Thanks Rune for your input and feedback.
I will first reinforce the plywood with thin CA as recommended, and then use some large washers or proceed as you did.
I would appreciate if you had more pics.
Using nylstops could be a good way to avoid over tightening and crush the UC plywood.
The IMMORTAL ldg legs are different from the ELEMENT ones for example.
They look less rigid.
JP
04-03-2018, 06:14 AM
#11

its not easy to take a good pic inside the plane, but first i put a plywood in the bottom, on that plywood i put plywood standing up so it was flush to the 2 "Towers" Close to the fuselage sides under the " triangular" carbonfiber plate (this rest on the standing plywood and on topp off the "Towers") the plywood gose from the front U shaped former to the back U shaped former , al this was glued in With PU glue . I also used a smal strip off carbon on the senter bolts ..this made it stiff as ...The main problem on the first Essence was that the blots crushed thier ways down in the soft plywood, and this prevent that from happen ..did this make any sence??
04-05-2018, 03:52 AM
#12
It was a busy day today in my workshop with some maintenance to do ....spring is approaching !
I managed to complete the servos holes on both wings, so now they are ready for horns and servos installation
I managed to complete the servos holes on both wings, so now they are ready for horns and servos installation
Last edited by J-P; 04-05-2018 at 03:54 AM.
04-12-2018, 11:37 AM
#13
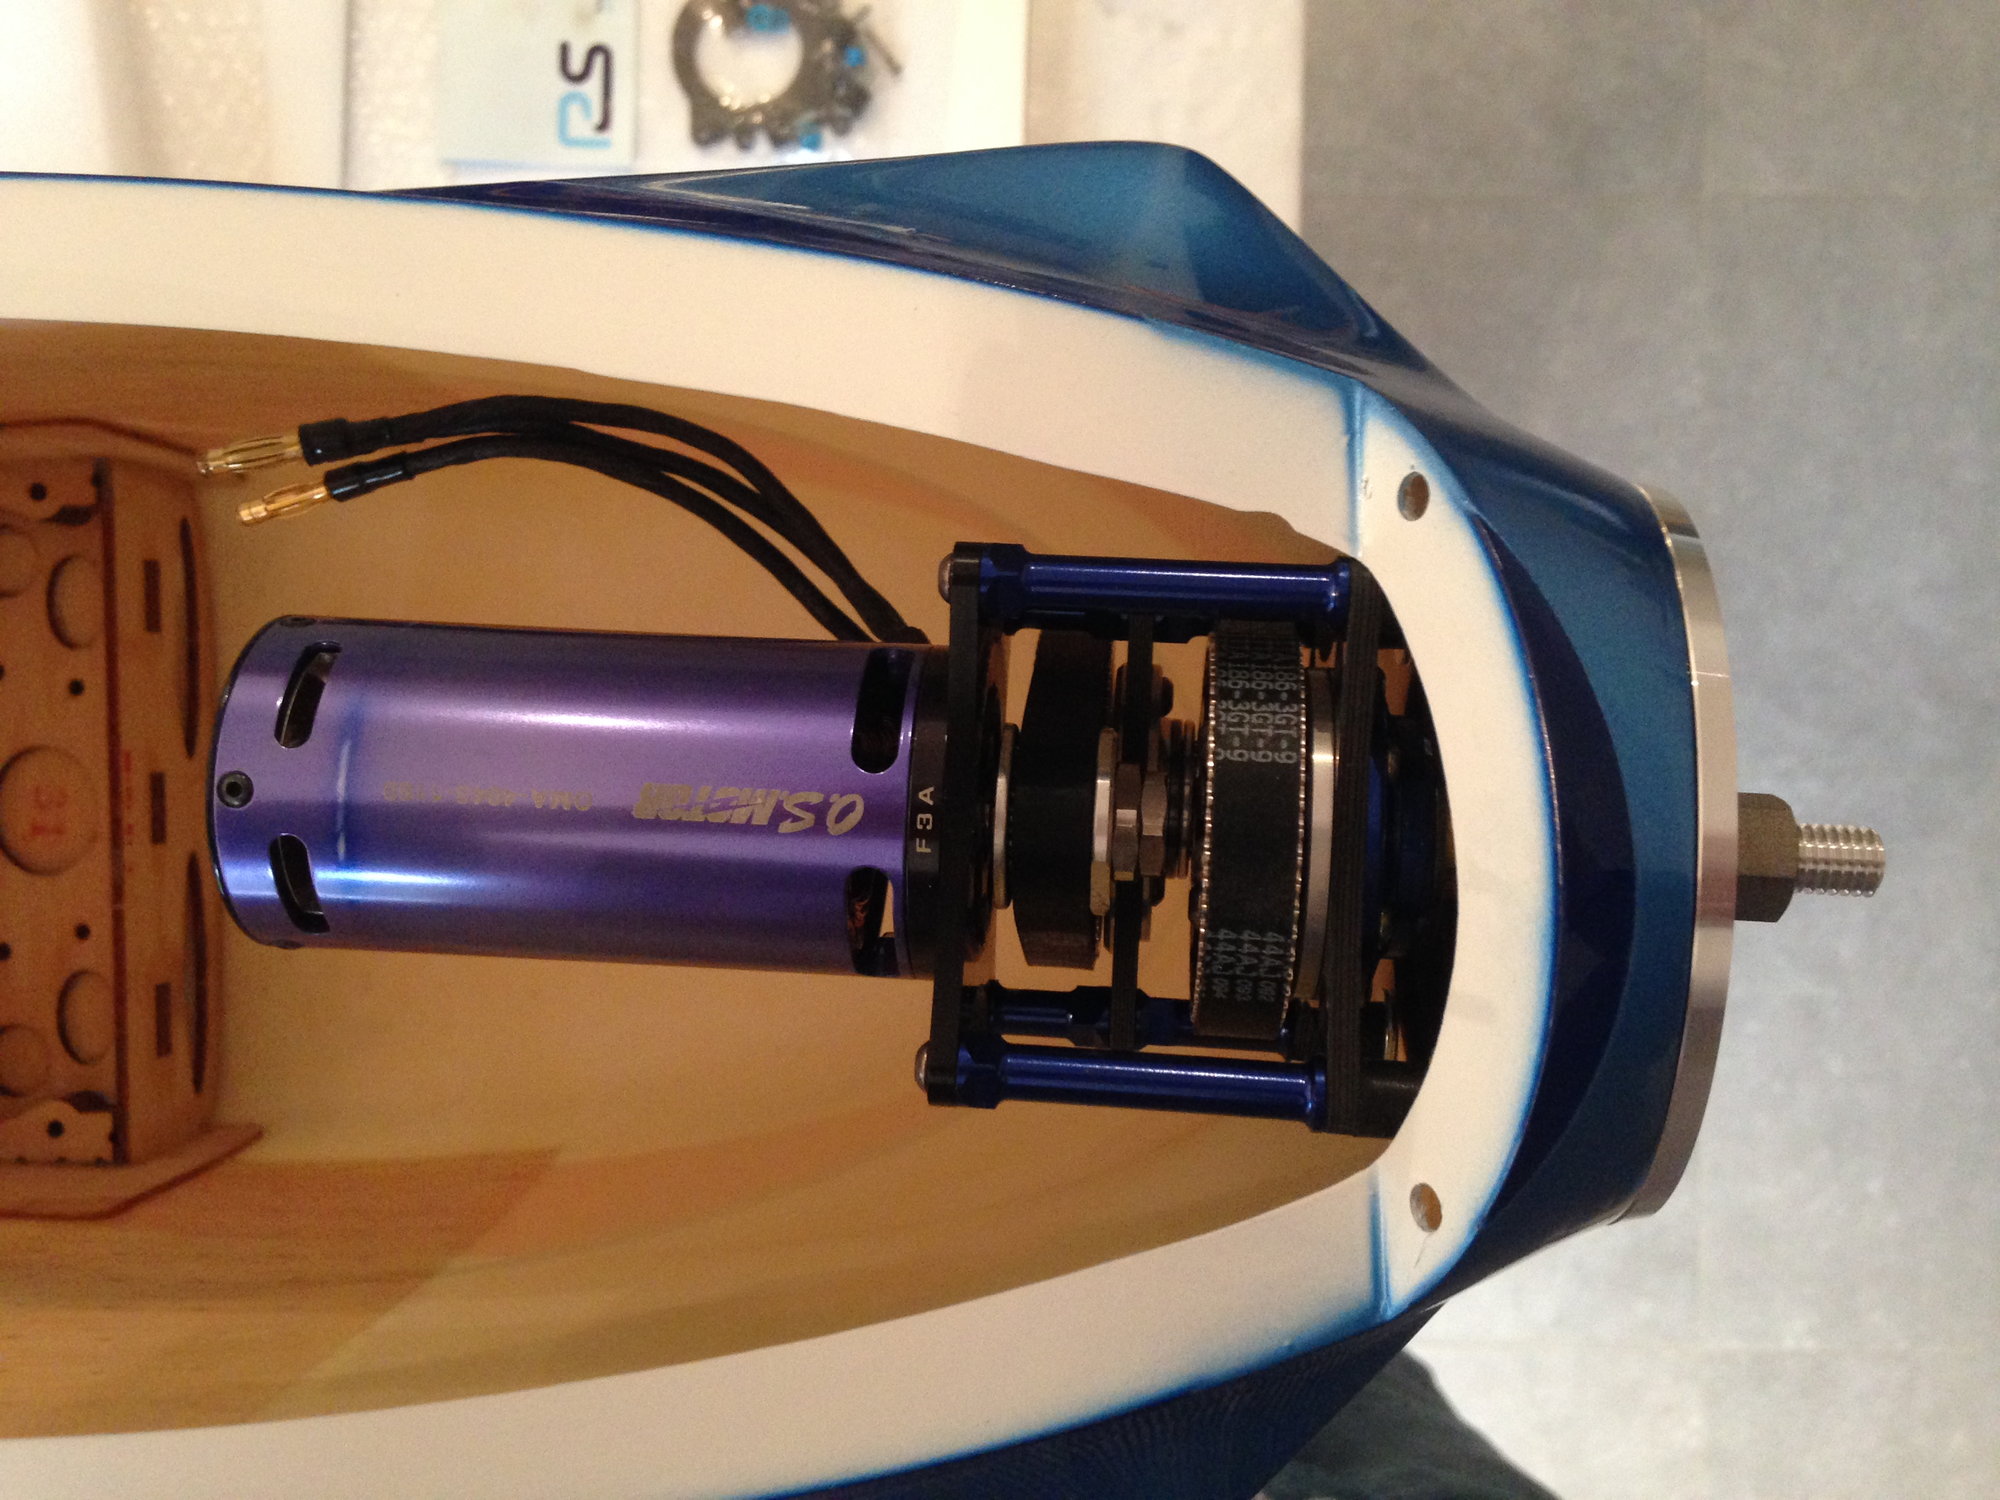
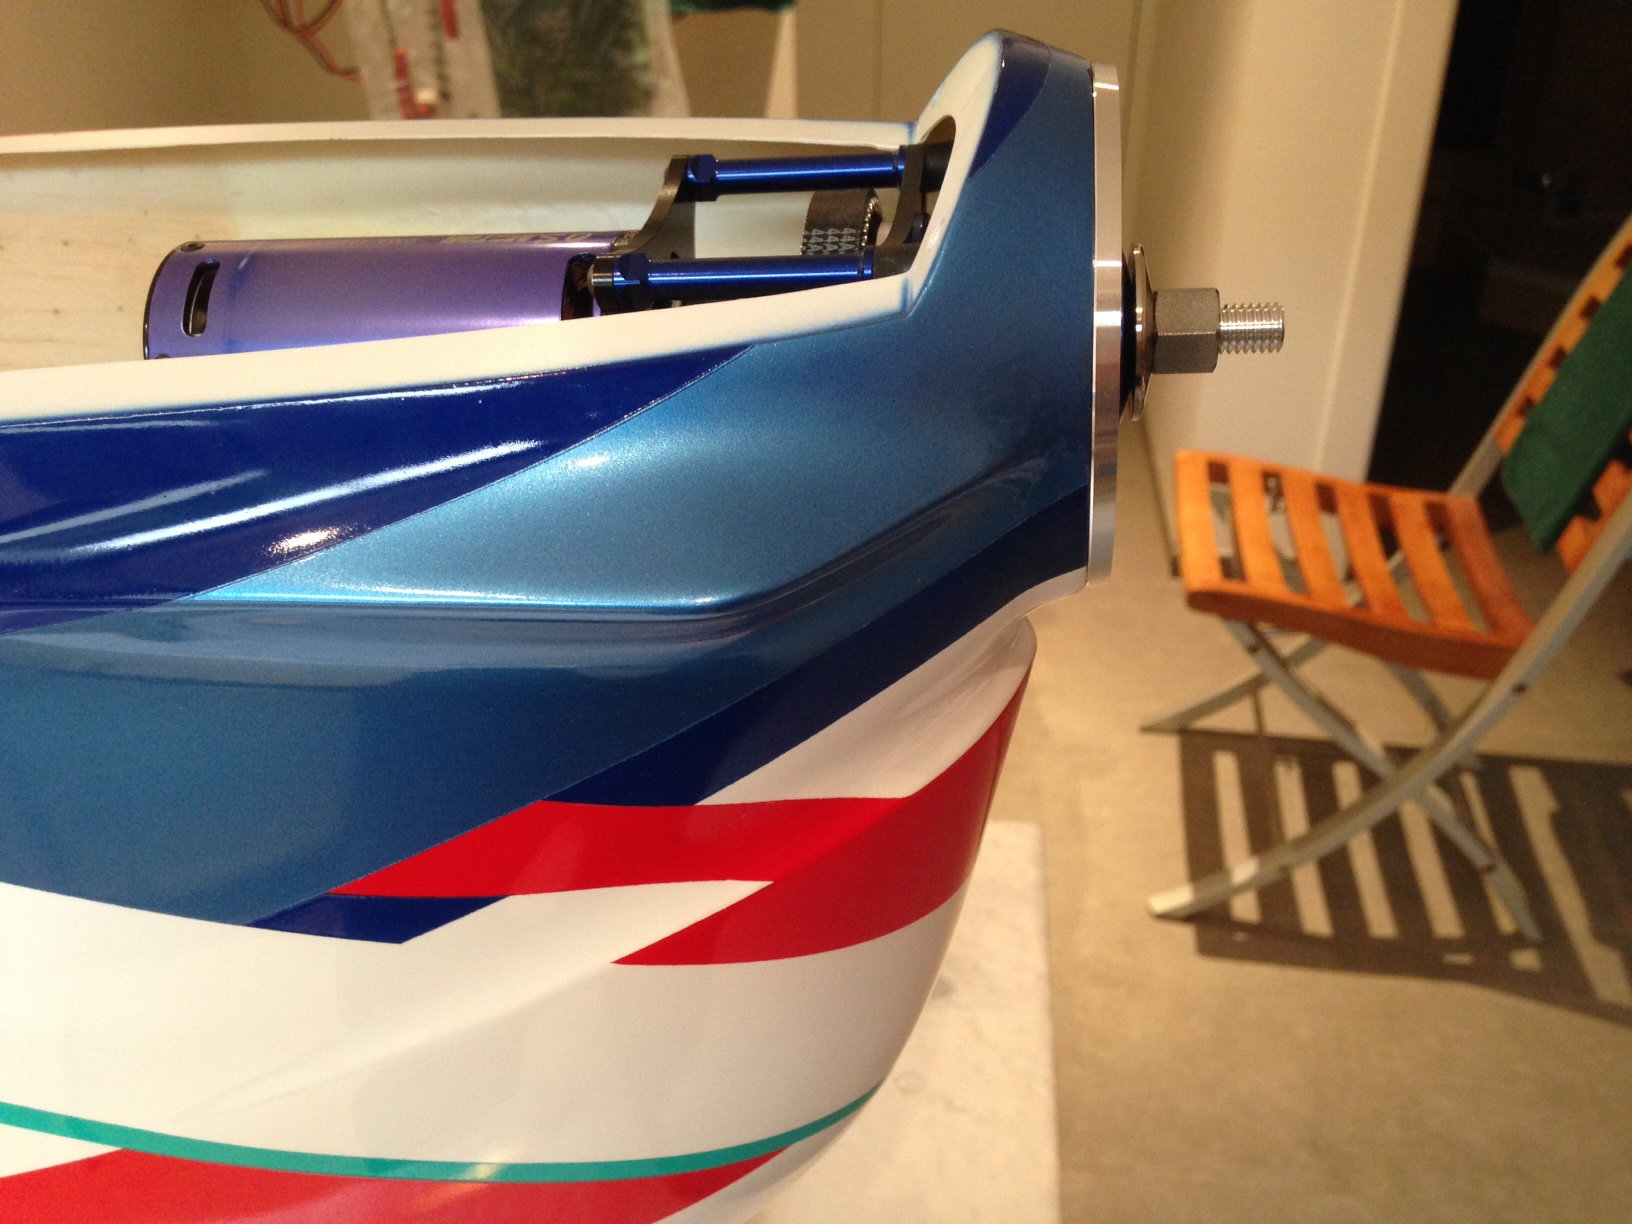
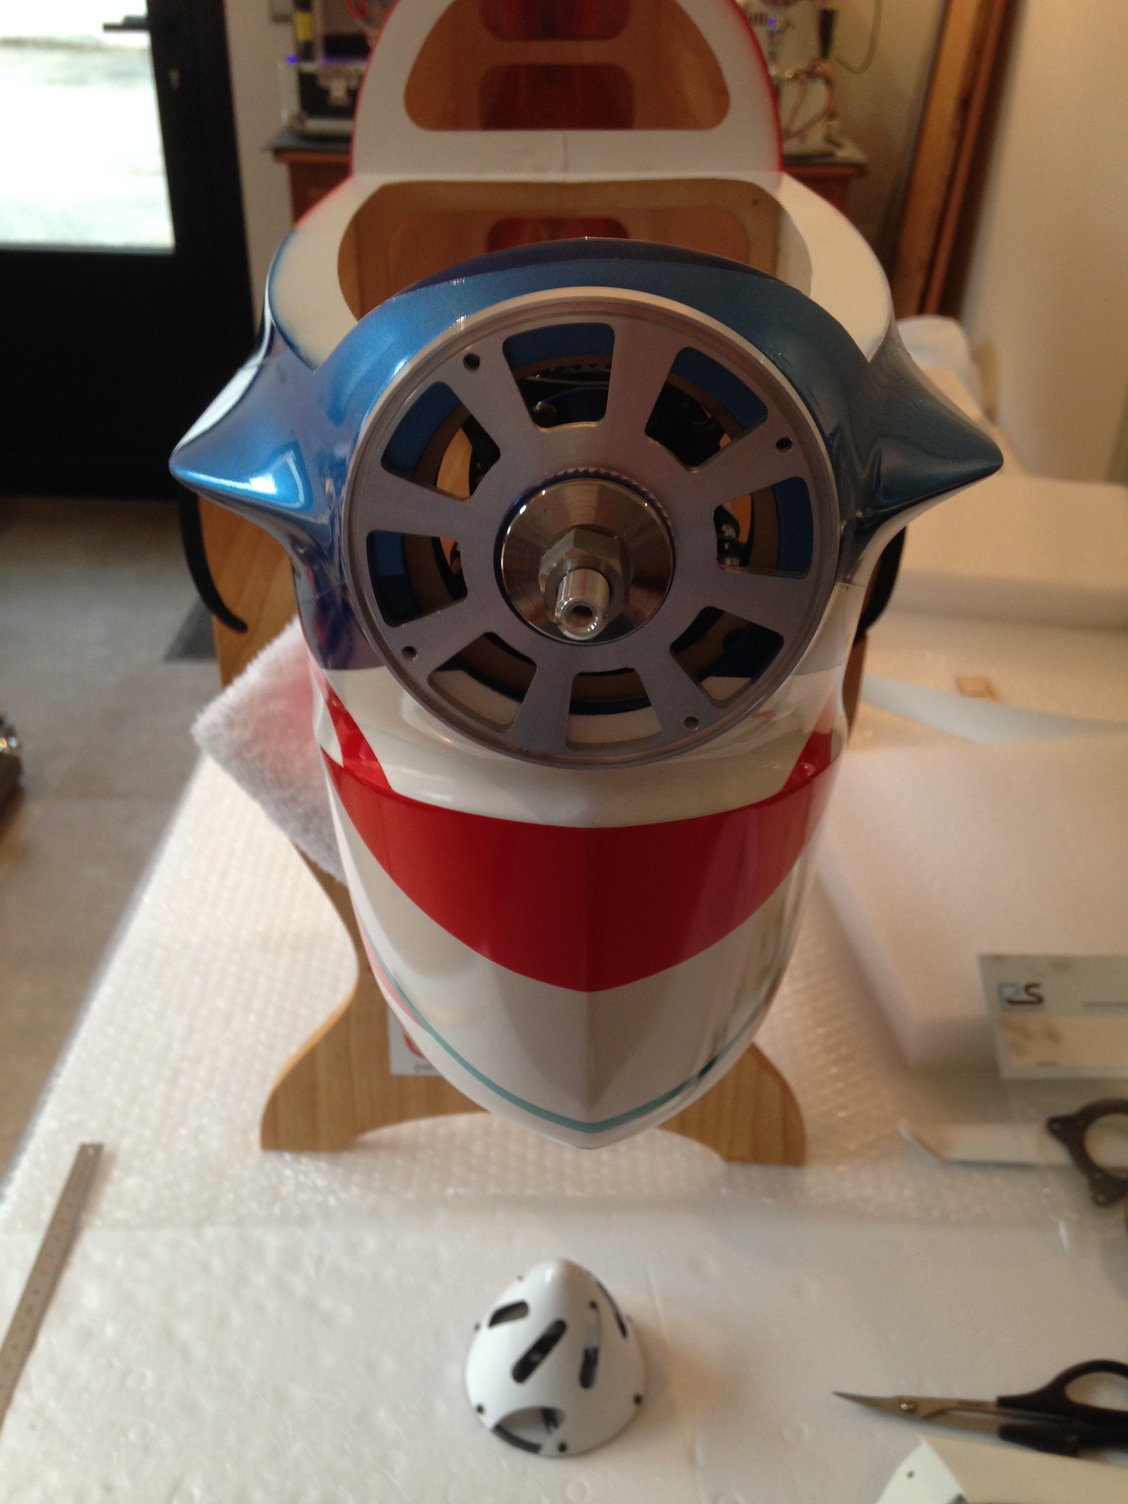
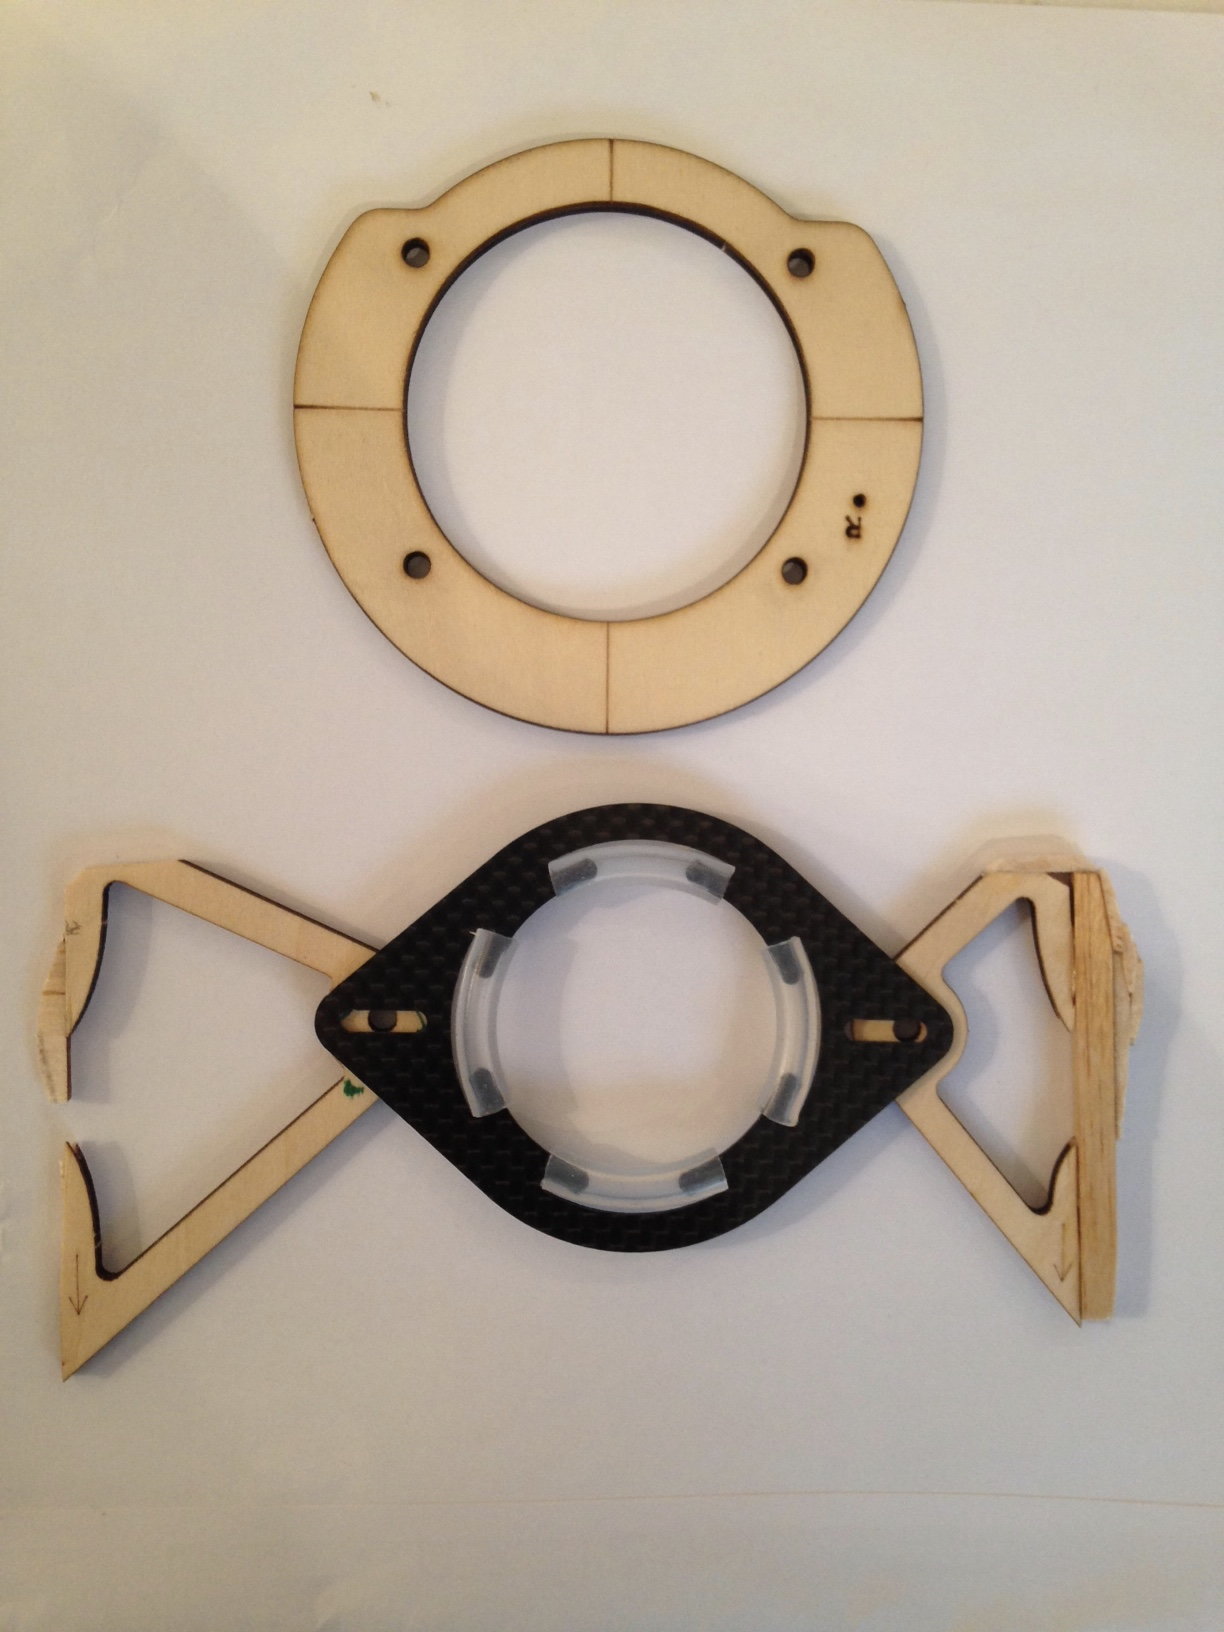
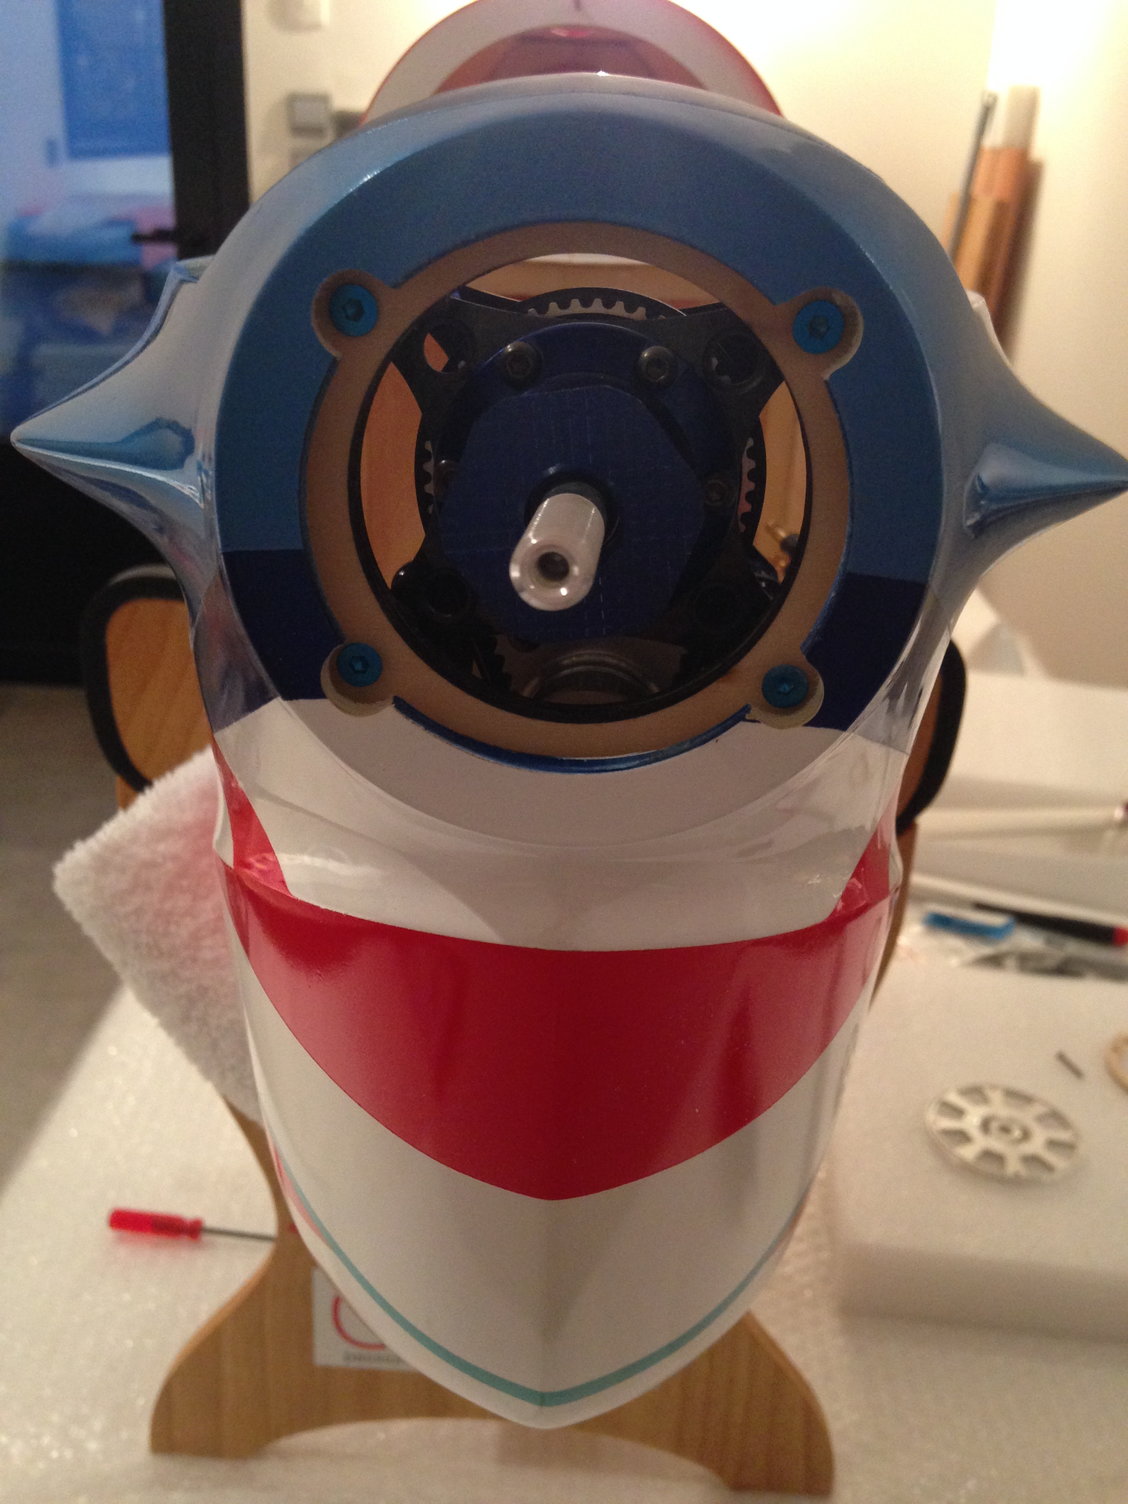
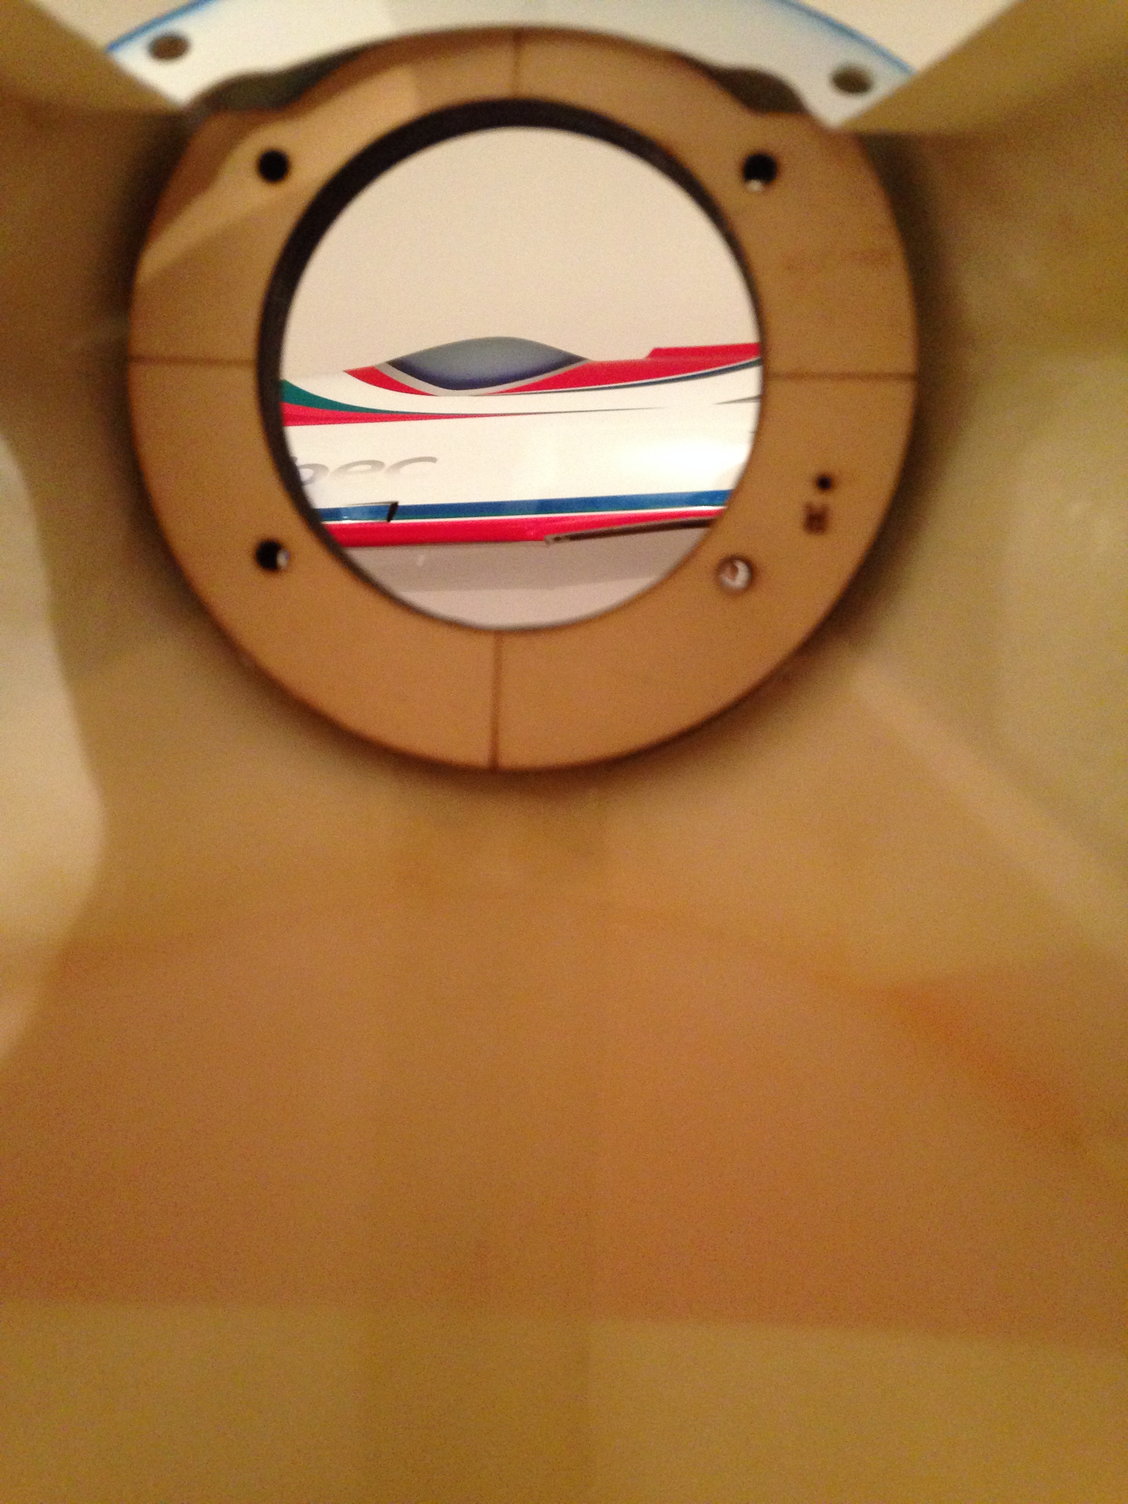
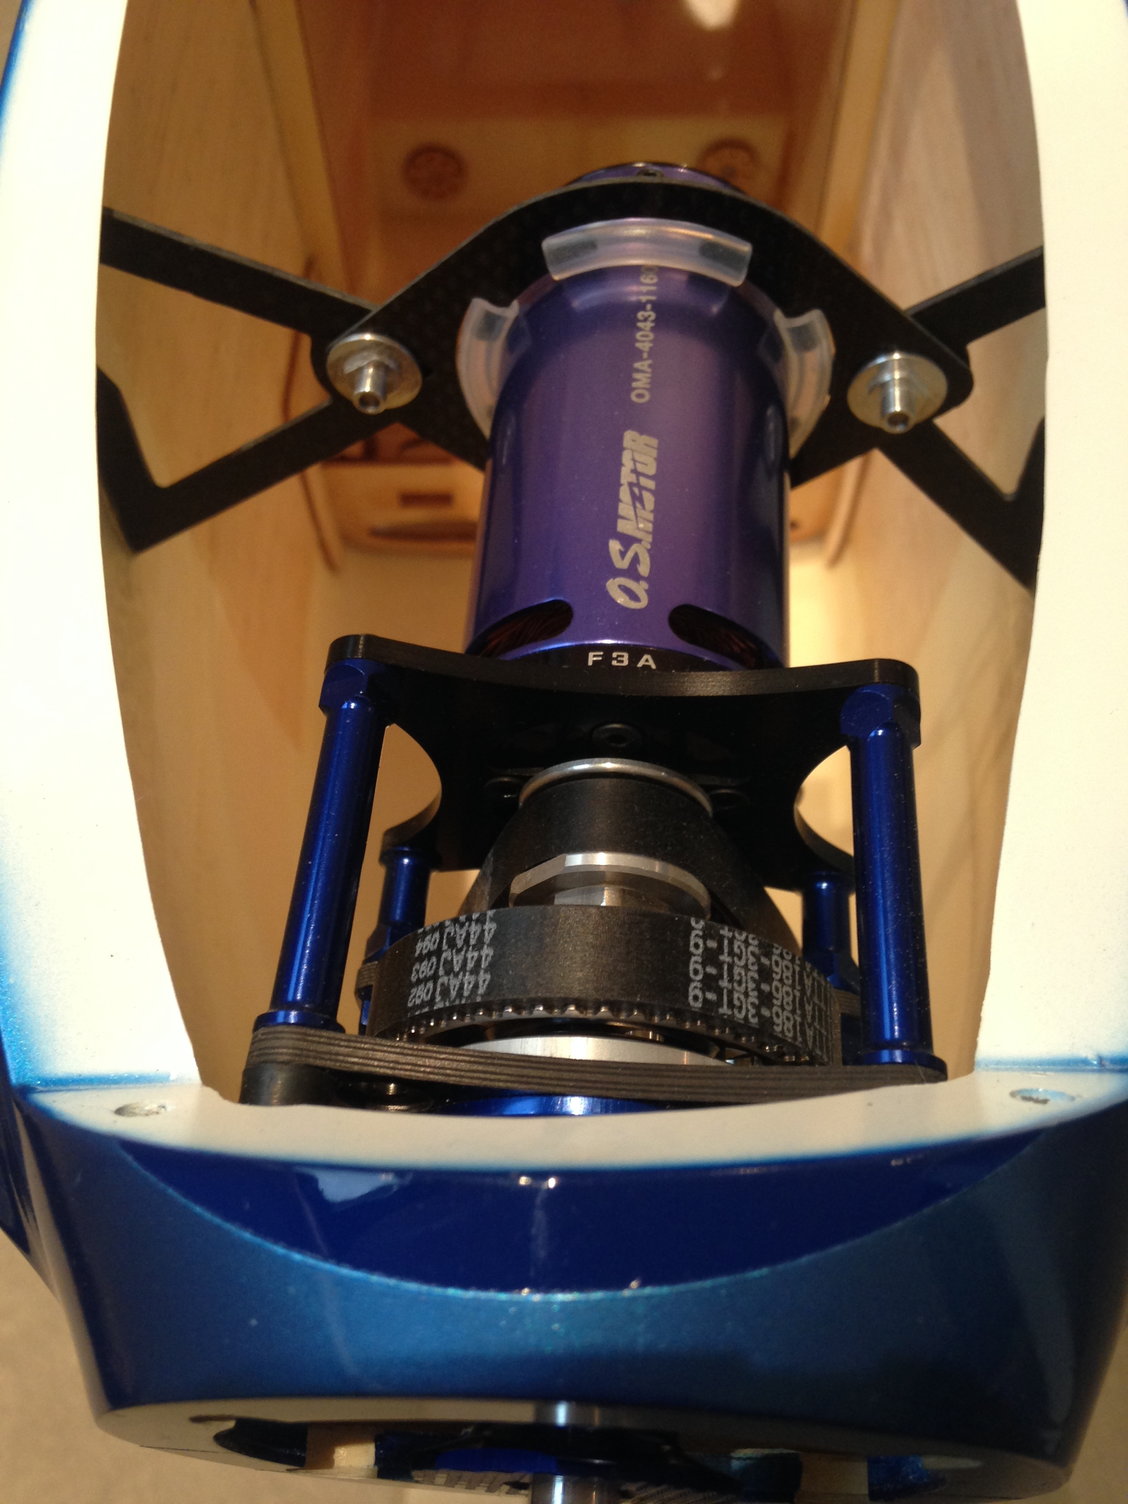
While I'm waiting for some nice horns and parts, I started to give a look to the OS Belt Drive installation.
Centering the engine with the 82mm spinner backplate and gluing the front motor mount took a few minutes.
But before that I carefuly checked the top wing incidence, the down and side thrust to have an installation allowing some tuning after the first flights if necessary.
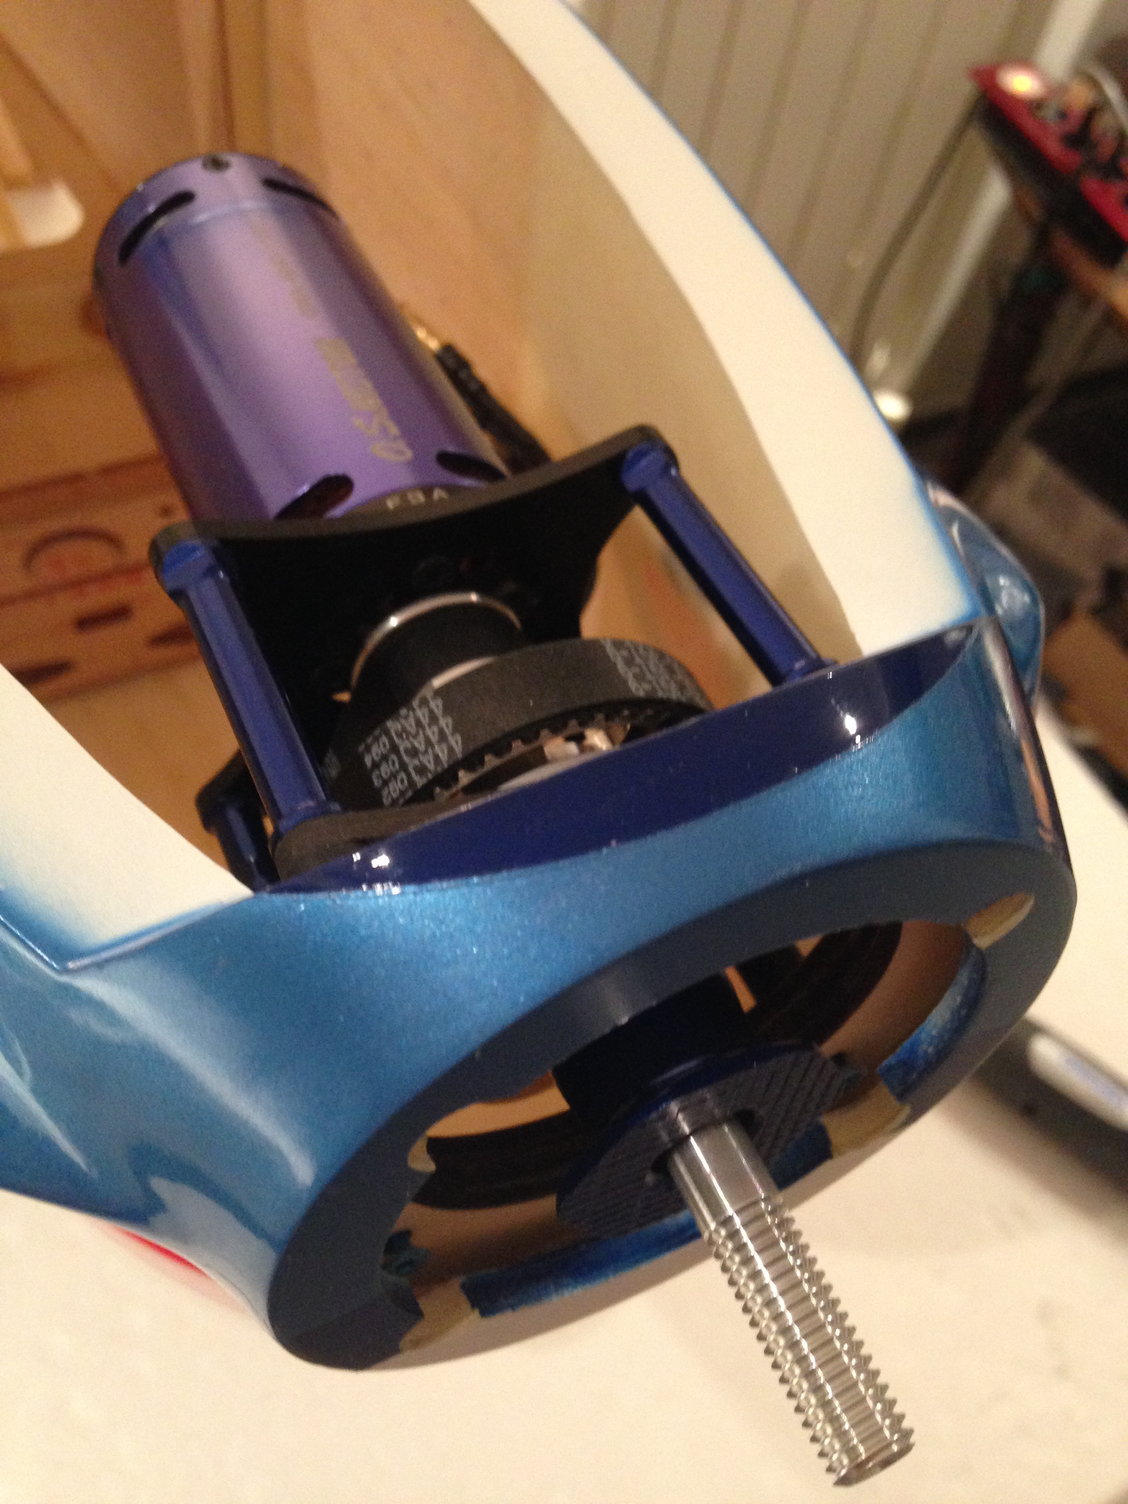
With the engine in position, I started to draw the side parts of the back motor support.
As I did with the Acuracy monoplane, I will ask Ralph Schweizer at RS Ralph Schweizer if he can do these parts for the Immortal.
Centering the engine with the 82mm spinner backplate and gluing the front motor mount took a few minutes.
But before that I carefuly checked the top wing incidence, the down and side thrust to have an installation allowing some tuning after the first flights if necessary.
With the engine in position, I started to draw the side parts of the back motor support.
As I did with the Acuracy monoplane, I will ask Ralph Schweizer at RS Ralph Schweizer if he can do these parts for the Immortal.
Last edited by J-P; 04-12-2018 at 11:40 AM.

 04-19-2018, 09:55 PM
#15
I'm waiting the rear side supports for the OS Belt Drive engine next week from Ralph SCHWEIZER.
Ralph Schweizer
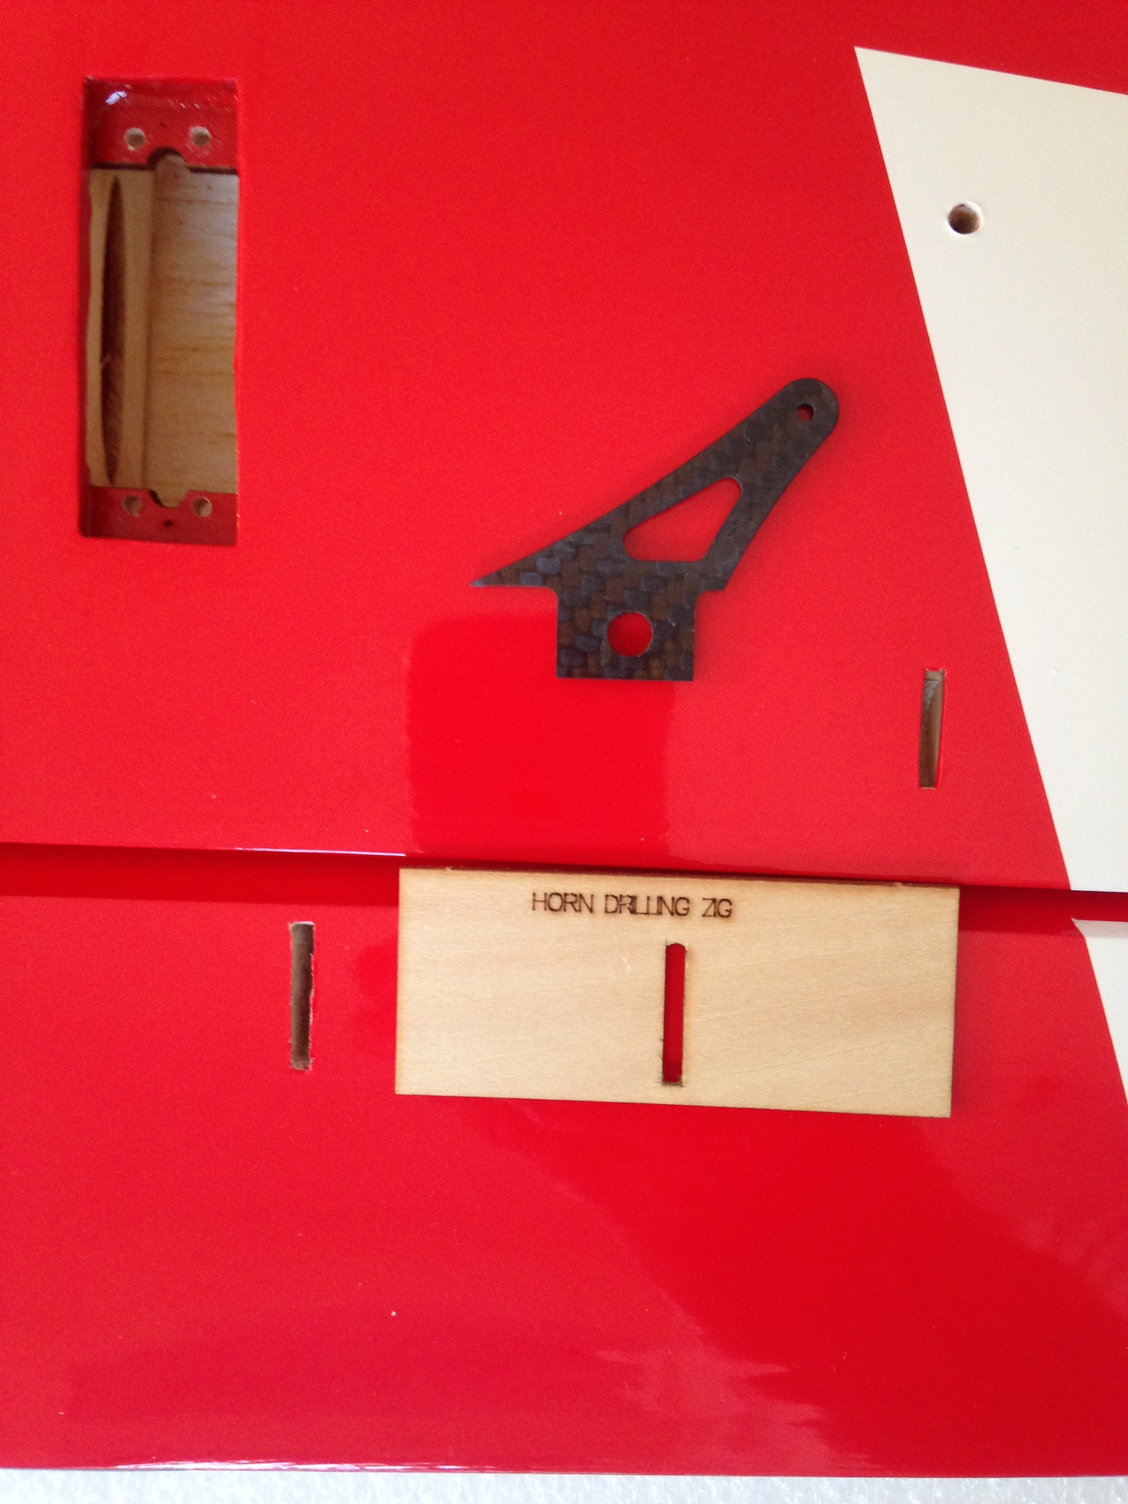
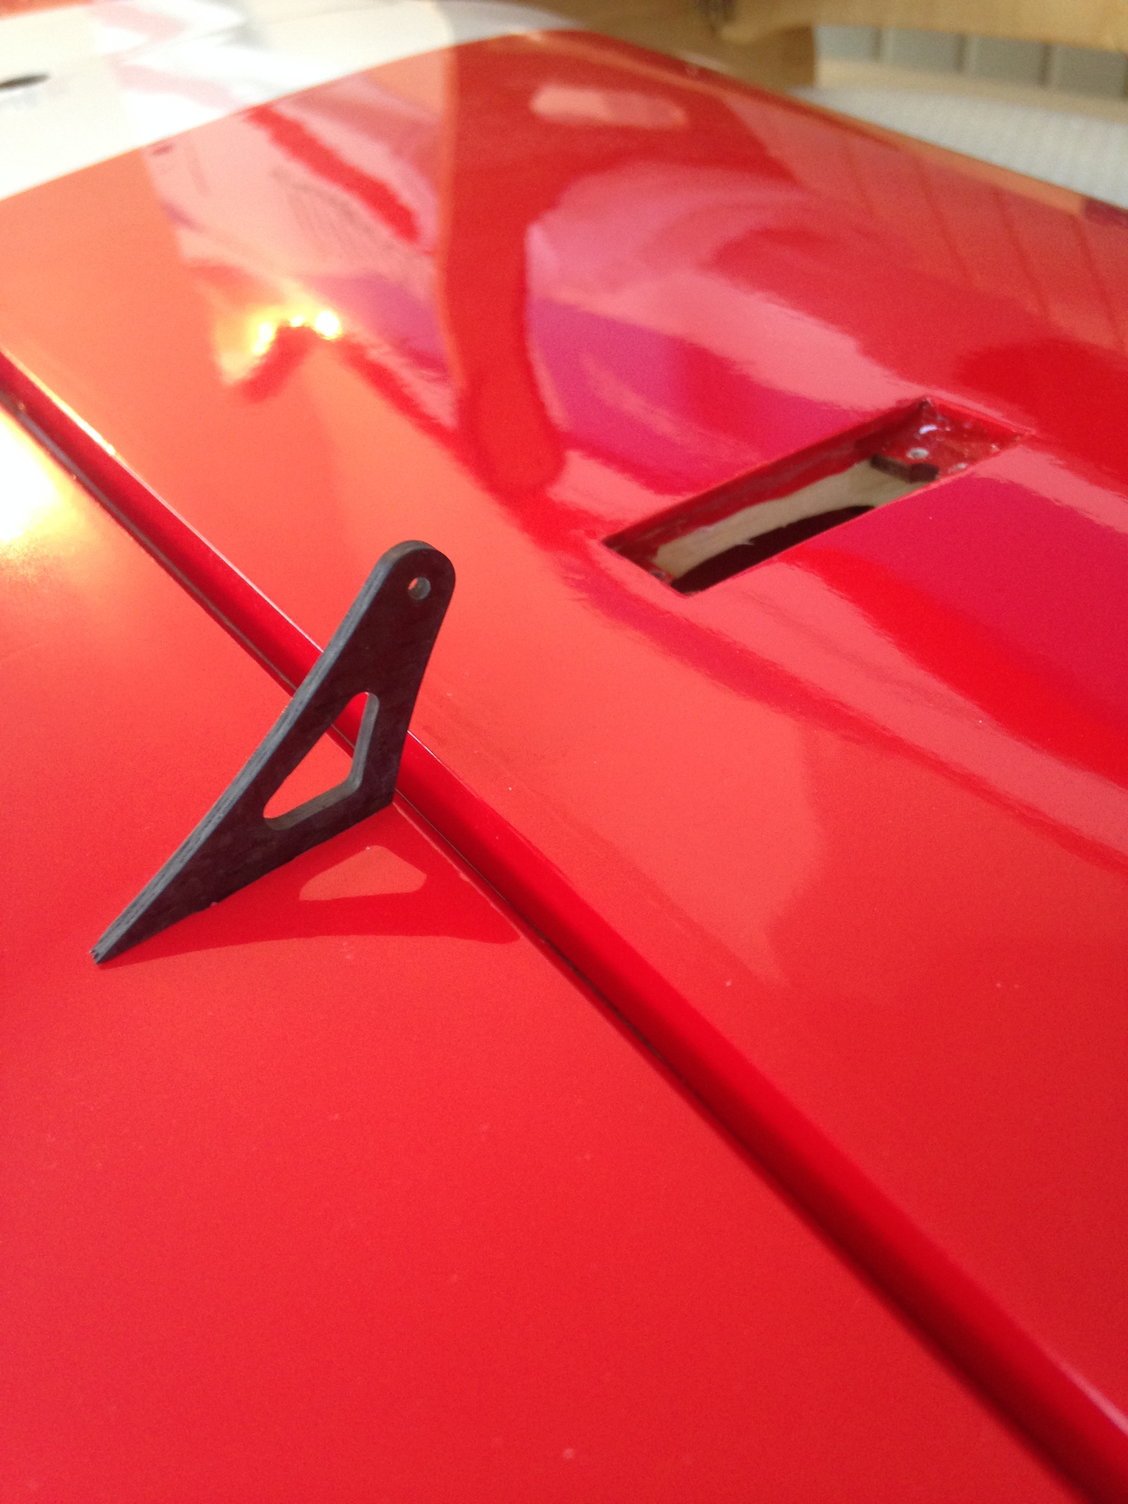
After a humid practice session with Fred at the IPAC site, back to the wings I plan to complete this week.
I used the convenient jig coming with the kit to position and install the aileron horns, then glued with epoxy instead of CA.


Ralph Schweizer
After a humid practice session with Fred at the IPAC site, back to the wings I plan to complete this week.
I used the convenient jig coming with the kit to position and install the aileron horns, then glued with epoxy instead of CA.
Last edited by J-P; 04-19-2018 at 10:11 PM.
04-25-2018, 09:31 AM
#16
Both wings are completed with servos neutral and throws set up.
It's really convenient using FUTABA S BUS, specially with a bipe.
Both wings fully equipped are light, 494 g for the upper one, 480 g for the lower one.
Next step will be the fuselage with the engine rear side parts installation.
These parts done by Ralph Schweizer left Austria on monday with DHL .....
04-30-2018, 12:22 PM
#17
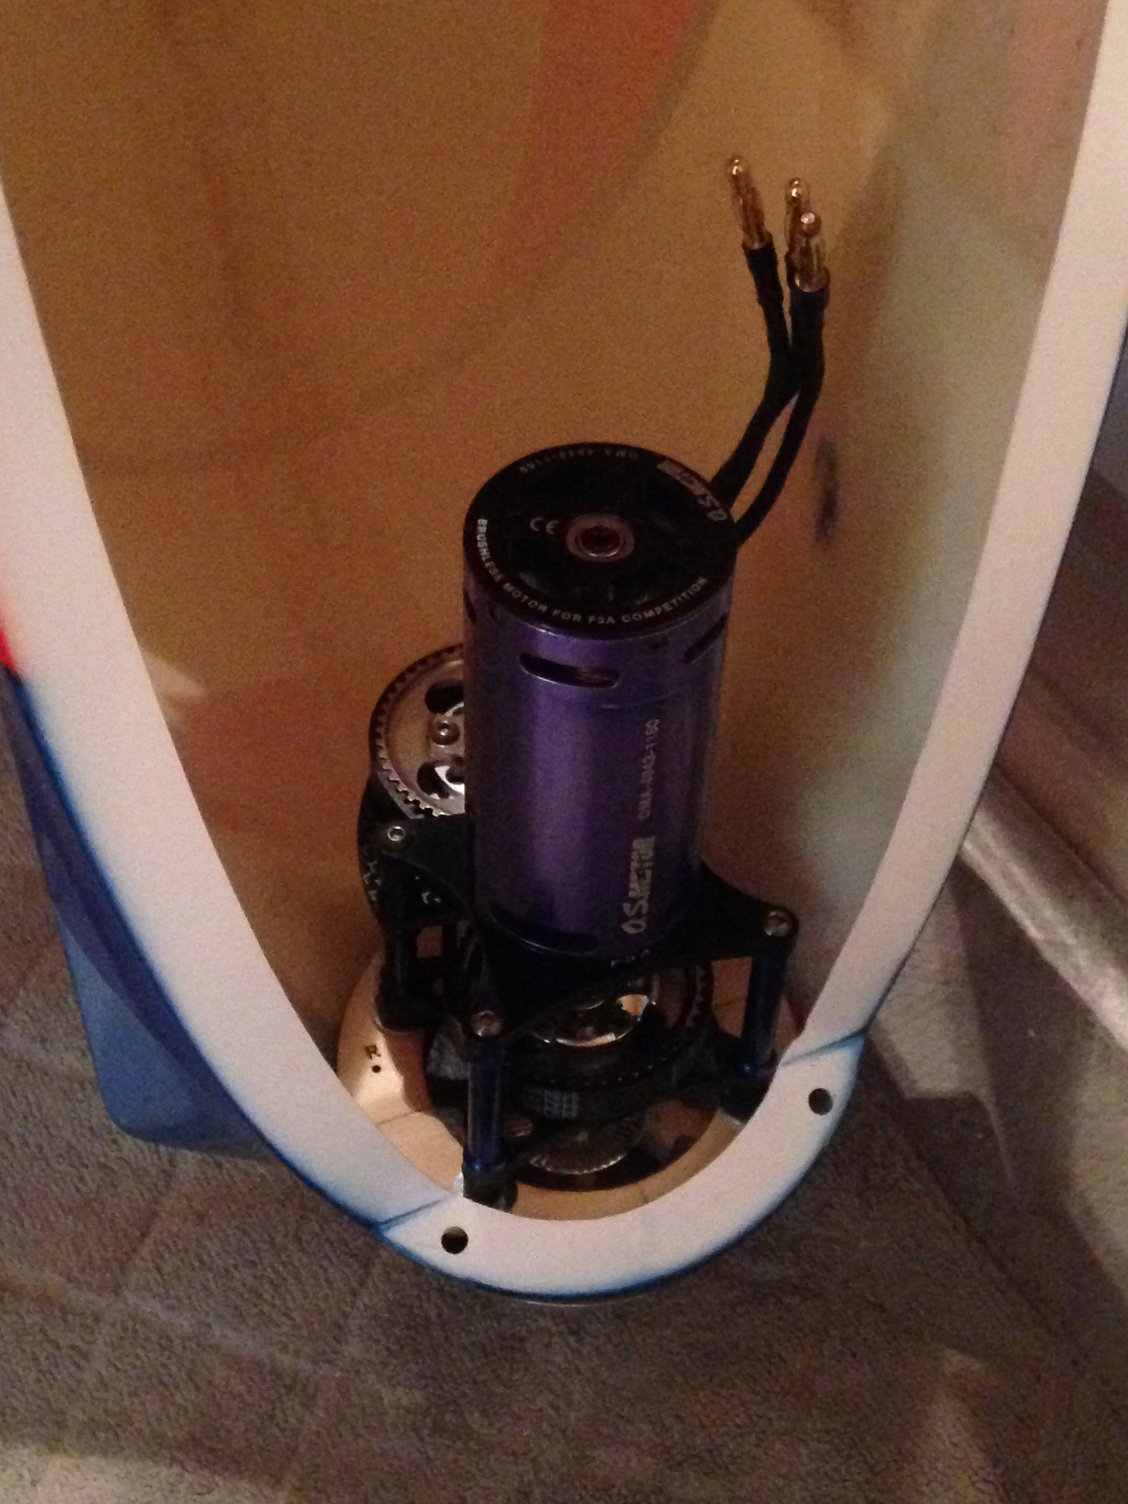
Finally, the rear side parts arrived : 8 days from AUSTRIA to FRANCE with DHL and CHRONOPOST ...
Parts needed a tiny adjustment to the fuselage, and then were glued in position with 30mn epoxy.
Slots in the parts will allow for side and up/down thrust adjustments.


Parts needed a tiny adjustment to the fuselage, and then were glued in position with 30mn epoxy.
Slots in the parts will allow for side and up/down thrust adjustments.
05-11-2018, 04:05 AM
#18
Bad weather means more time to built ... so back to work ...
Flying mainly on a grass runway, I want to anticipate and avoid some problems
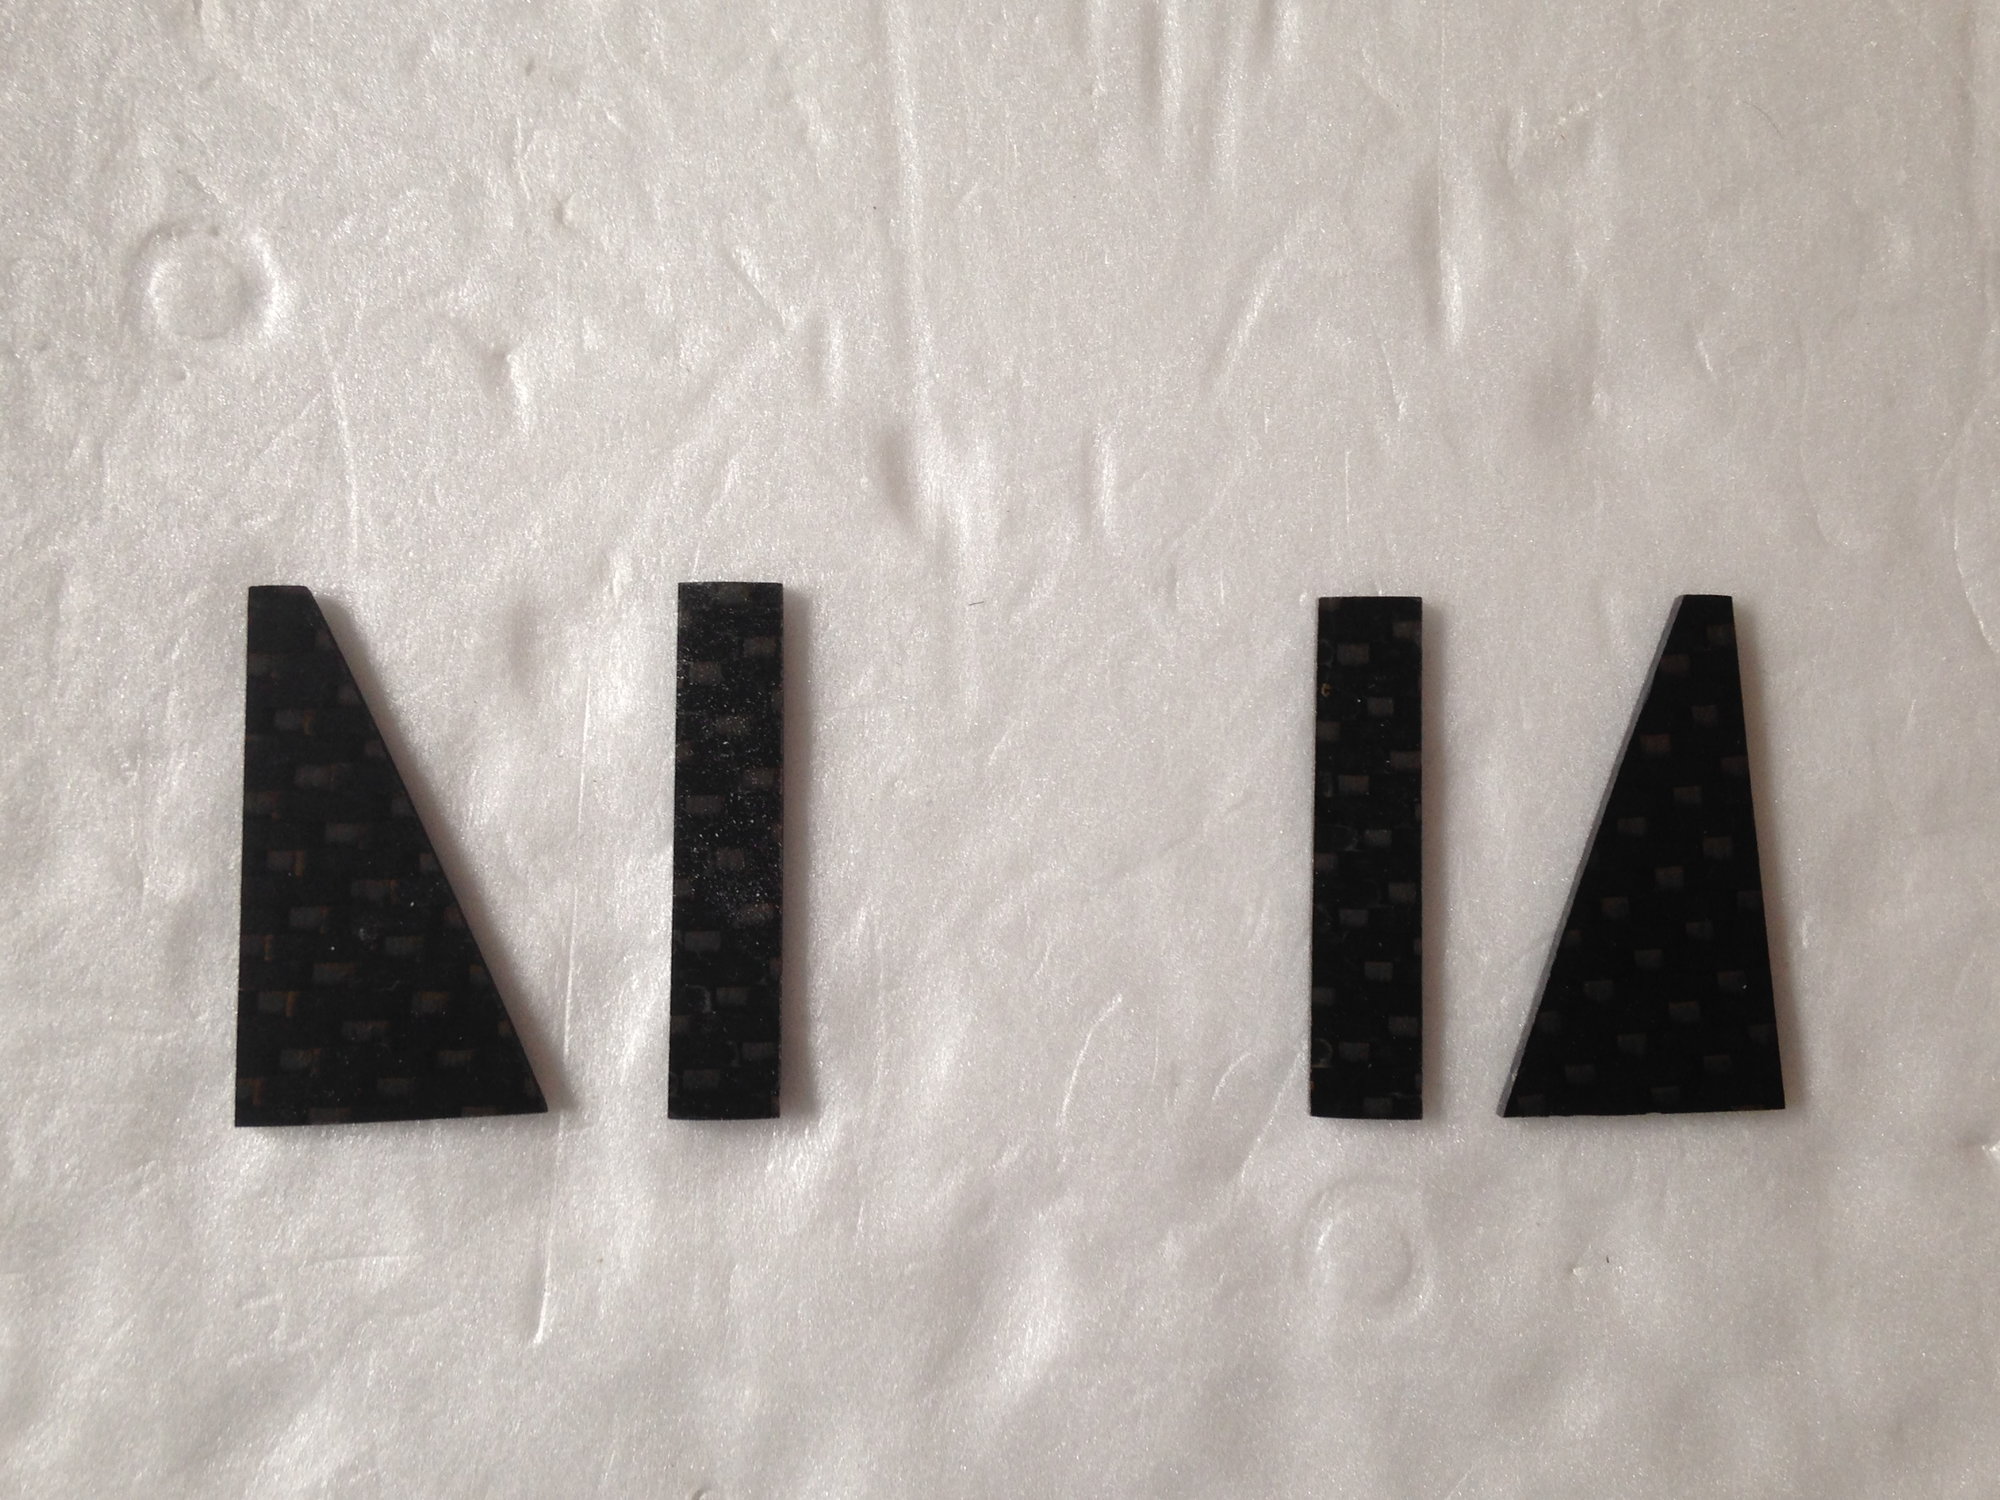
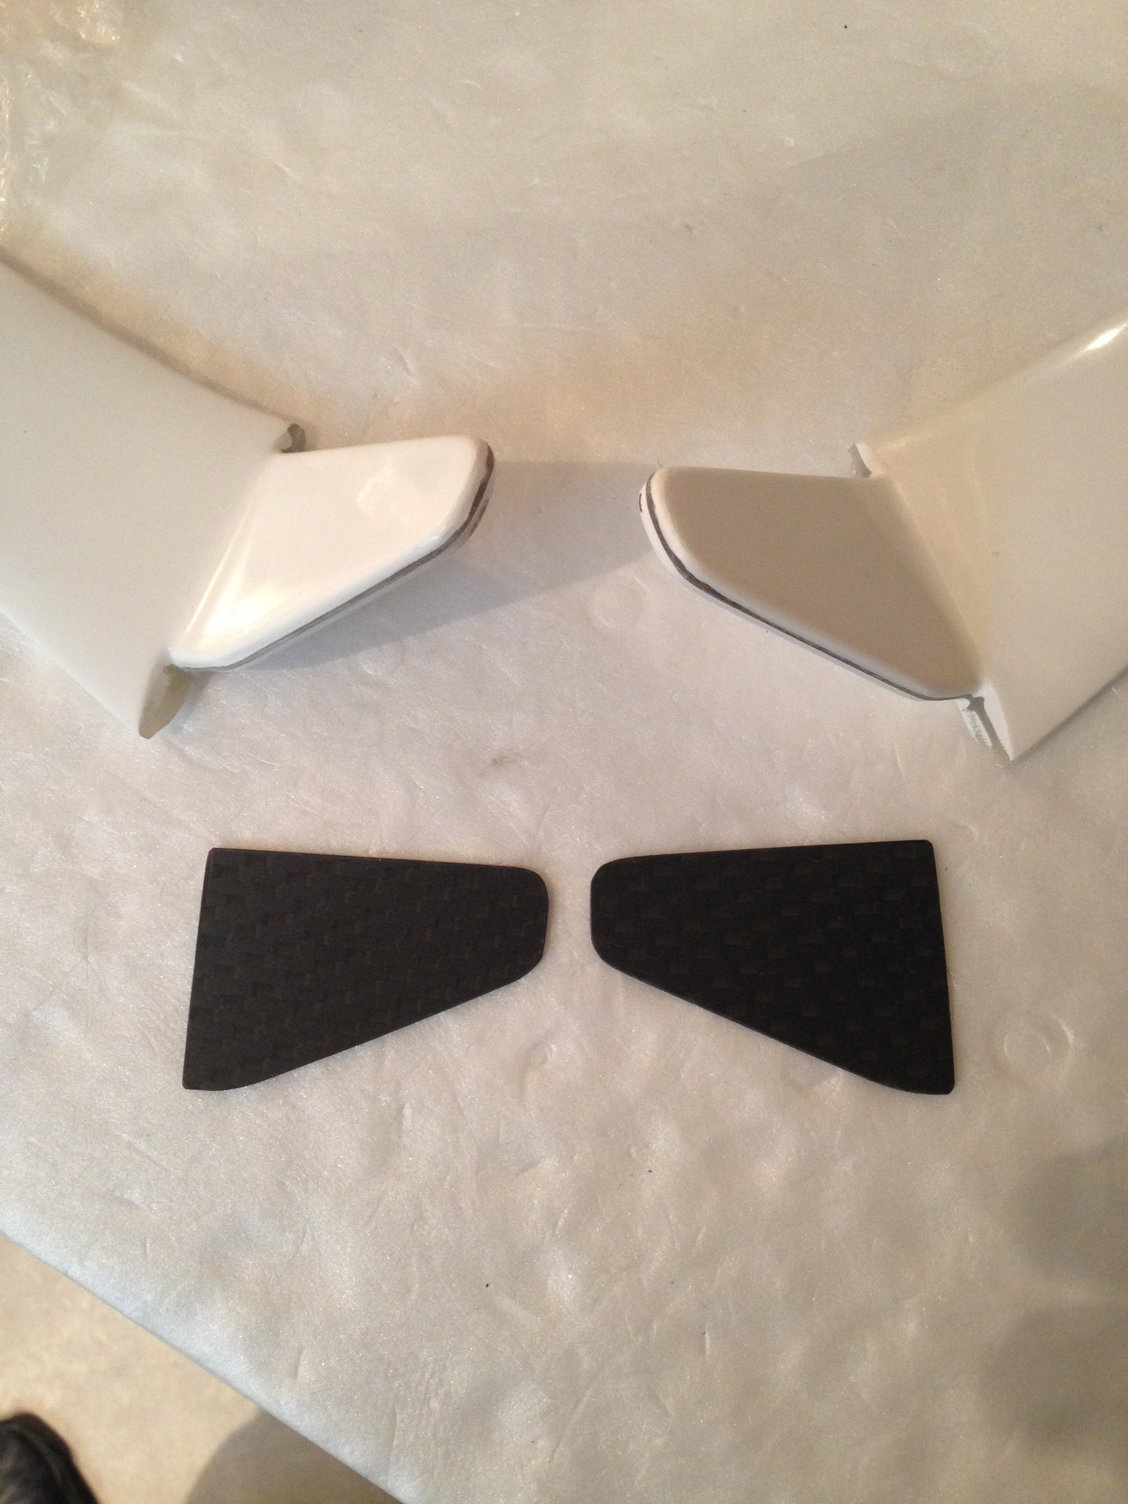
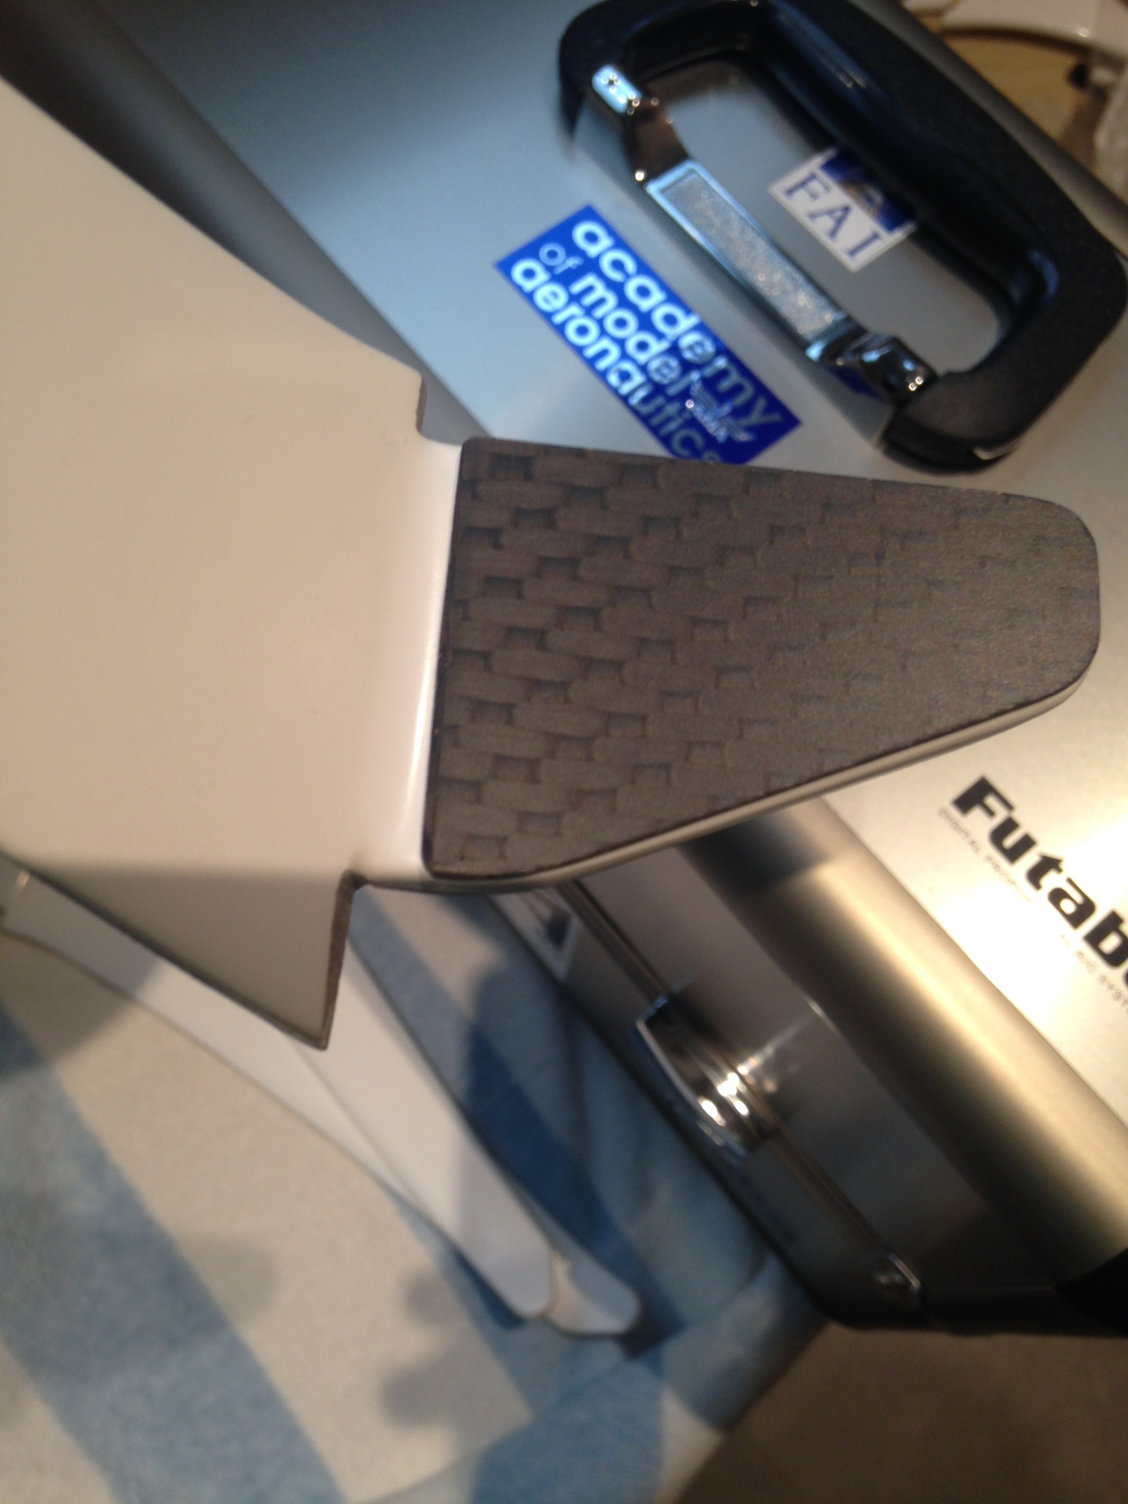
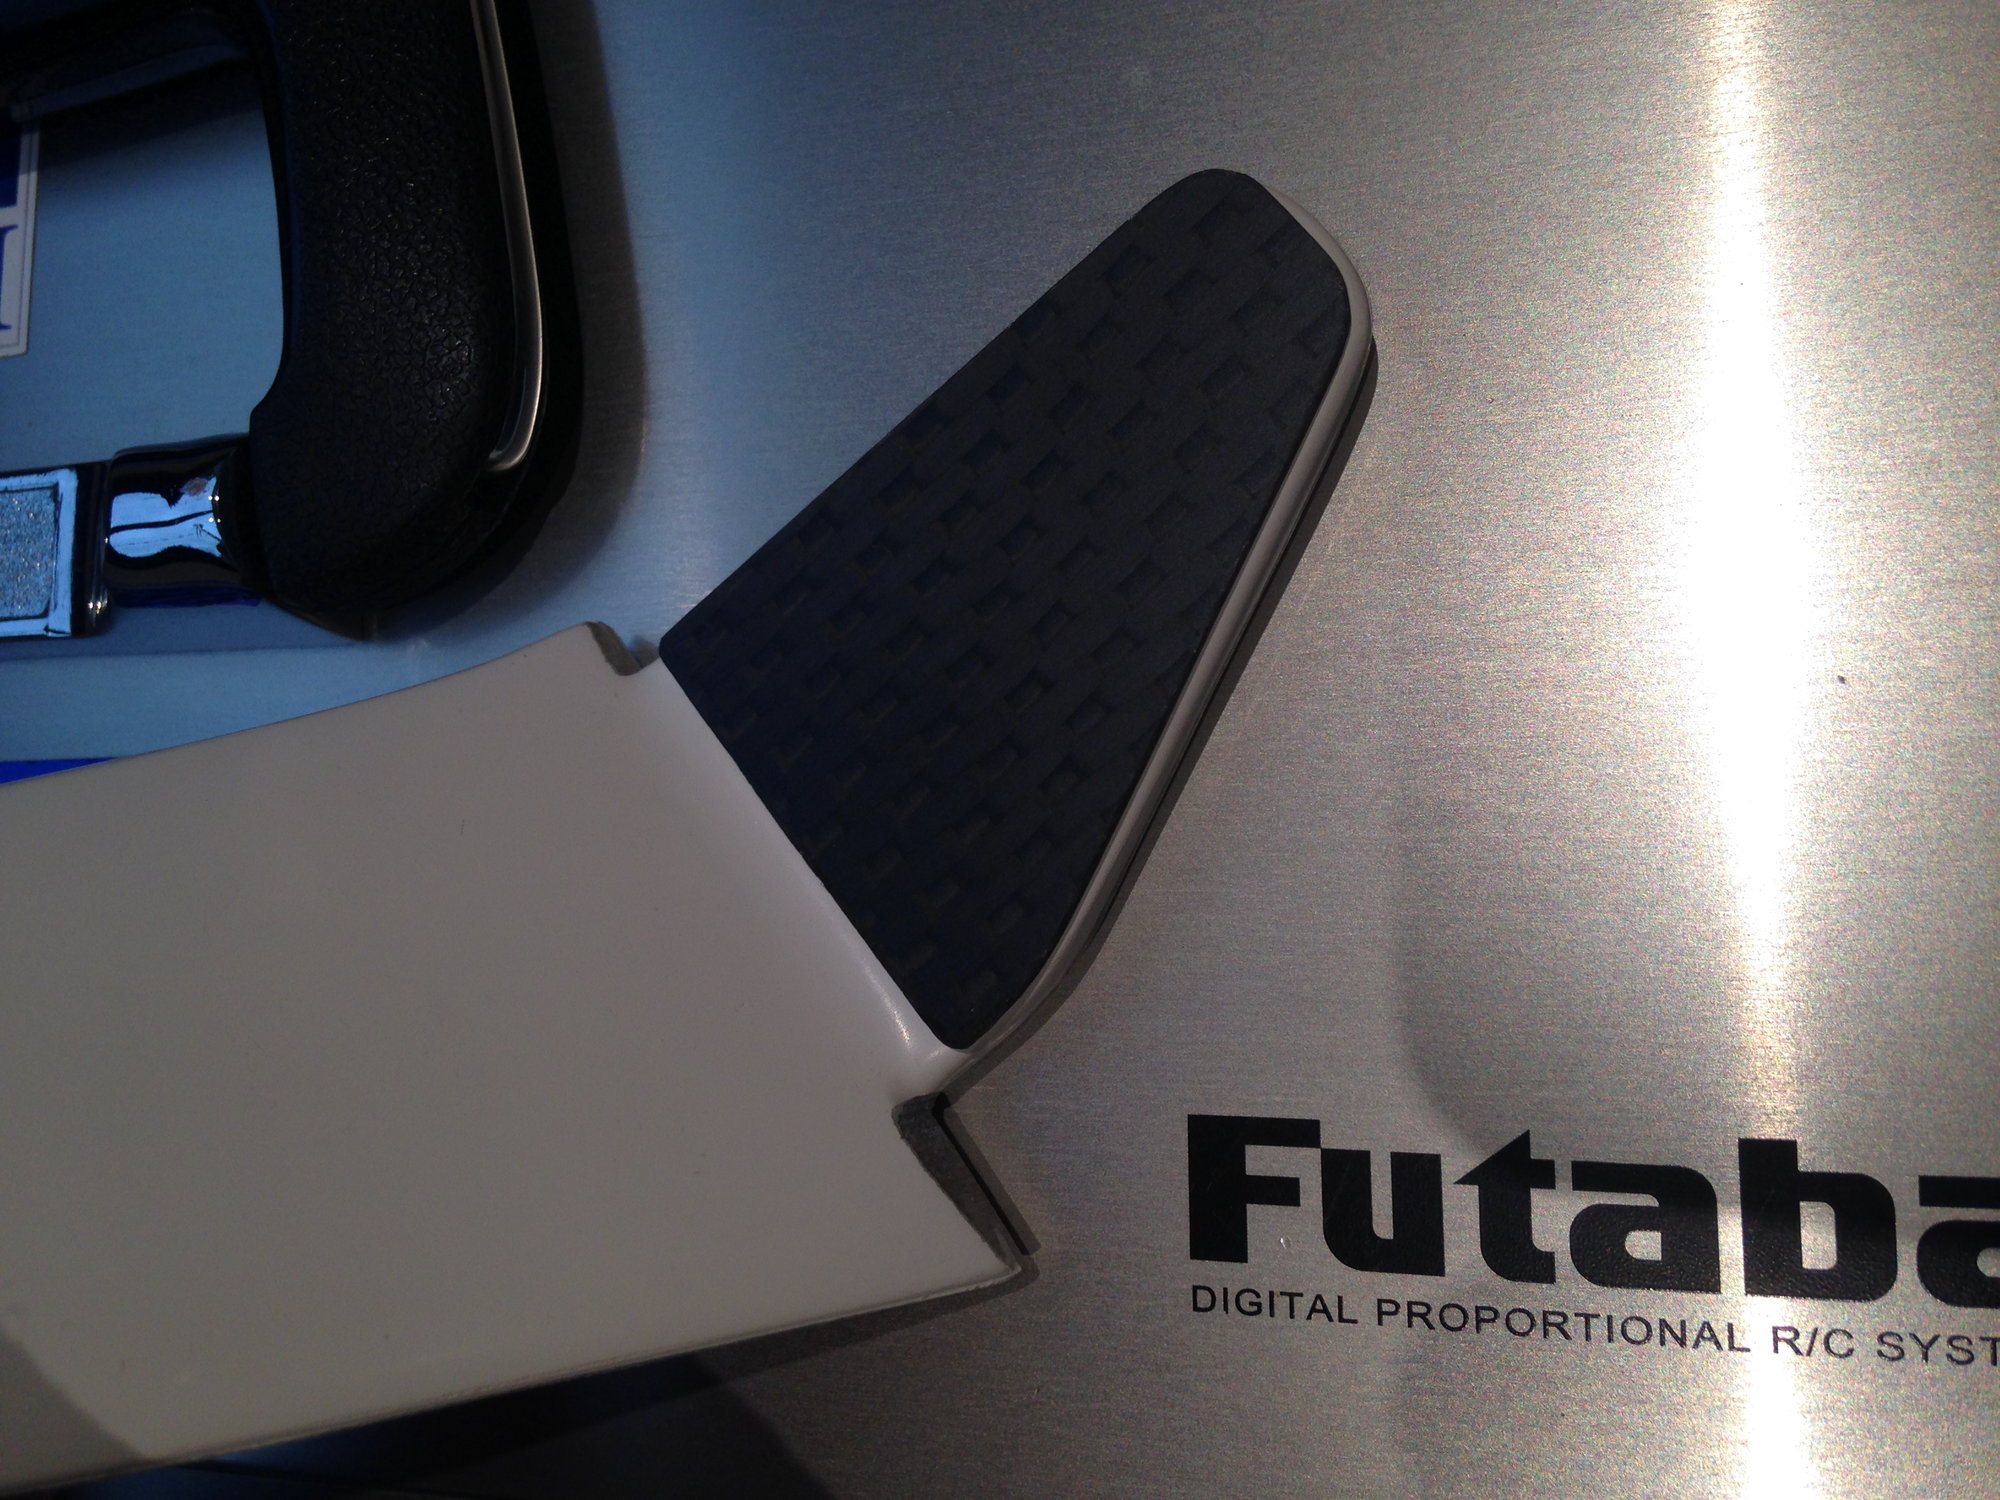
Even if BJ just recommend applying thin CA on the landing gear tray for strengthening, I decided to give a try to RUNE idea with some 1,5 mm carbon fiber.
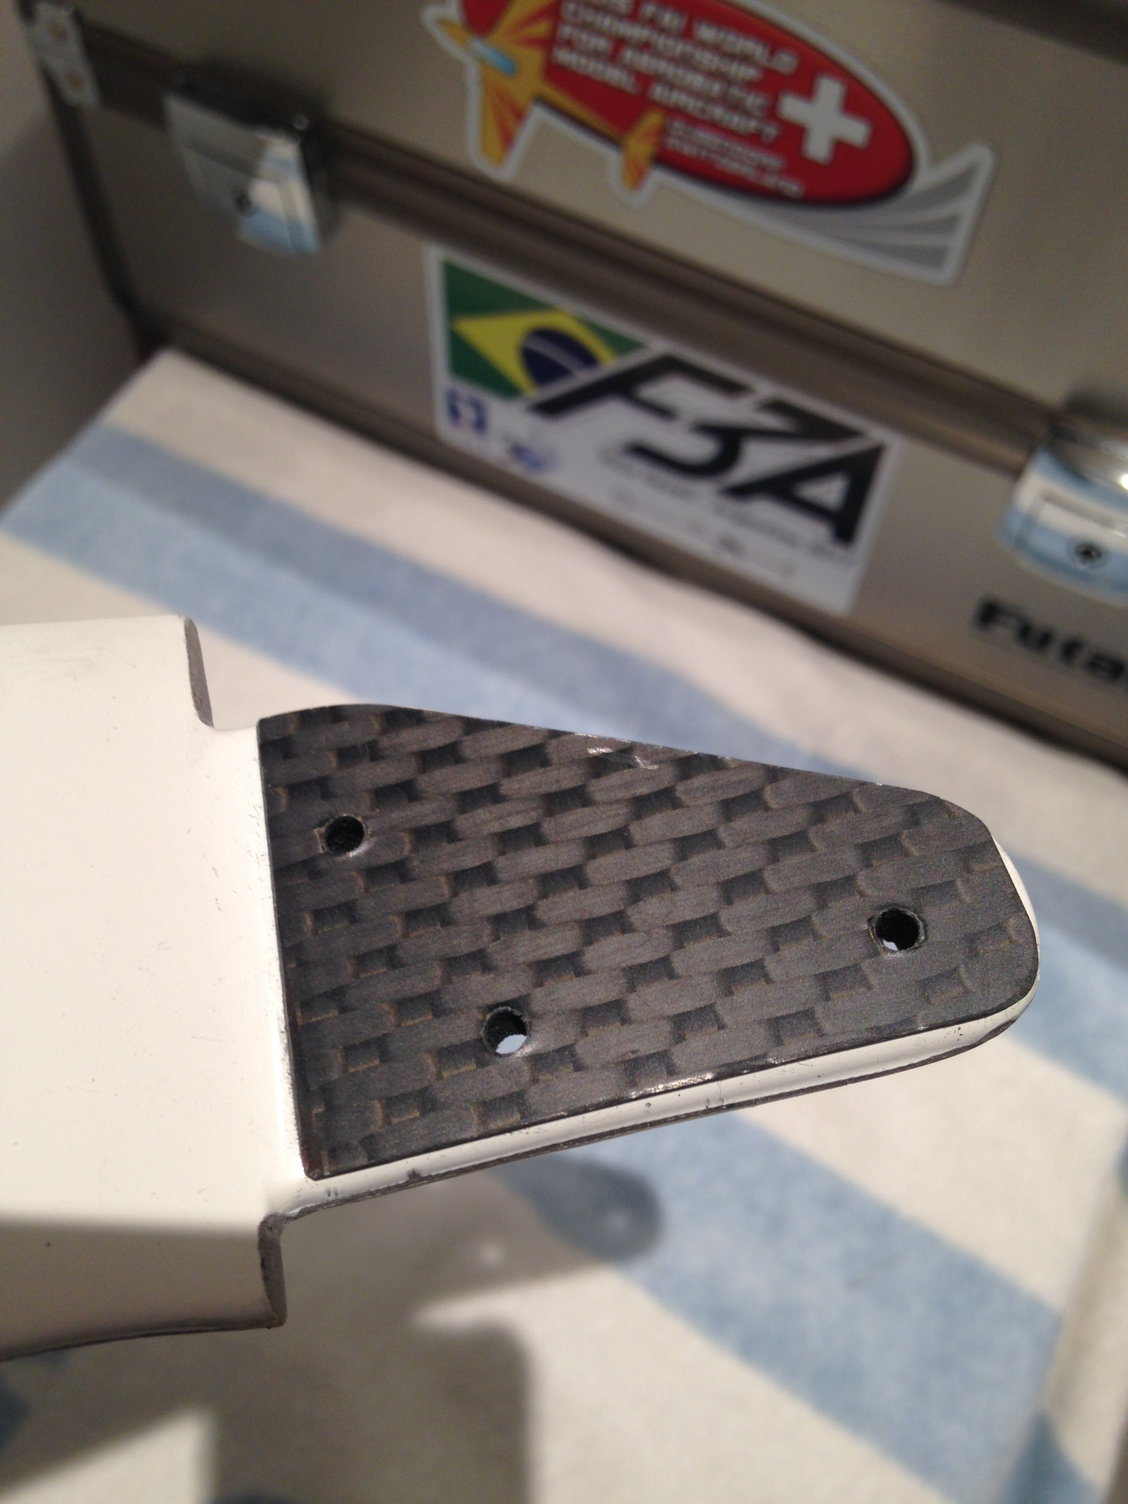
After drilling the holes for the landing gear, I added a third one per leg, I slightly enlarged the bottom of the ldg slot to have a better fitting.


Flying mainly on a grass runway, I want to anticipate and avoid some problems
Even if BJ just recommend applying thin CA on the landing gear tray for strengthening, I decided to give a try to RUNE idea with some 1,5 mm carbon fiber.
After drilling the holes for the landing gear, I added a third one per leg, I slightly enlarged the bottom of the ldg slot to have a better fitting.
05-14-2018, 12:46 PM
#19
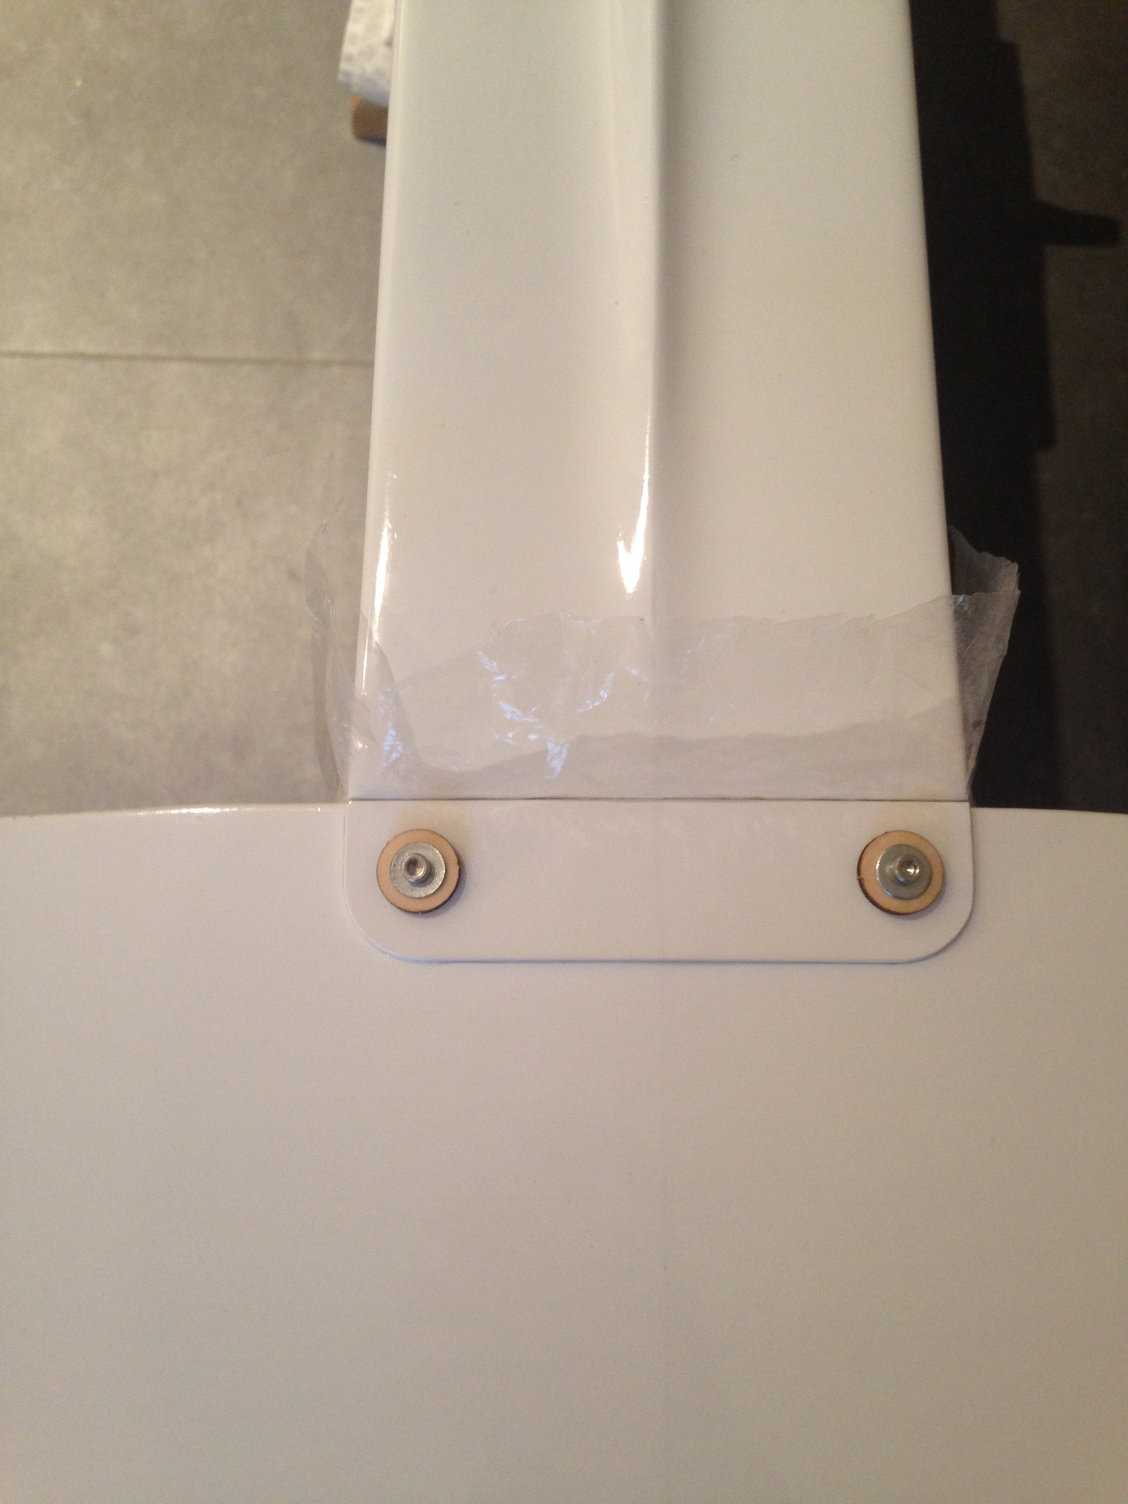
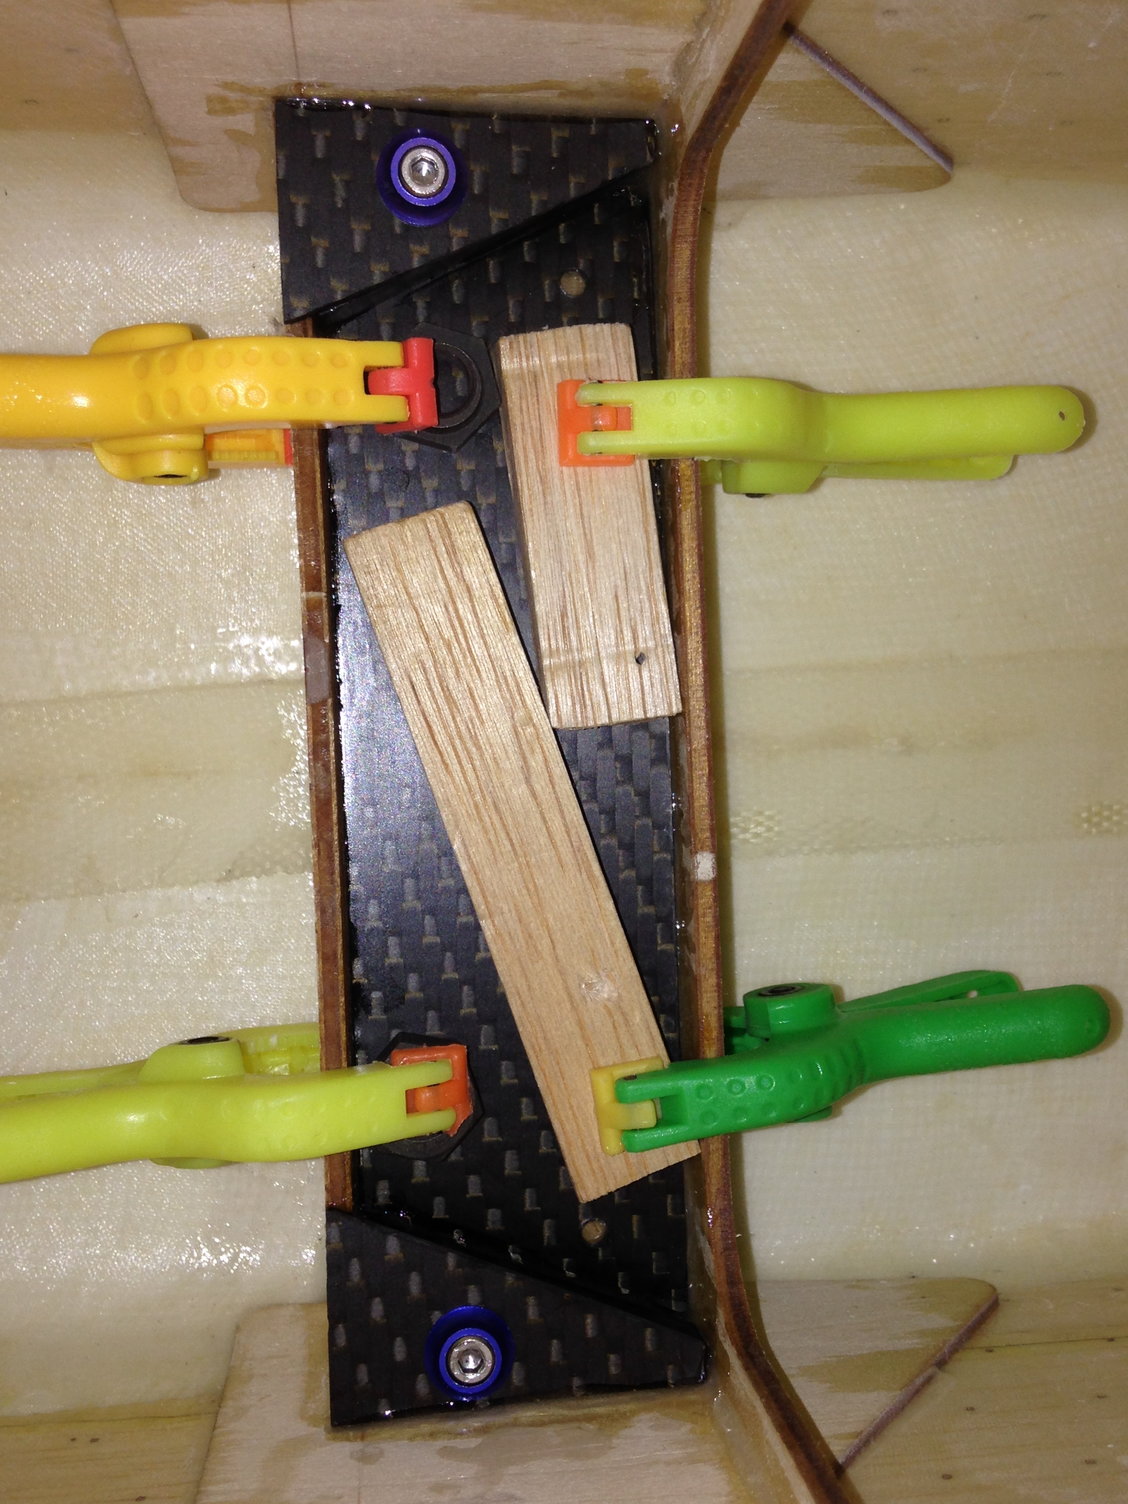
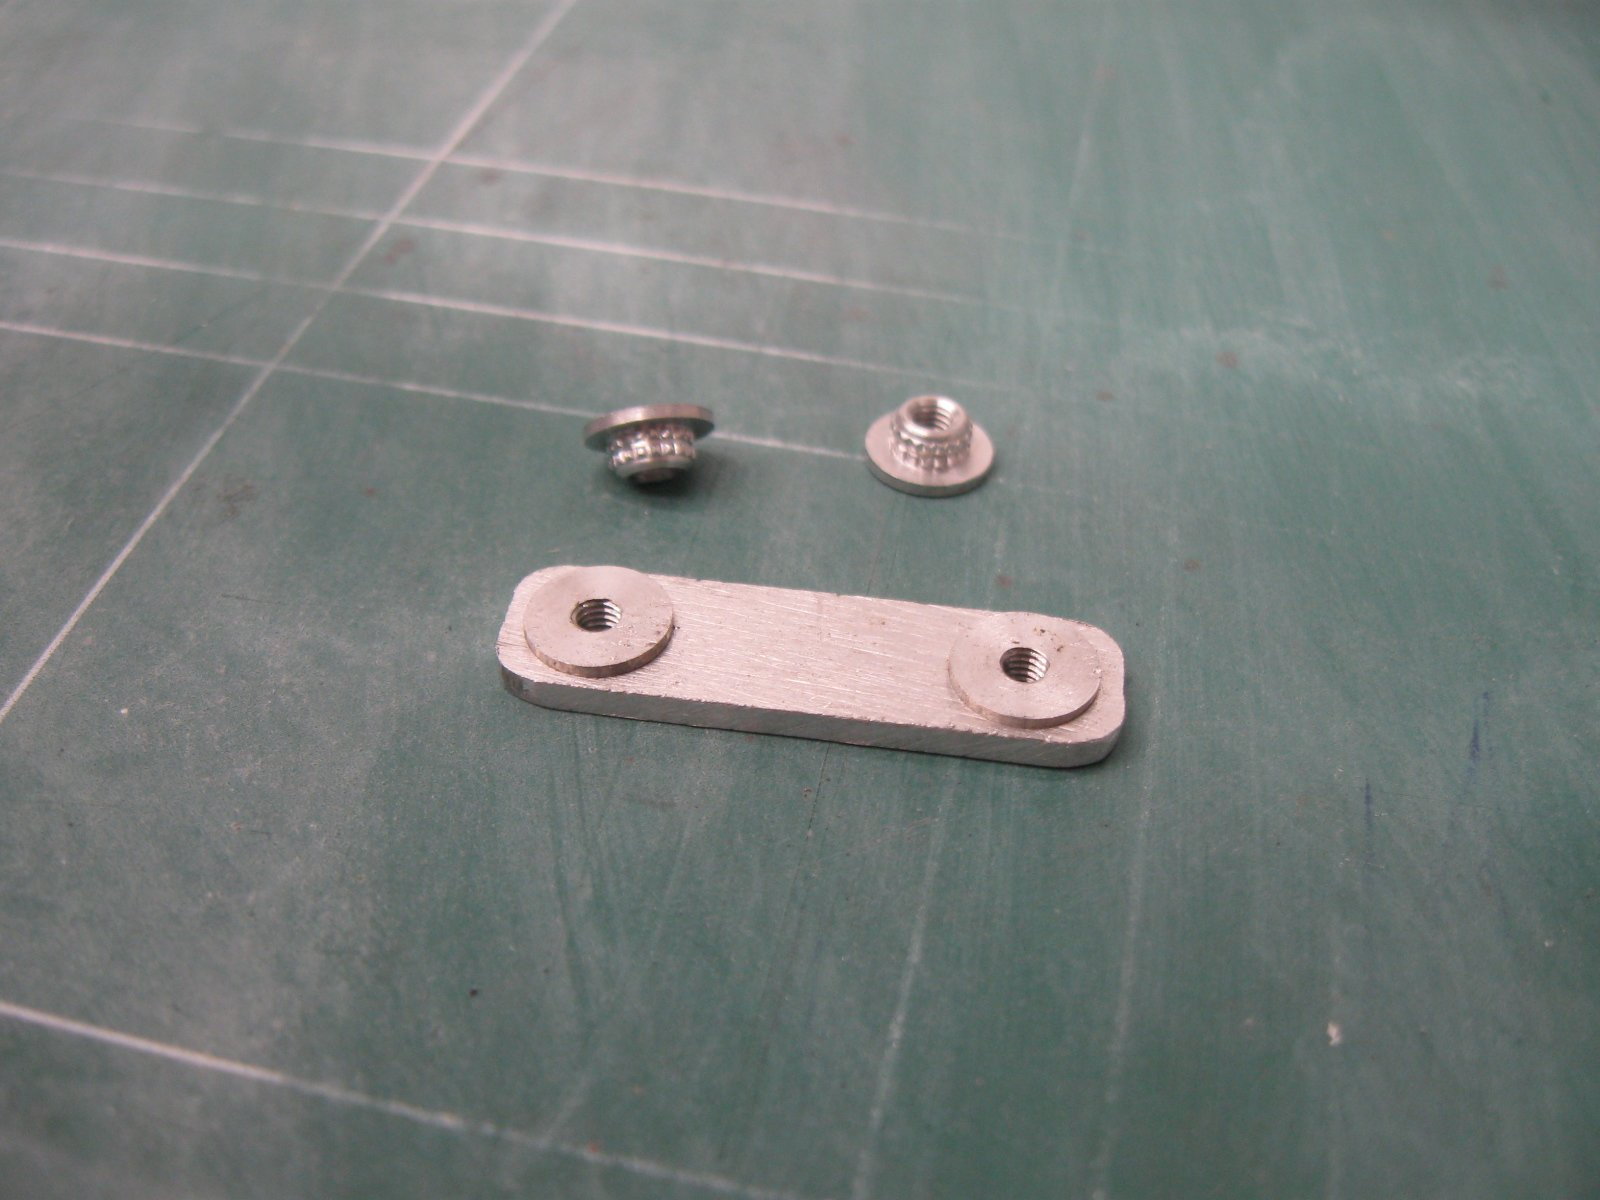
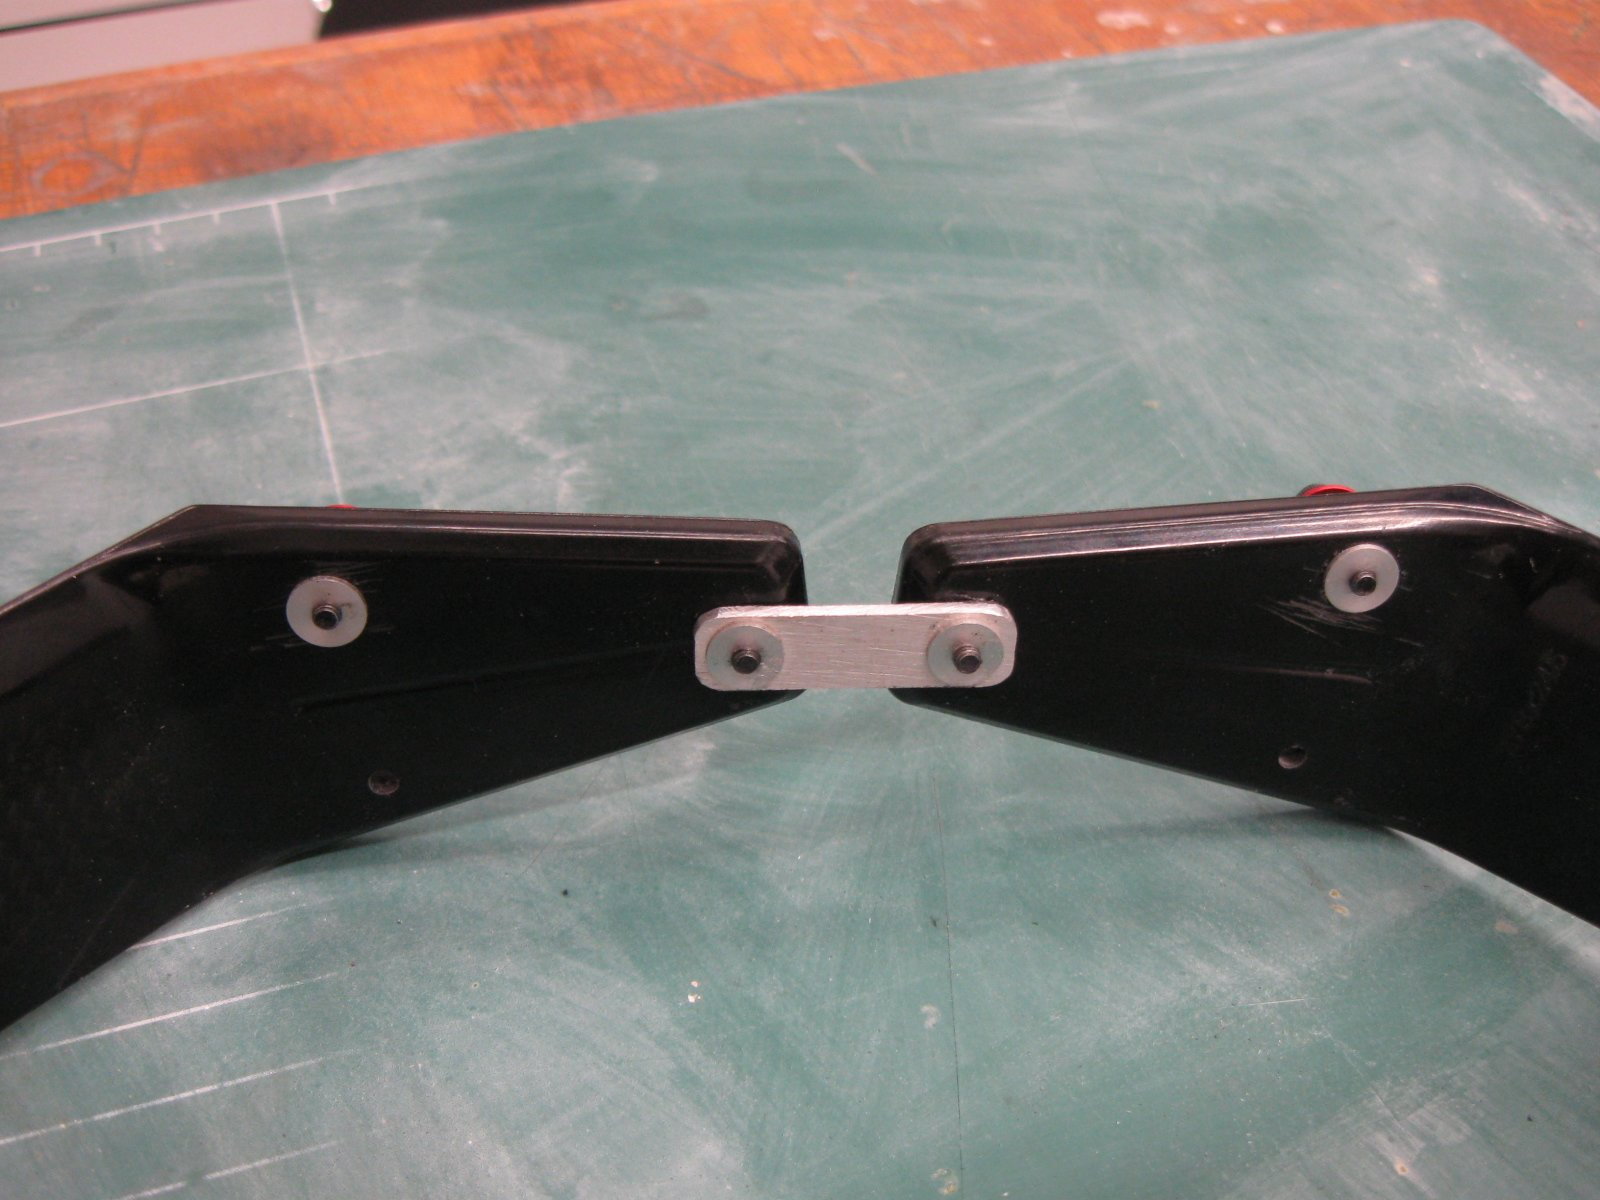
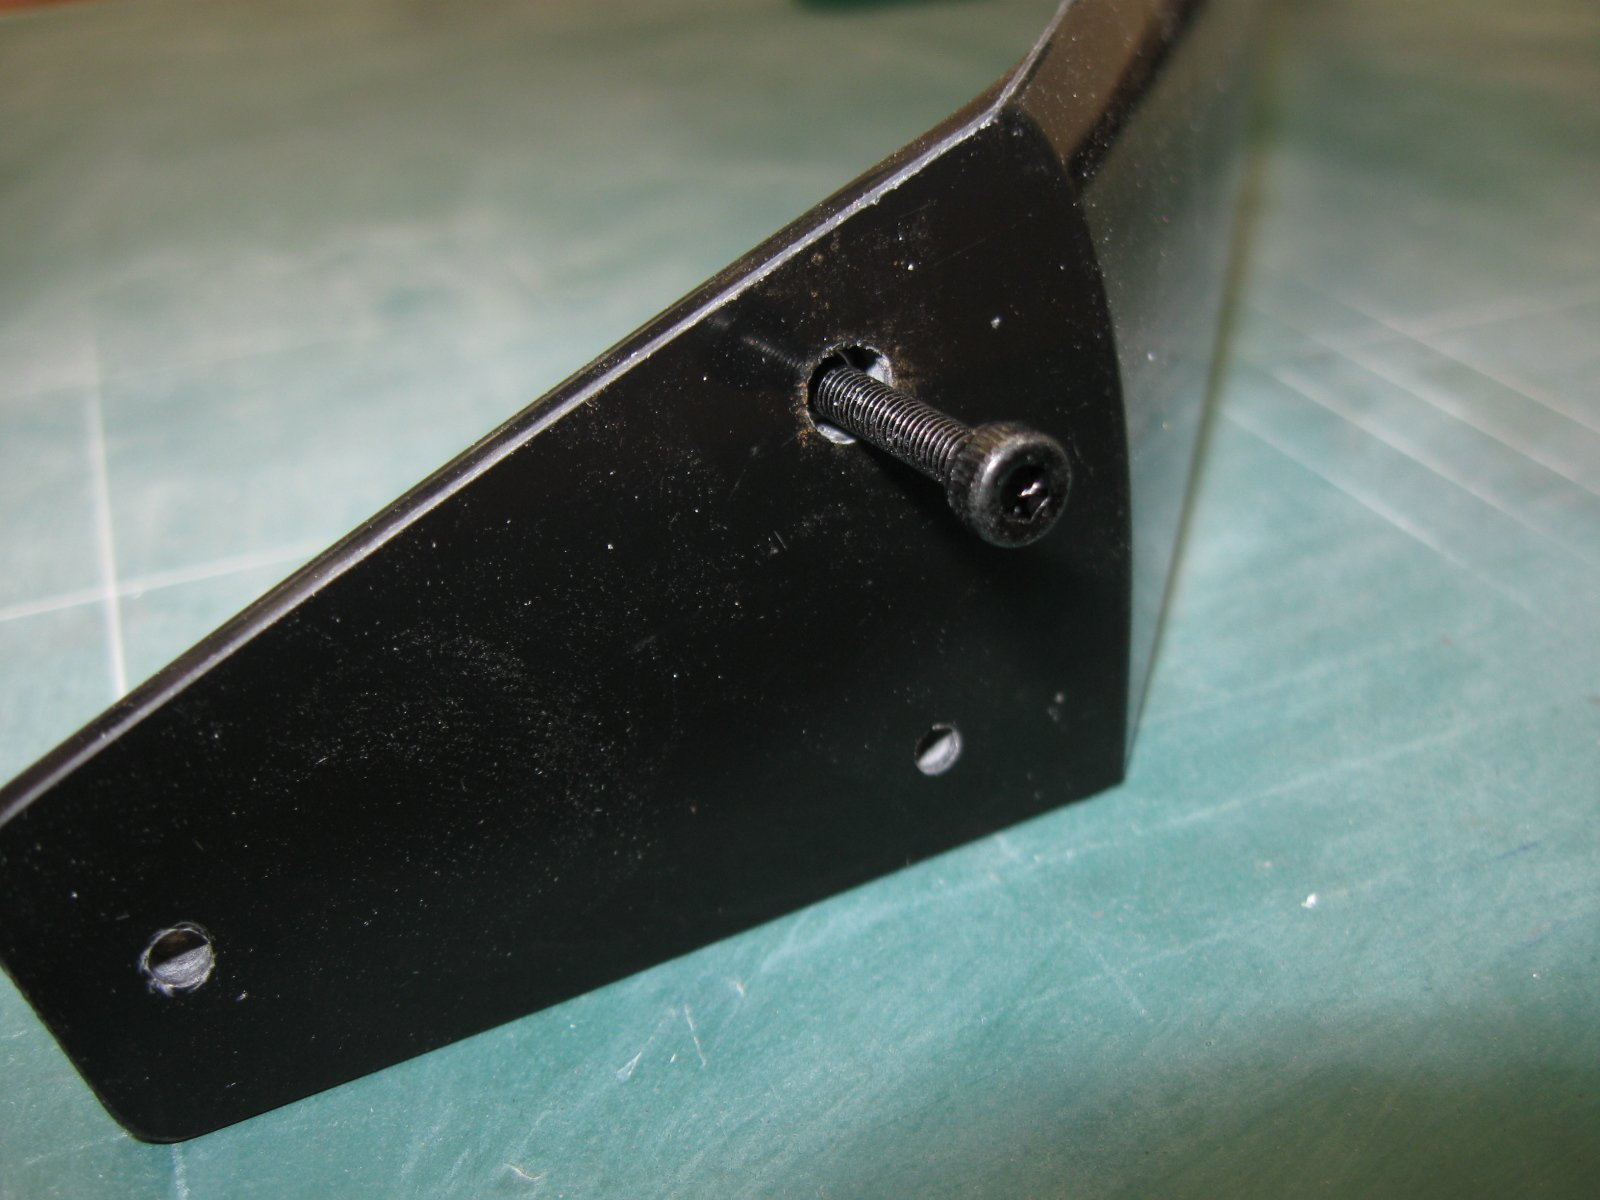
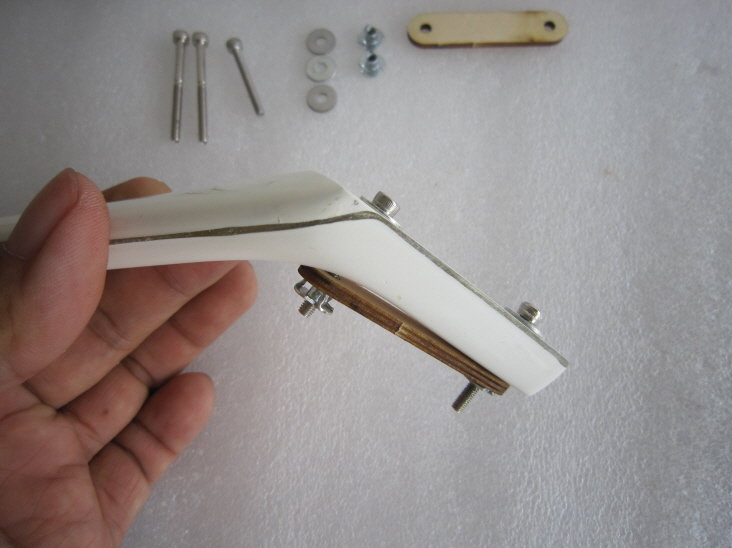
Instead of blind nuts I will use three bolts with nylstops, and a 1mm carbon plate to secure each landing gear leg.
I didn't decided yet which side I will put the nylstops, so I drilled holes in the lower part of the fuselage the diameter of the bolts.
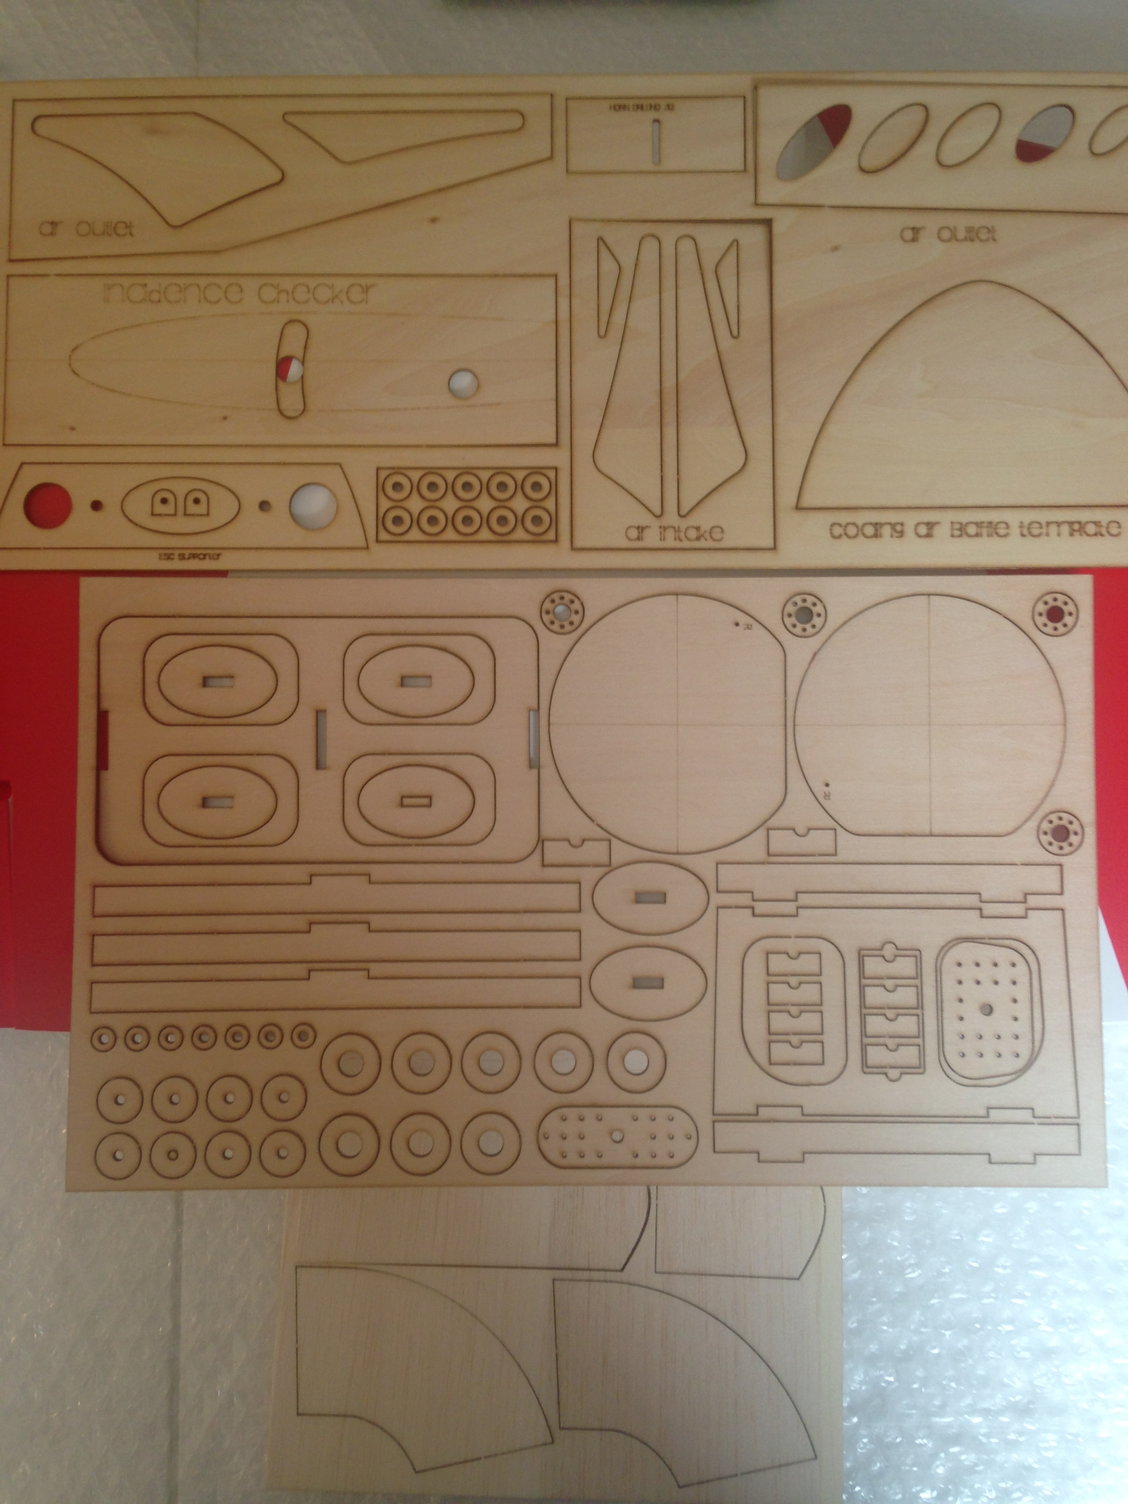
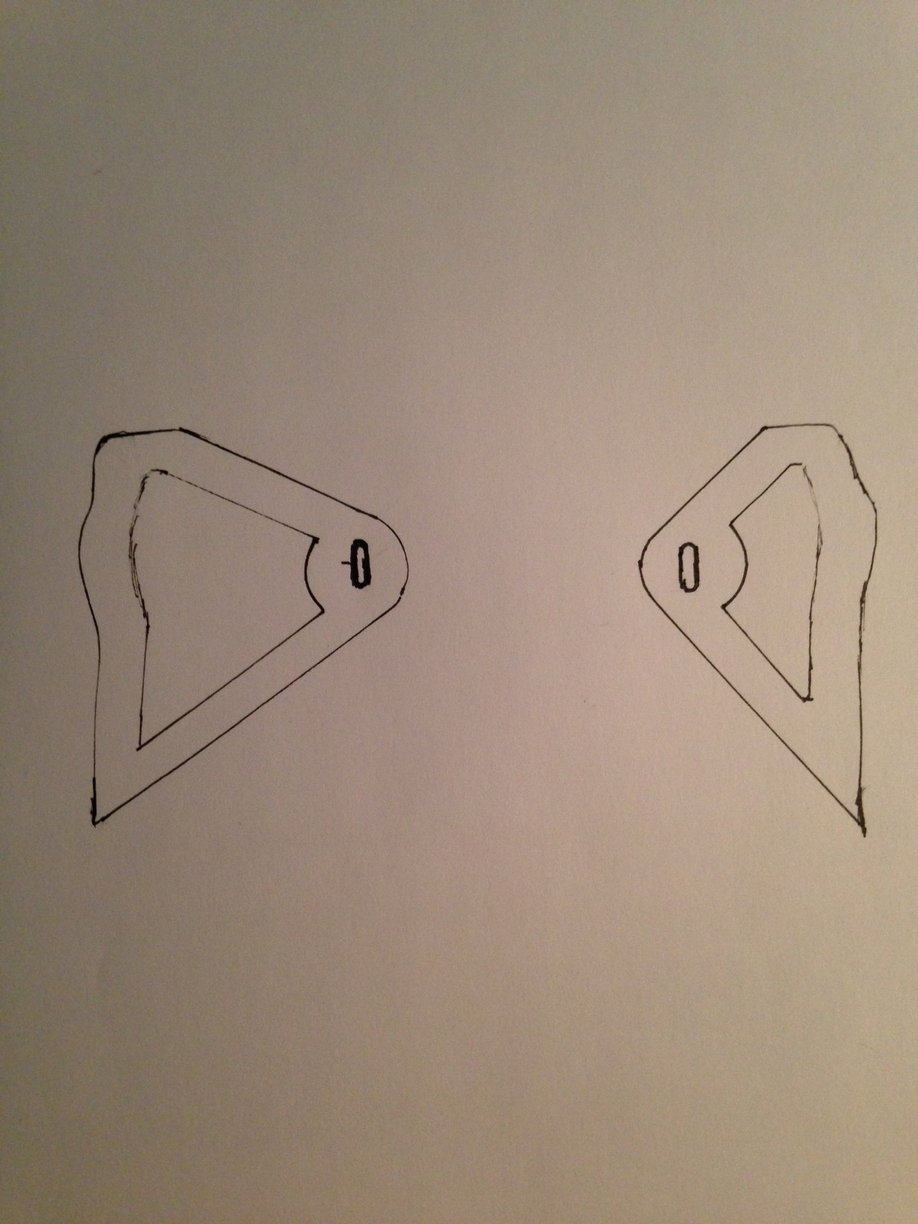
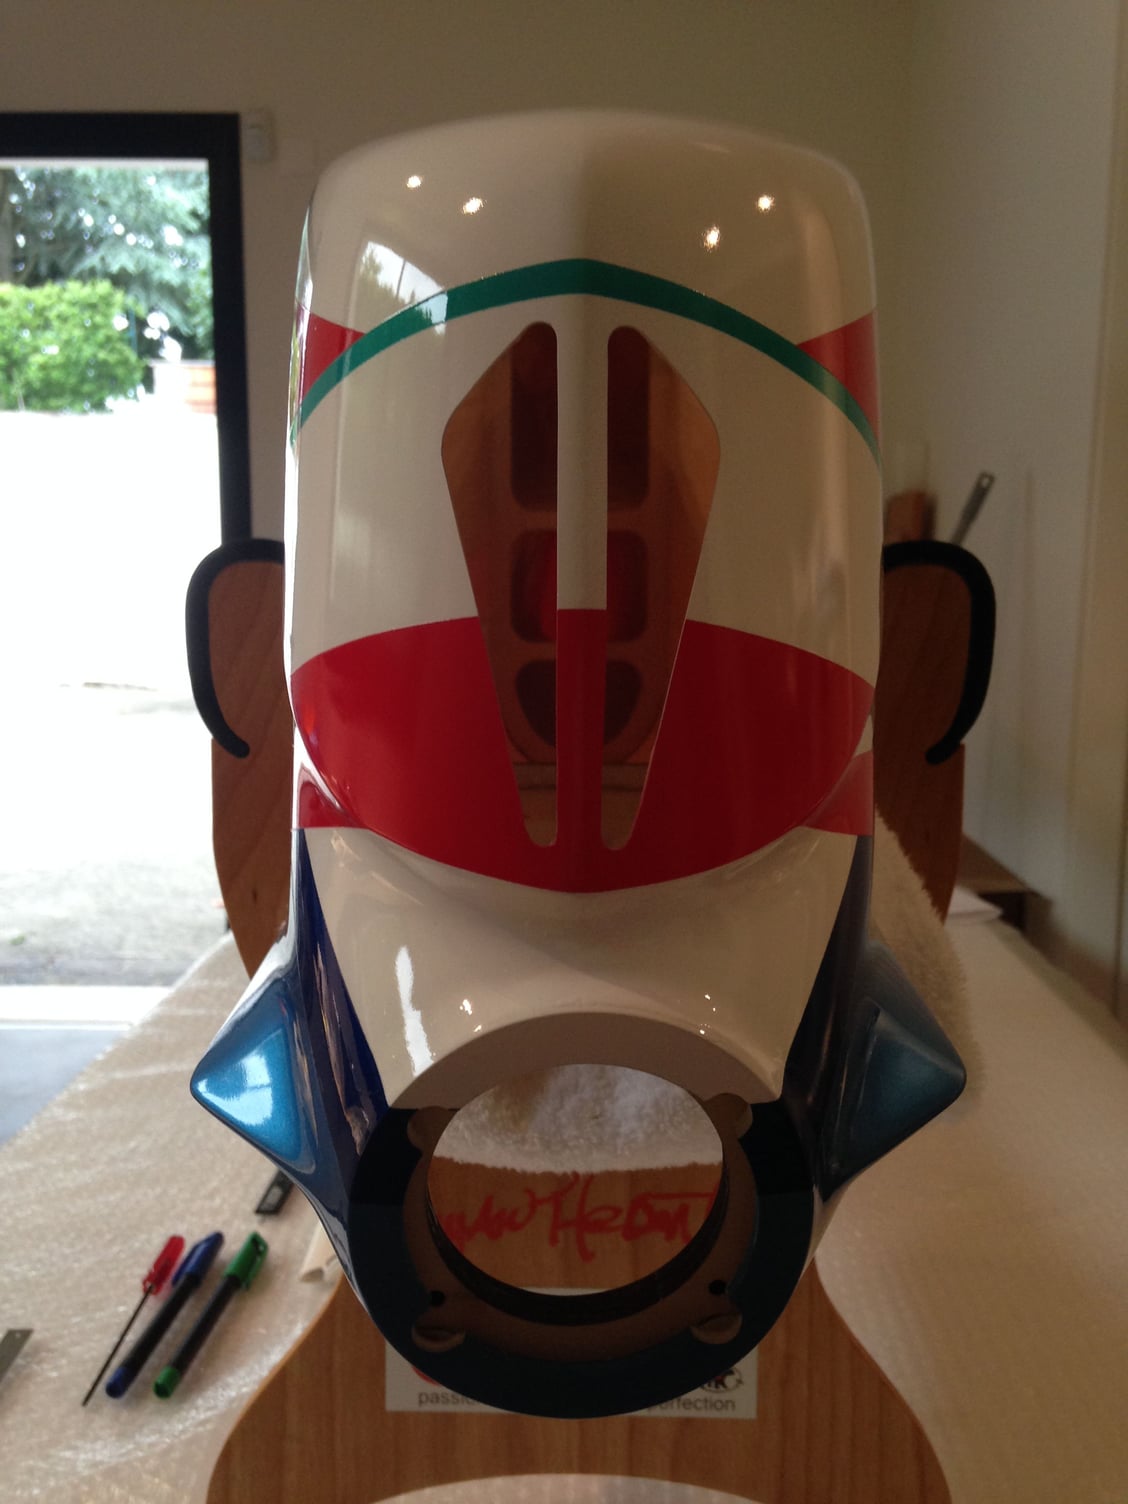
As the fuse was upside down, I started to work on the air intake and exhaust using the templates coming with the kit.
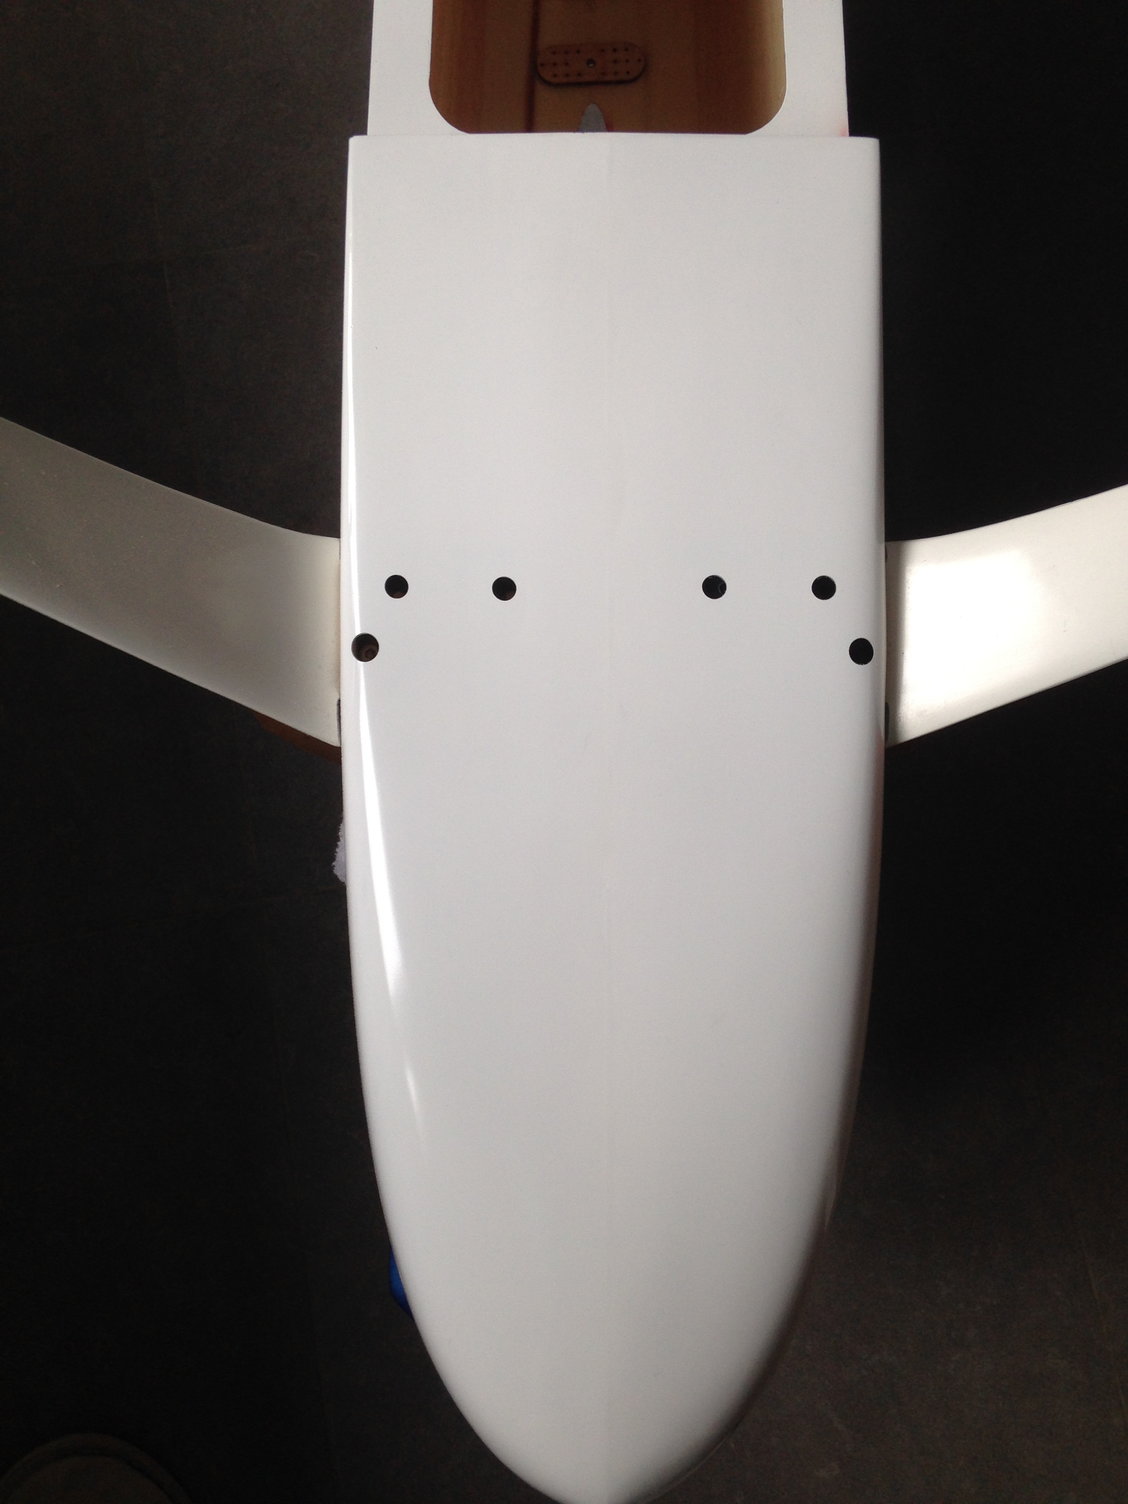
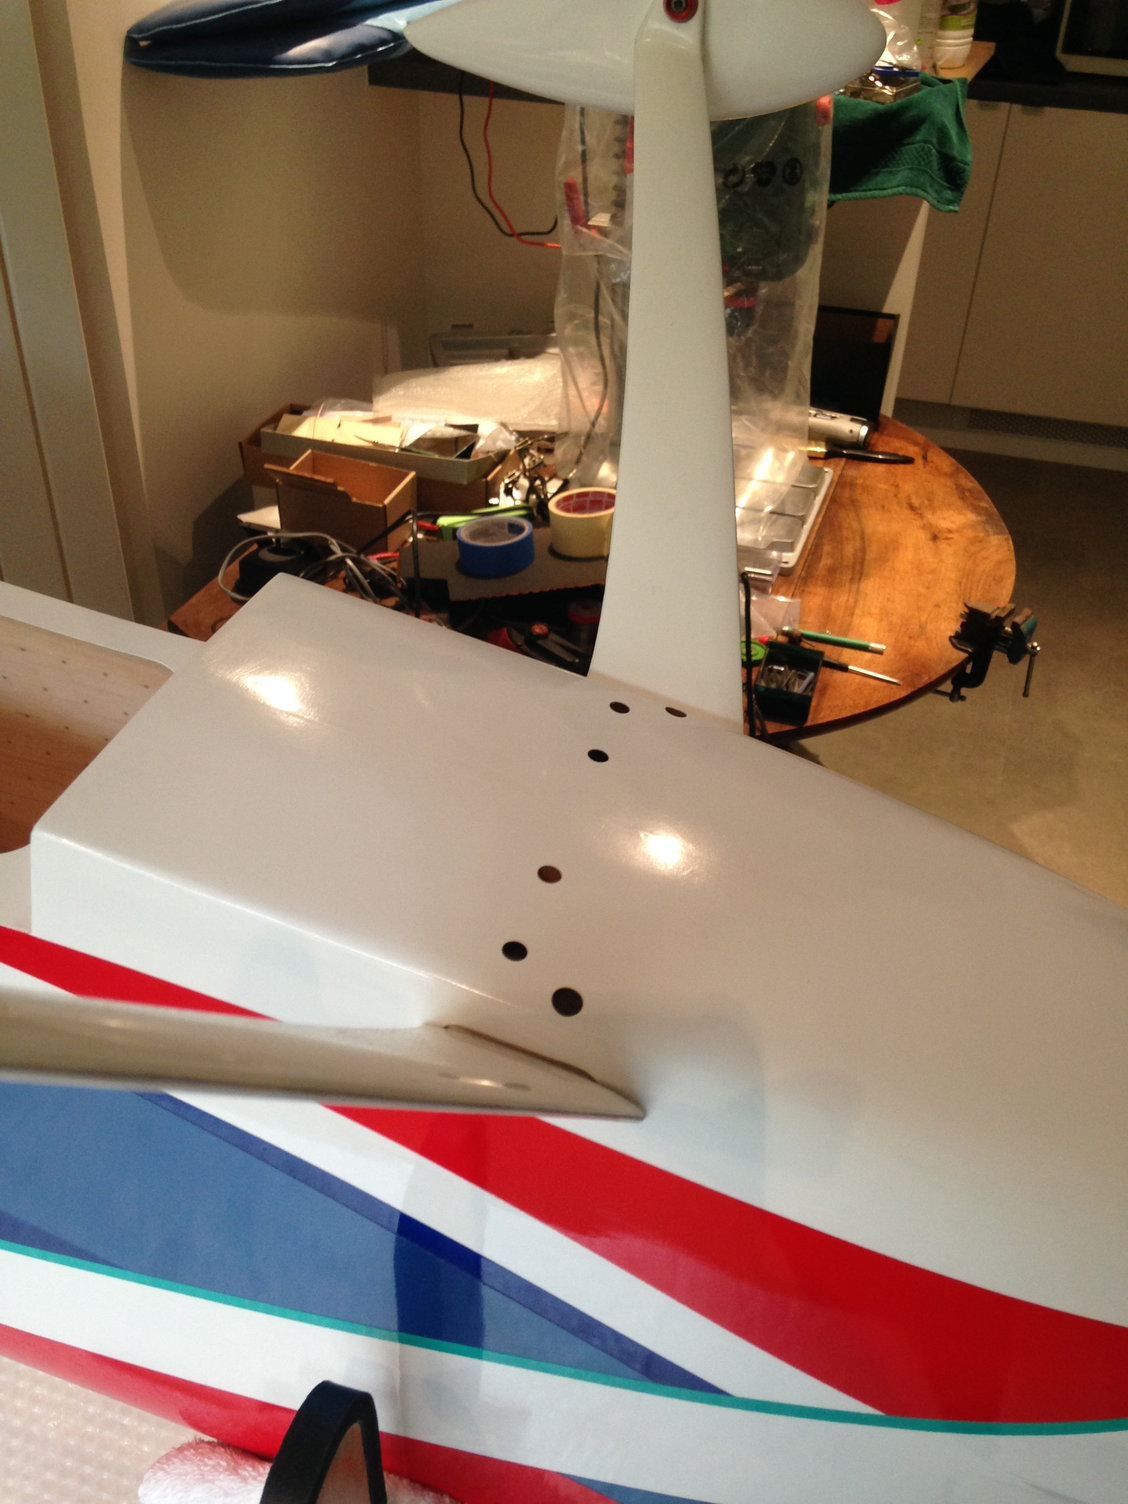

I didn't decided yet which side I will put the nylstops, so I drilled holes in the lower part of the fuselage the diameter of the bolts.
As the fuse was upside down, I started to work on the air intake and exhaust using the templates coming with the kit.
Last edited by J-P; 05-14-2018 at 12:50 PM.
05-14-2018, 10:50 PM
#21
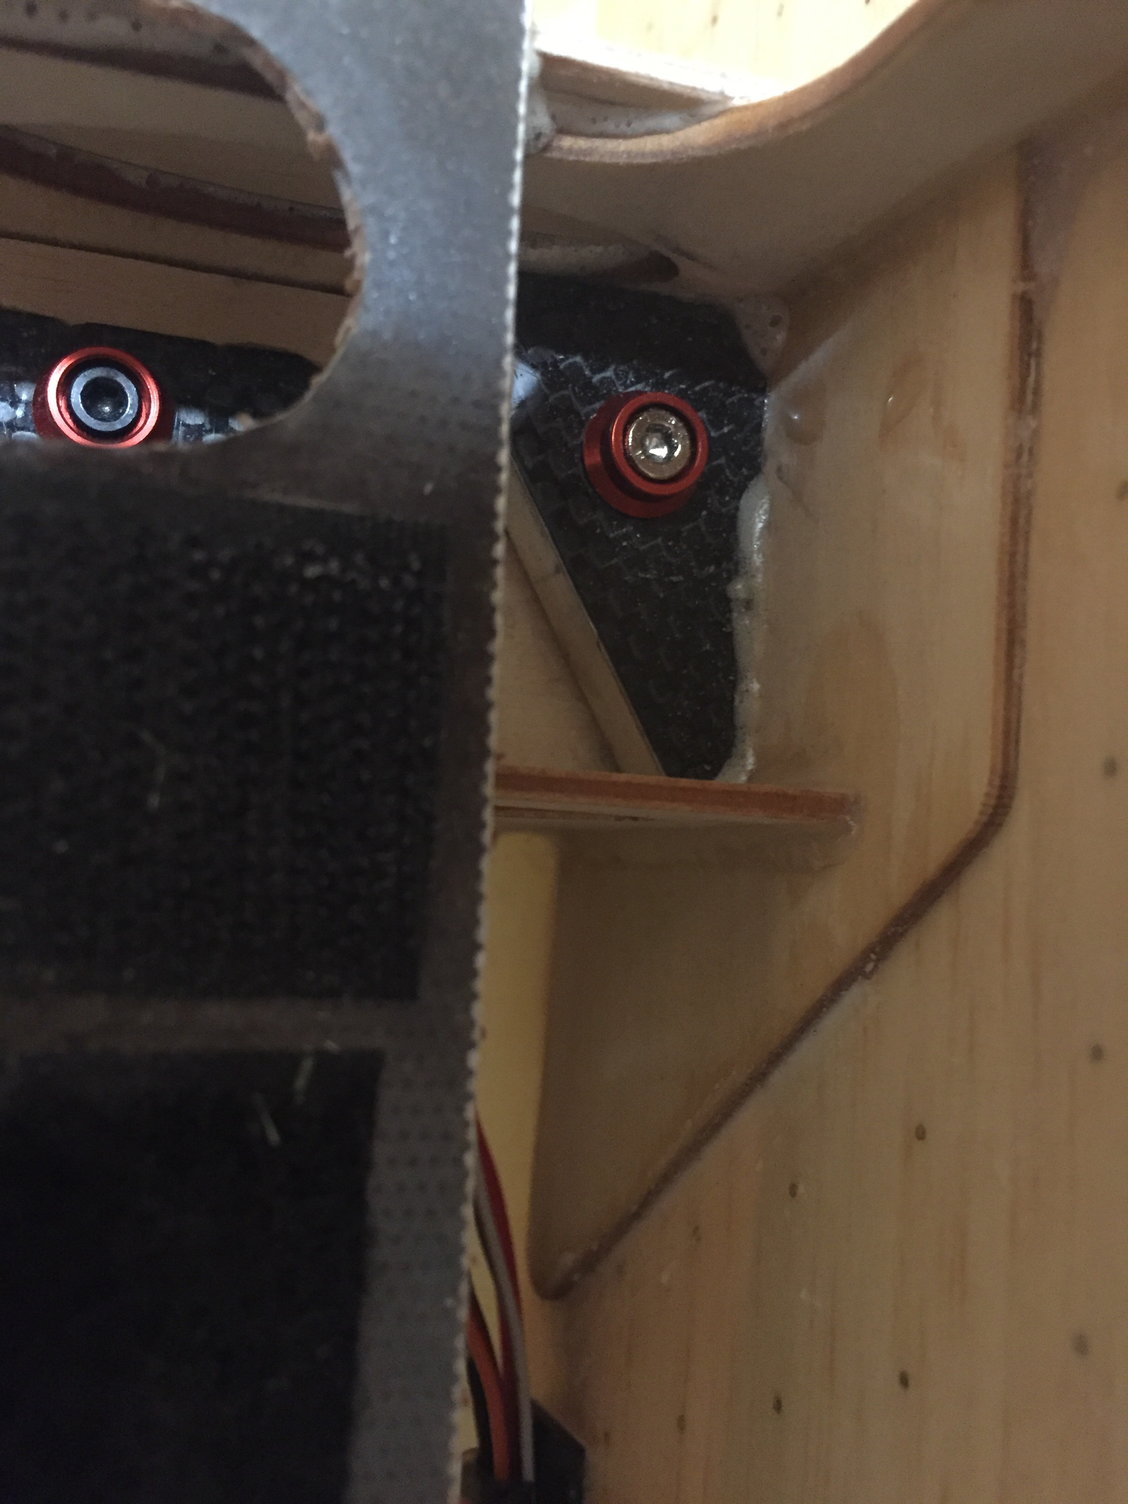
Hi Itc, no special reason ..
I just want to give a try to nylstops in order not squeezing too much the landing gear plate plywood.
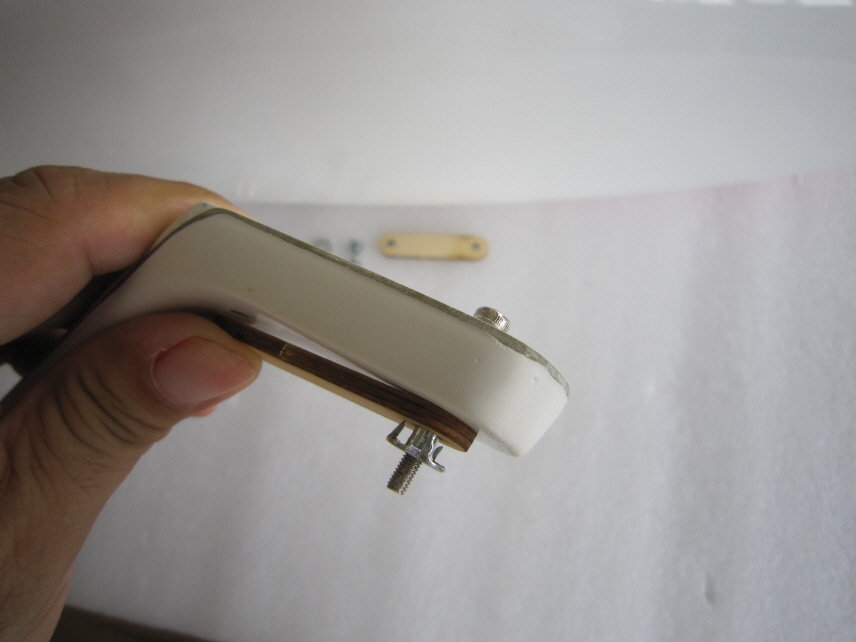
With Falcon gear, I'm using MP JET mounting nut M3 as ISAAC NAJARY did it on his Sensation
http://www.rcuniverse.com/forum/rc-p...-najary-2.html
B.J recommande using blind nuts inserted on a plywood support, as per the pics below.
Works very well too.


I just want to give a try to nylstops in order not squeezing too much the landing gear plate plywood.
With Falcon gear, I'm using MP JET mounting nut M3 as ISAAC NAJARY did it on his Sensation
http://www.rcuniverse.com/forum/rc-p...-najary-2.html
B.J recommande using blind nuts inserted on a plywood support, as per the pics below.
Works very well too.
Last edited by J-P; 05-14-2018 at 10:54 PM.
 05-16-2018, 05:10 AM
#24
Hi Rune,
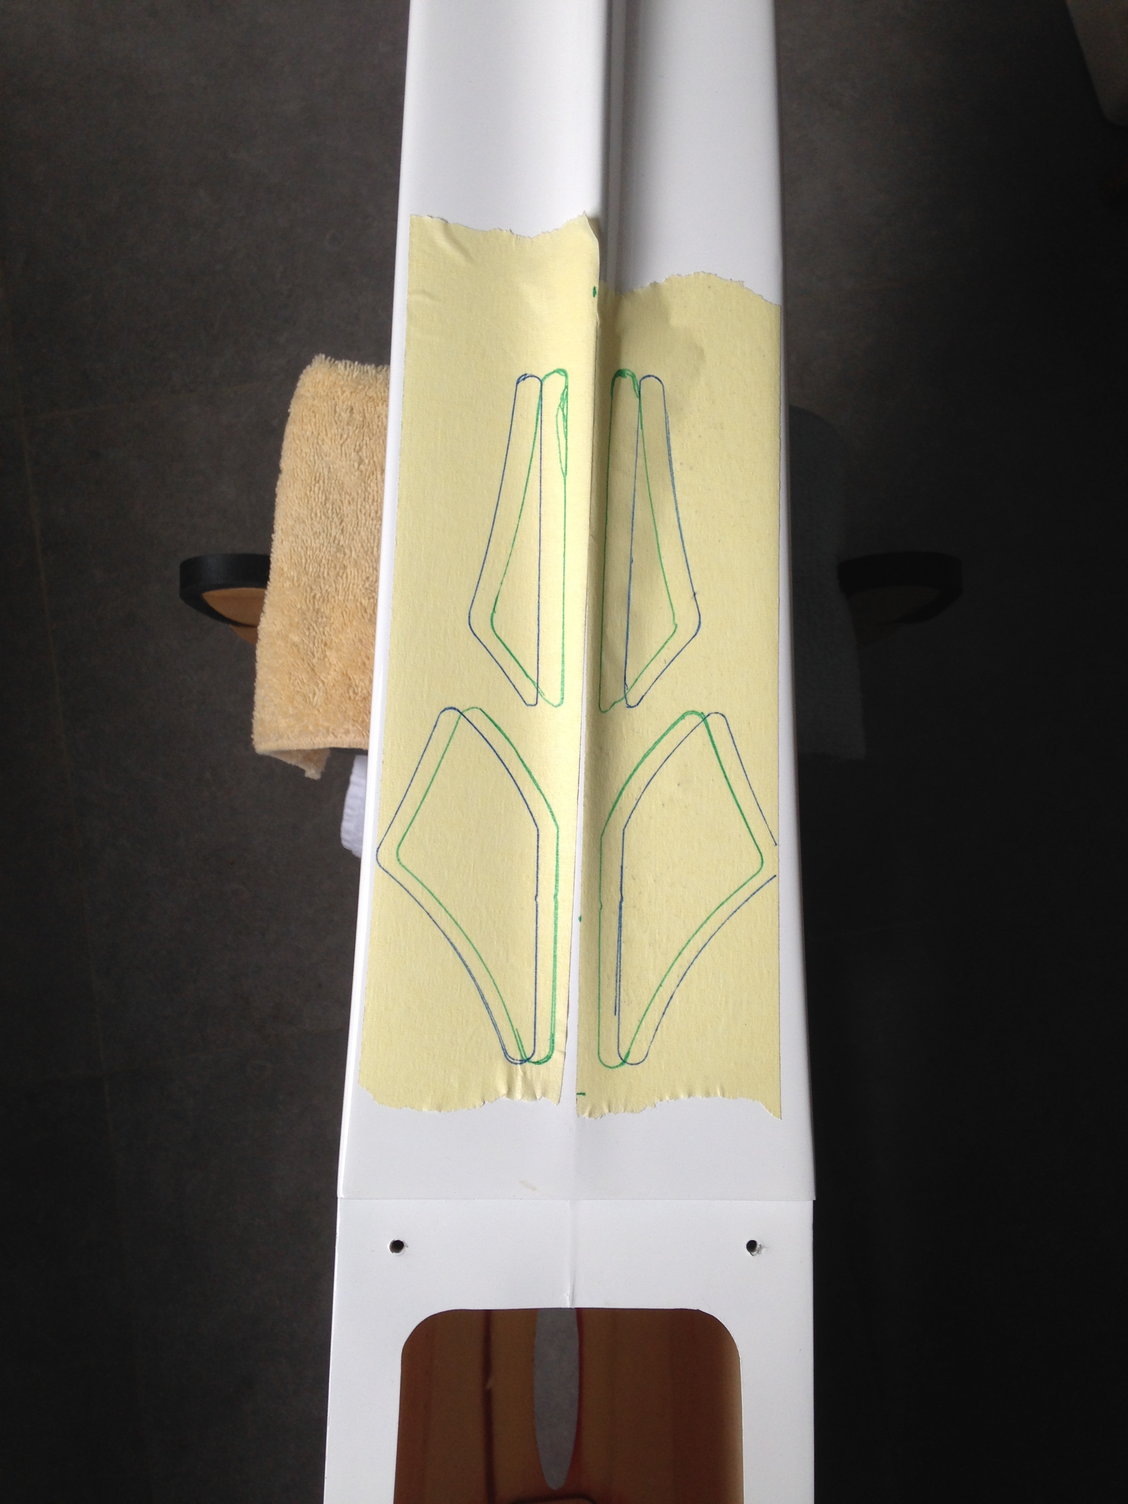
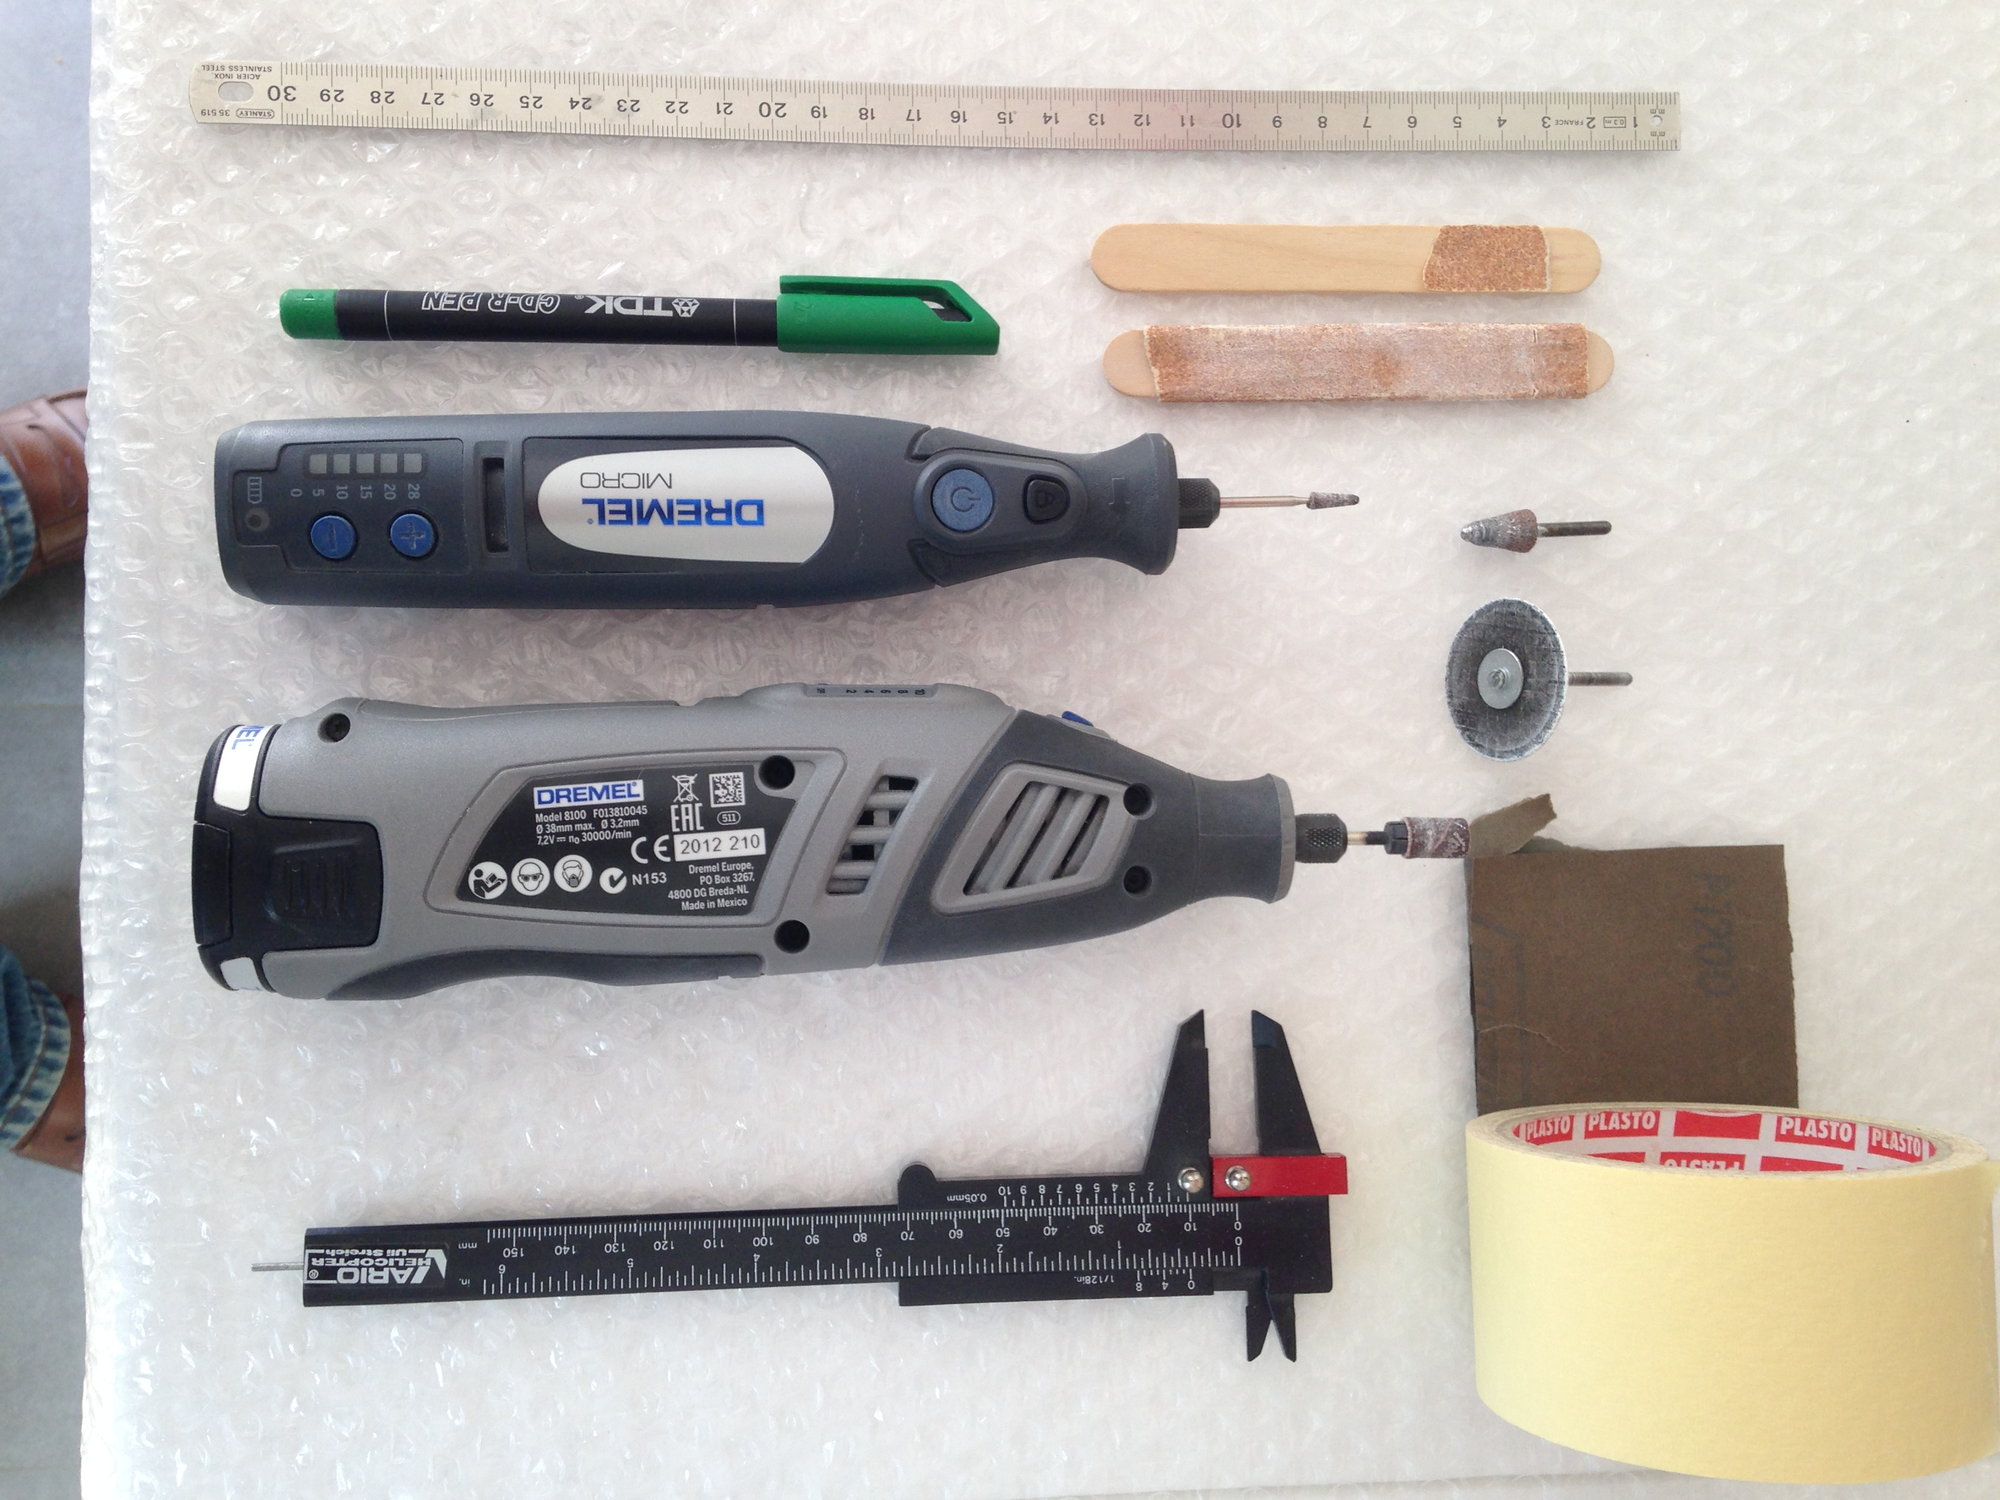
No special tools, just standard dremel tools.
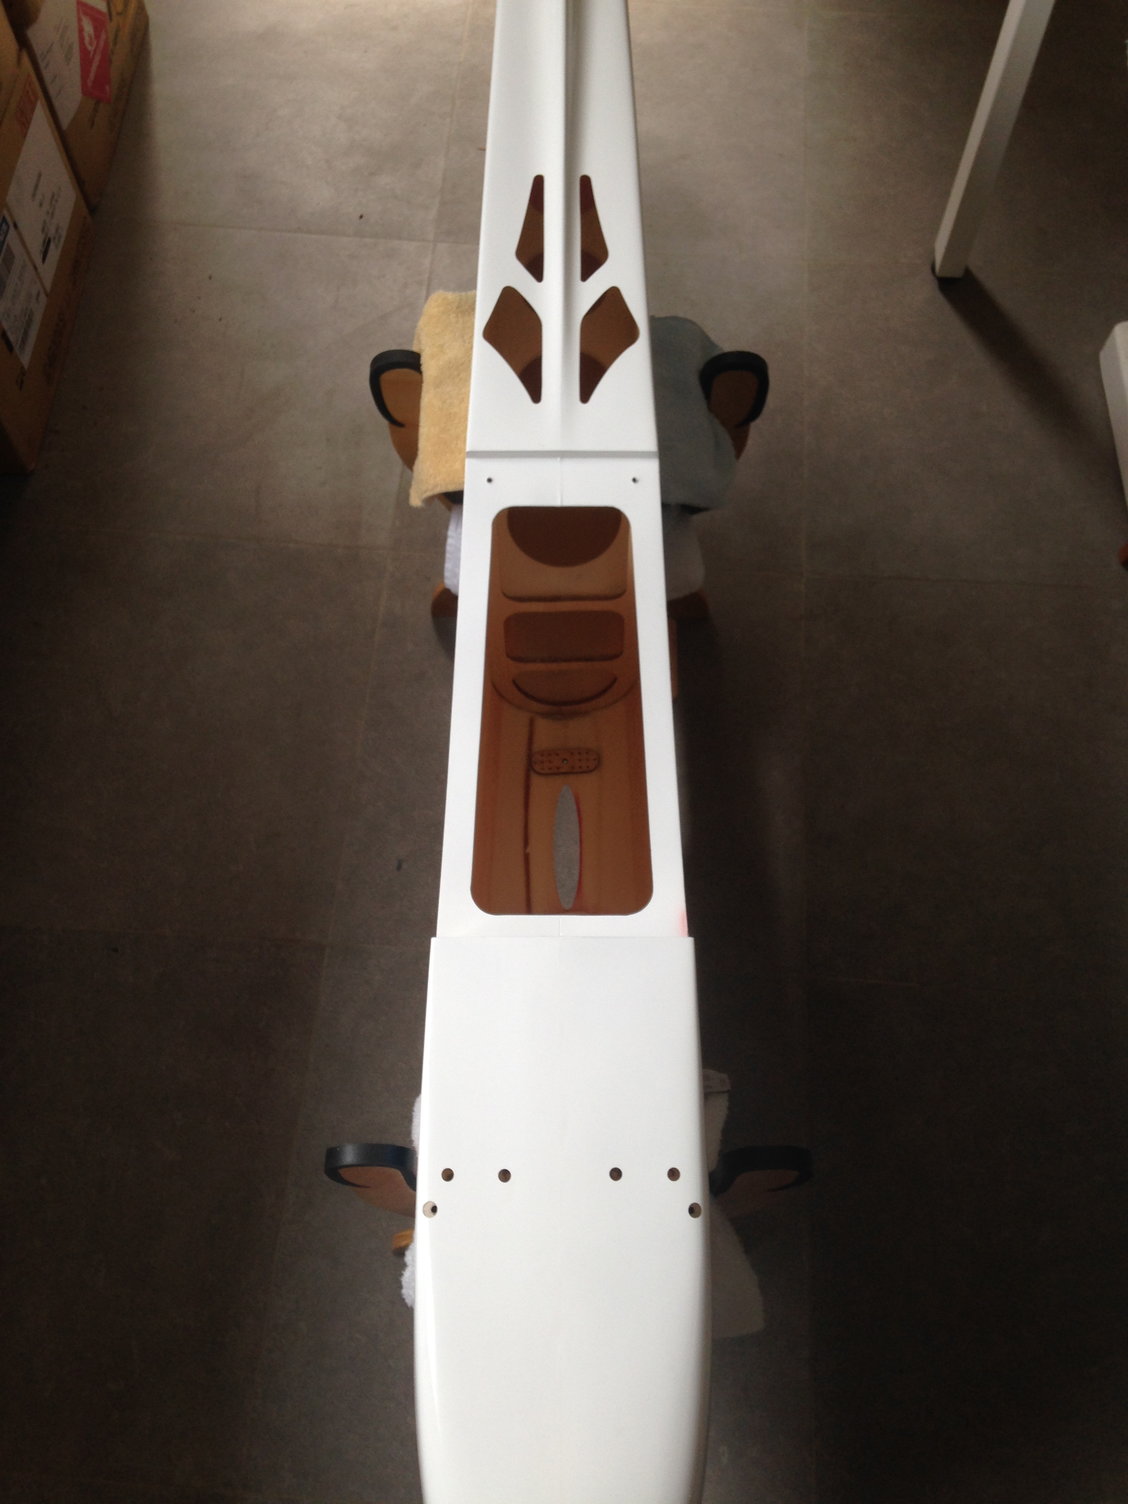
I use the template to draw and position the openings on masking tape.
After cutting with a disc and drilling holes to remove the part, it takes time ...
I complete with some fine sandpaper.
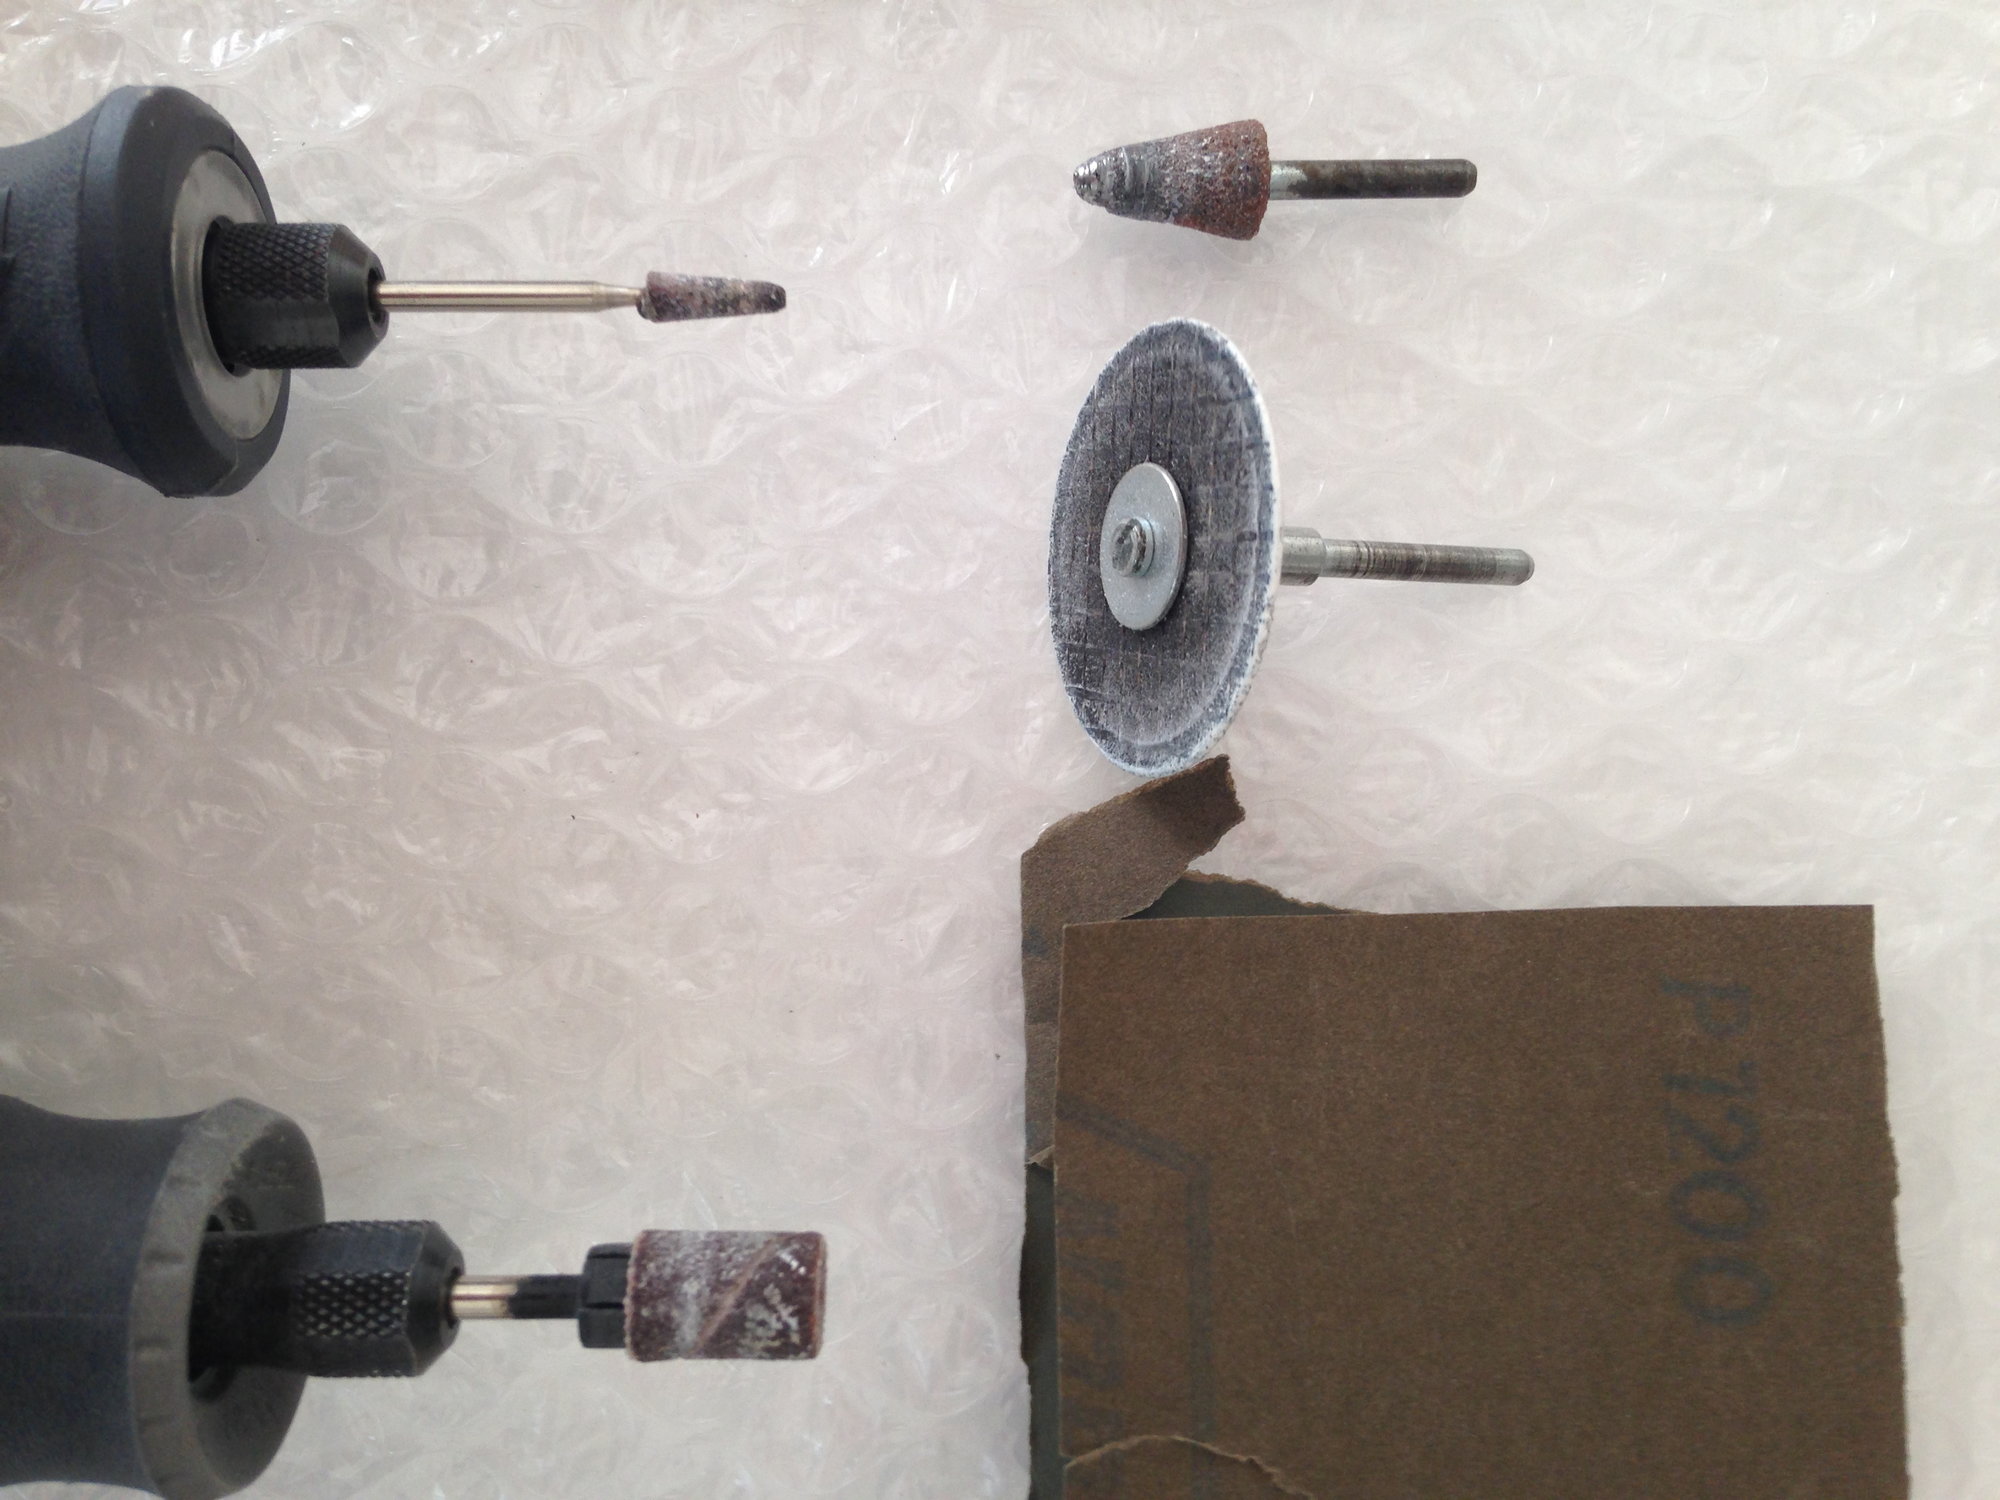
No special tools, just standard dremel tools.
I use the template to draw and position the openings on masking tape.
After cutting with a disc and drilling holes to remove the part, it takes time ...
I complete with some fine sandpaper.
05-17-2018, 11:43 PM
#25
Rudder installation start with the right positioning of the rudder control horn, the rudder servo tray and the location of the cables exit holes depending of the hardware you want to use to take in account the height of the cables over the rudder horn and servo arm.
Two pics by B.J give some good informations
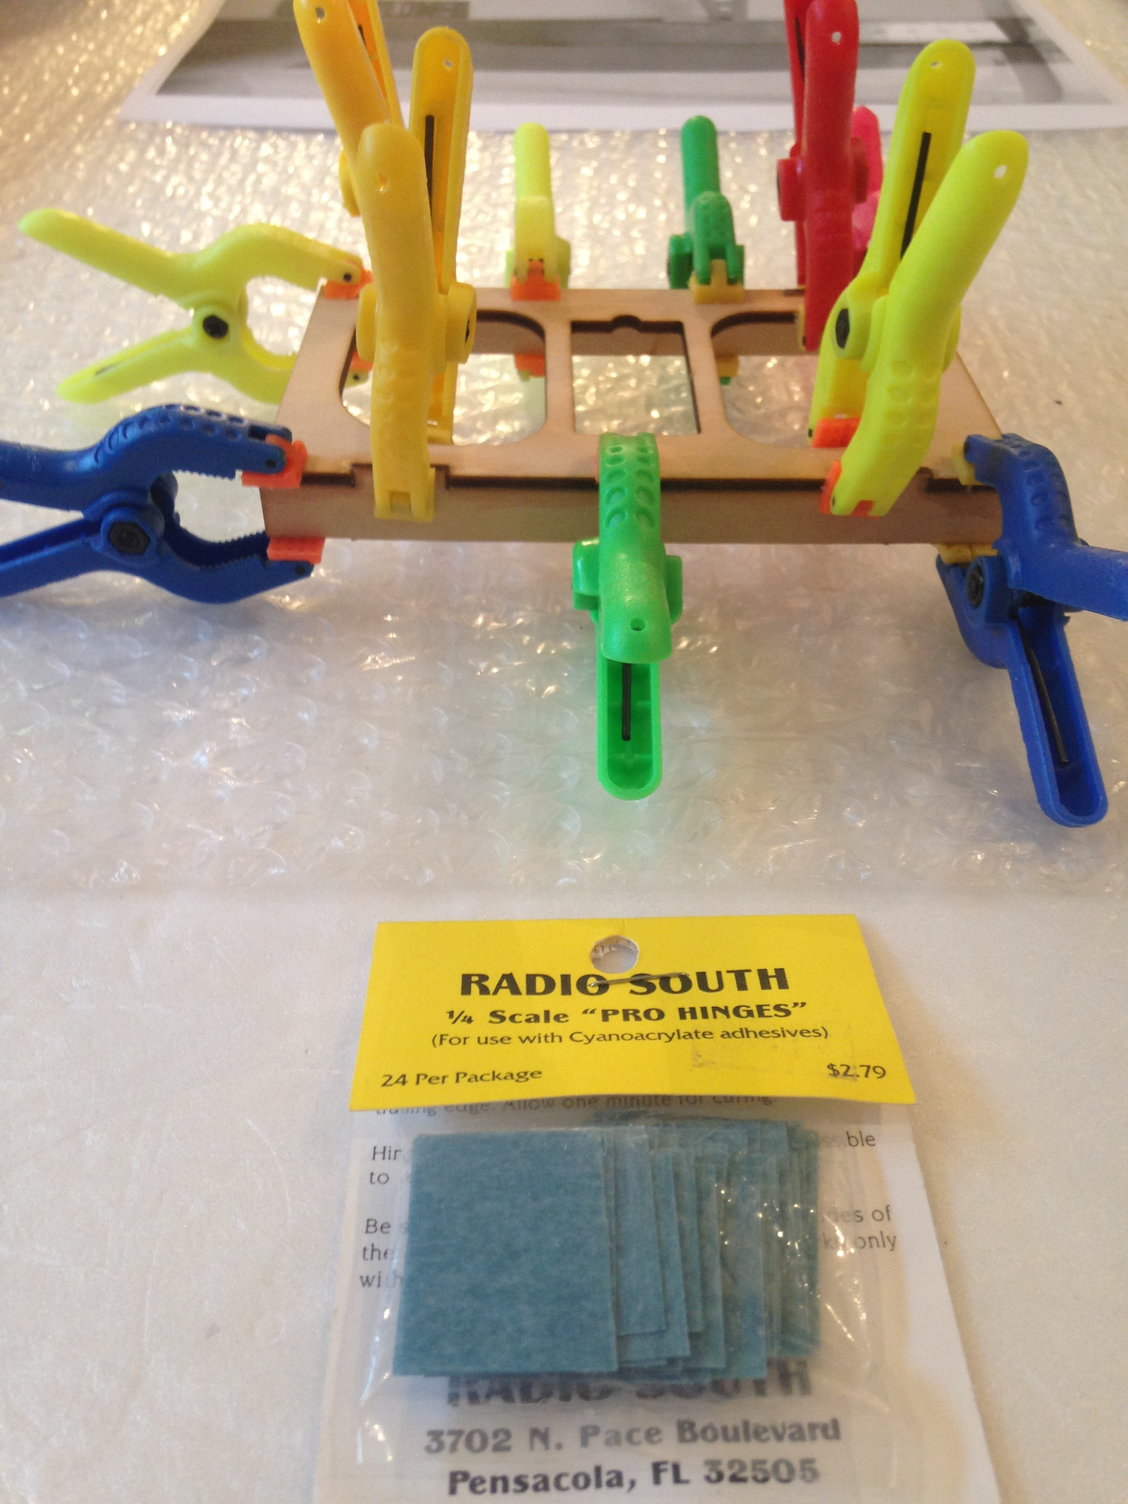
I had Radio South pro hinges sitting in a drawer for years .....maybe 20, and decided to use them.
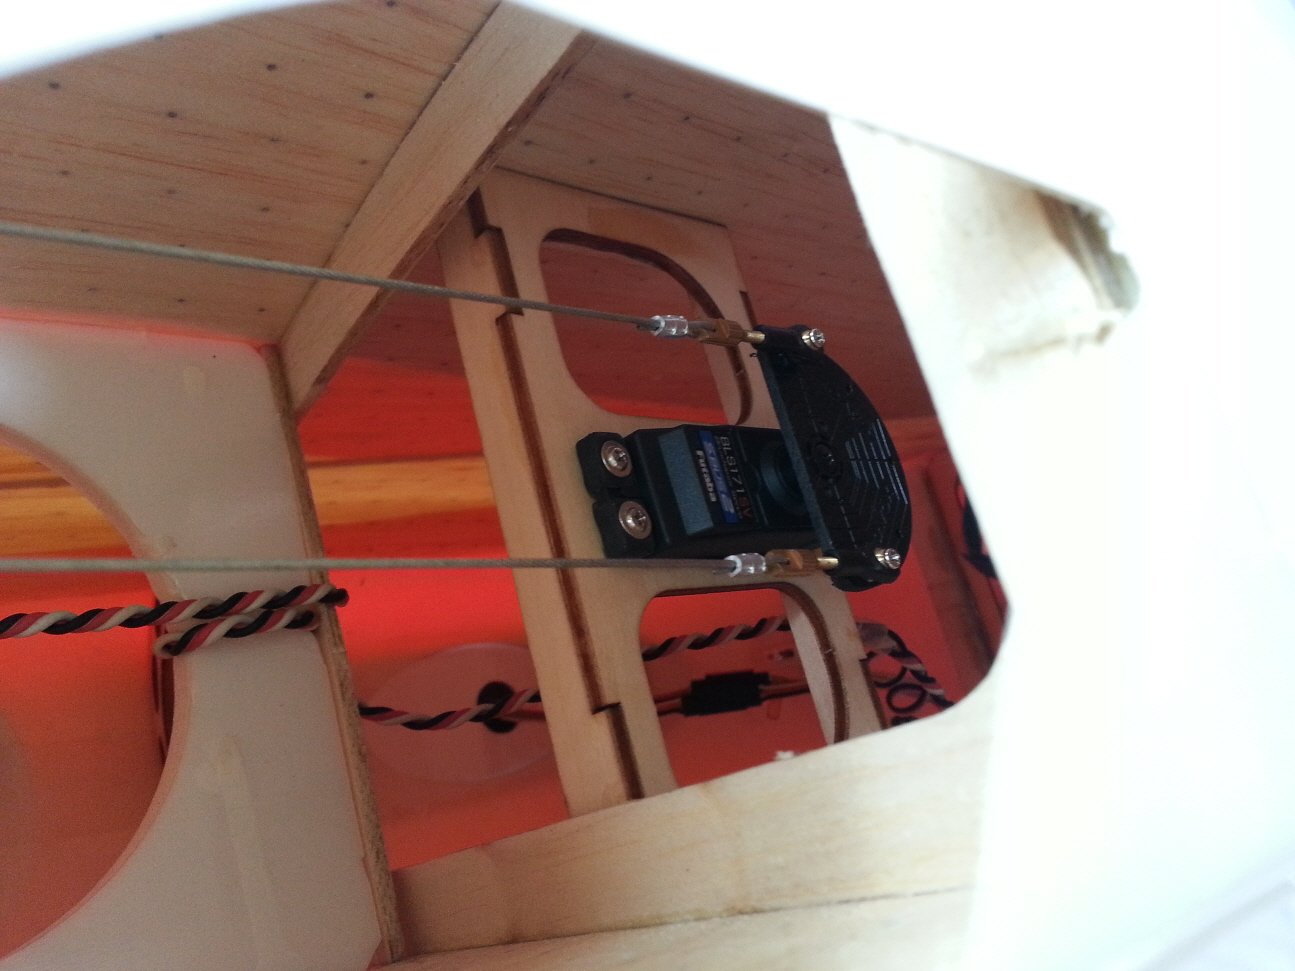

Two pics by B.J give some good informations
I had Radio South pro hinges sitting in a drawer for years .....maybe 20, and decided to use them.
Last edited by J-P; 05-17-2018 at 11:49 PM.