


BUSA 1/4 Scale Fokker Dr 1
 09-06-2013, 04:58 PM
#101

Thread Starter
My Feedback: (7)
Join Date: Jan 2004
Location: Parrish,
FL
Posts: 206
Likes: 0
Received 0 Likes
on
0 Posts
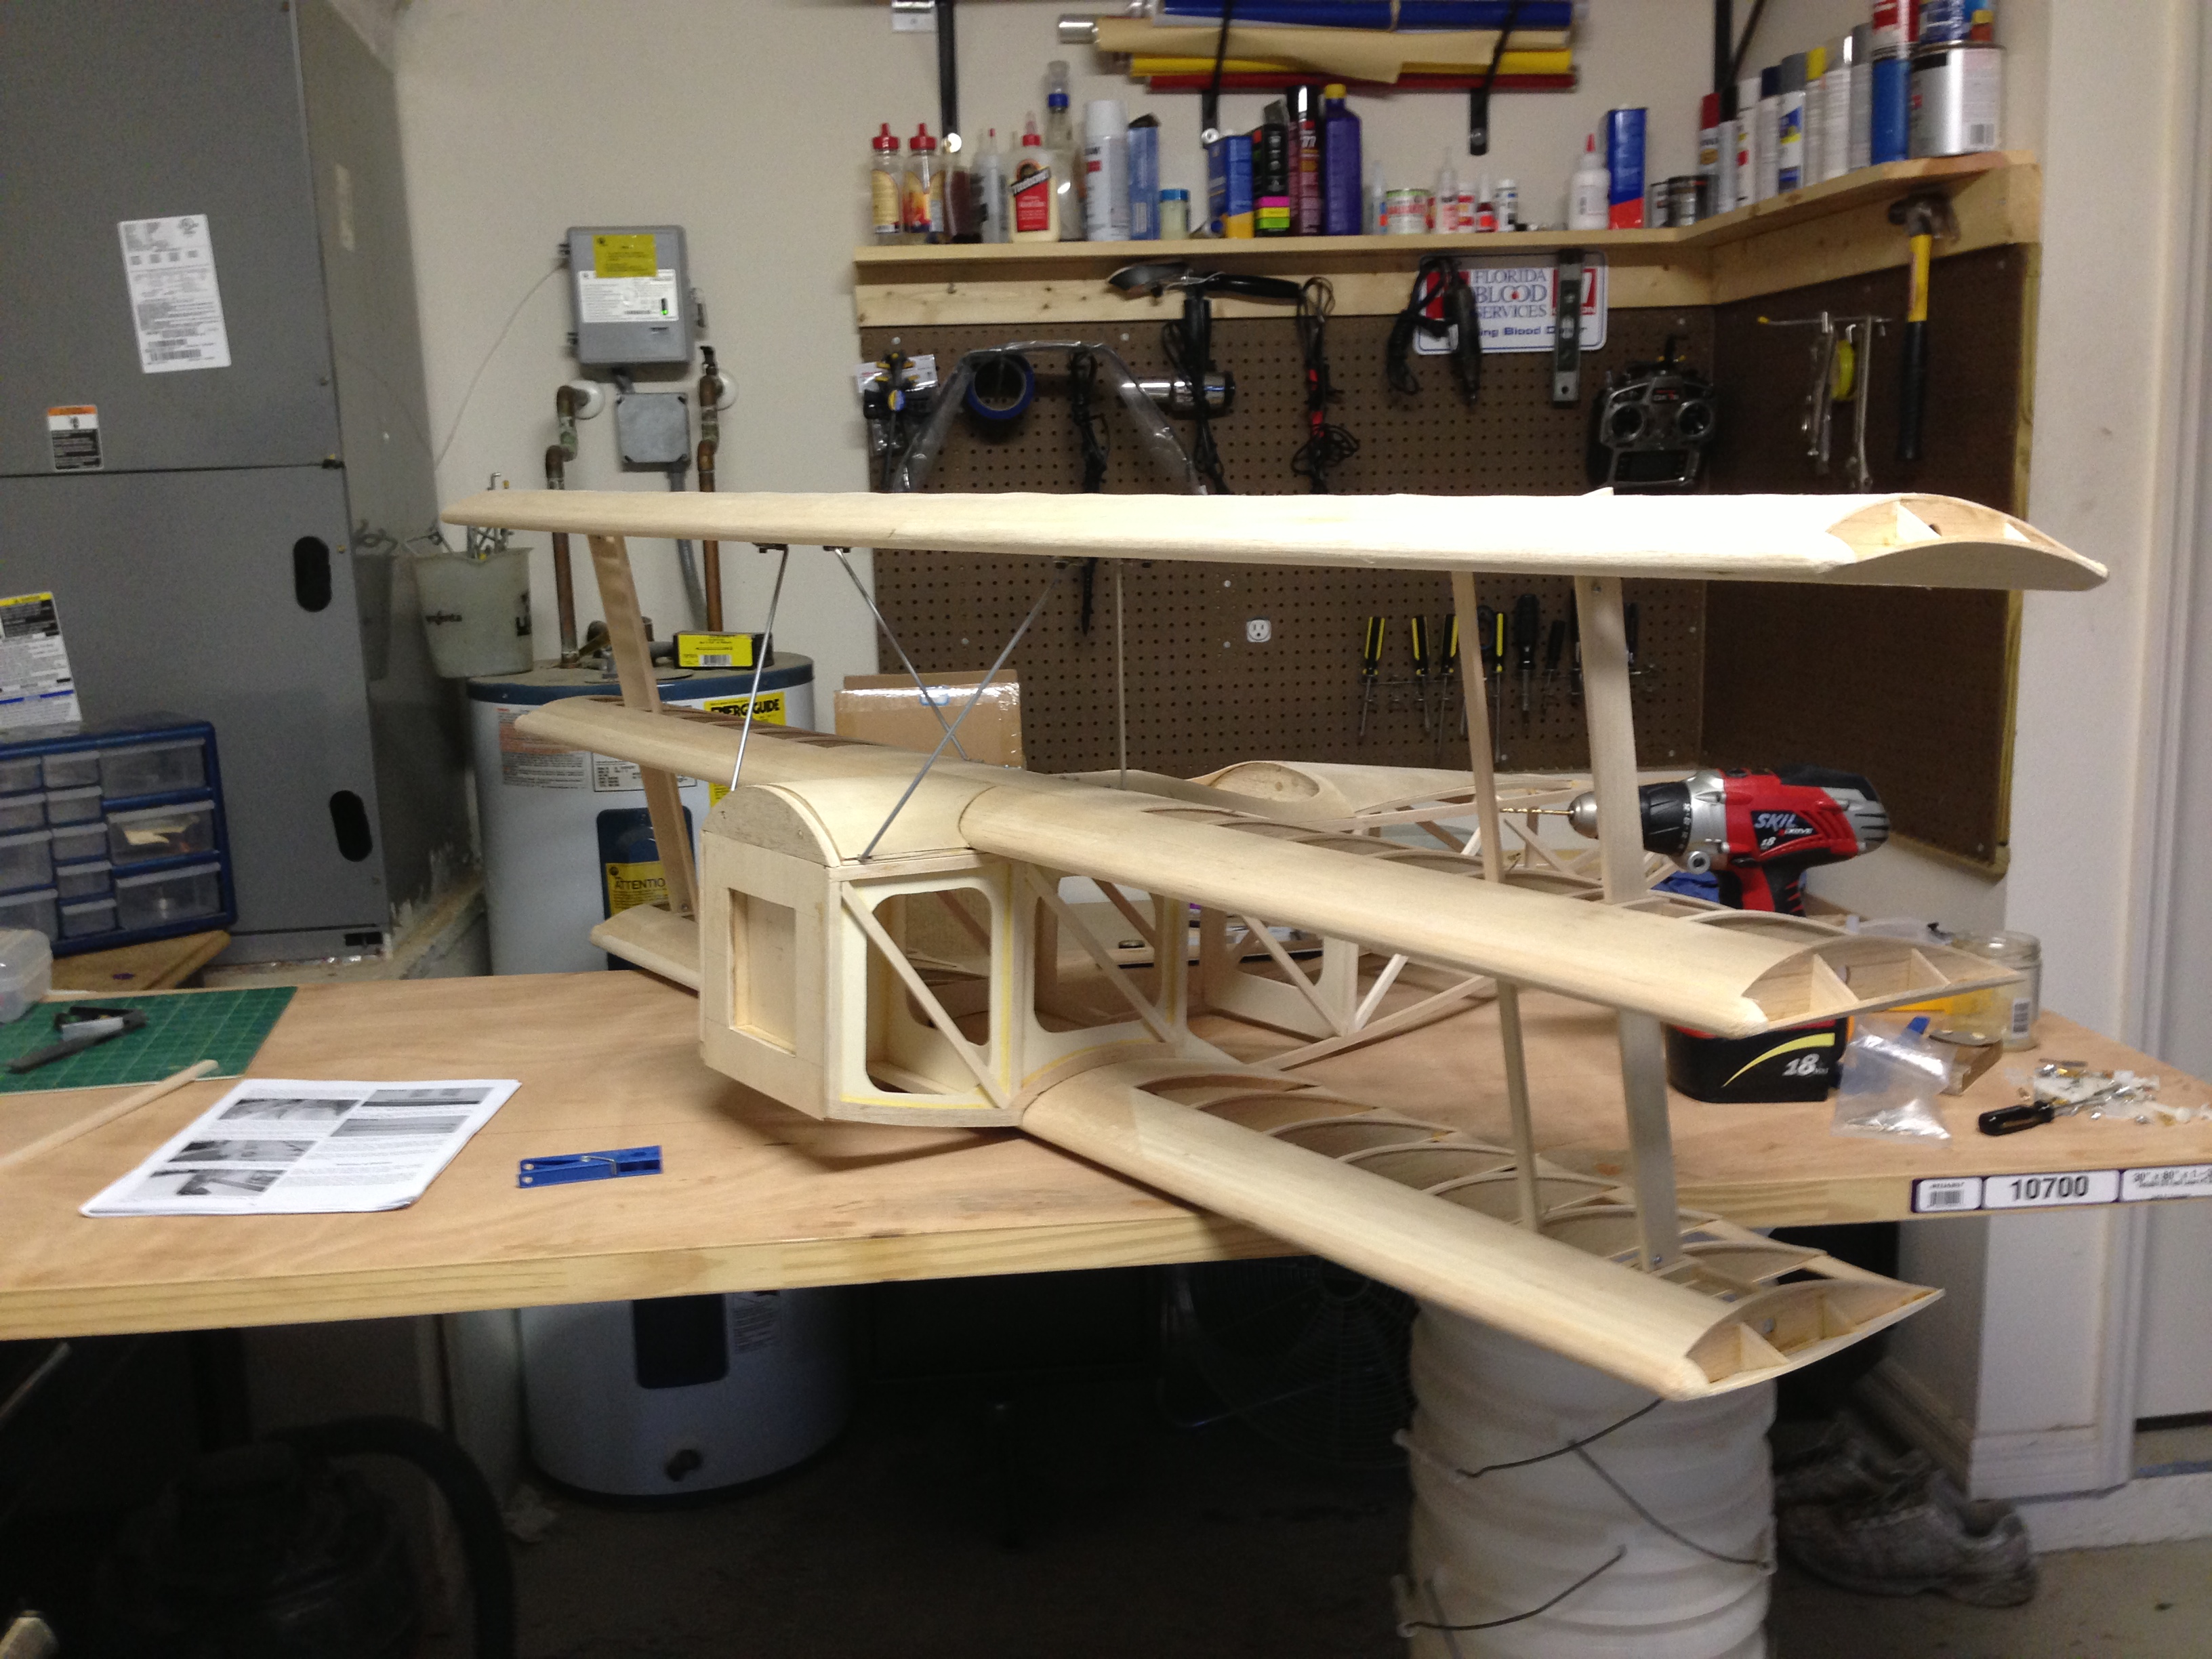
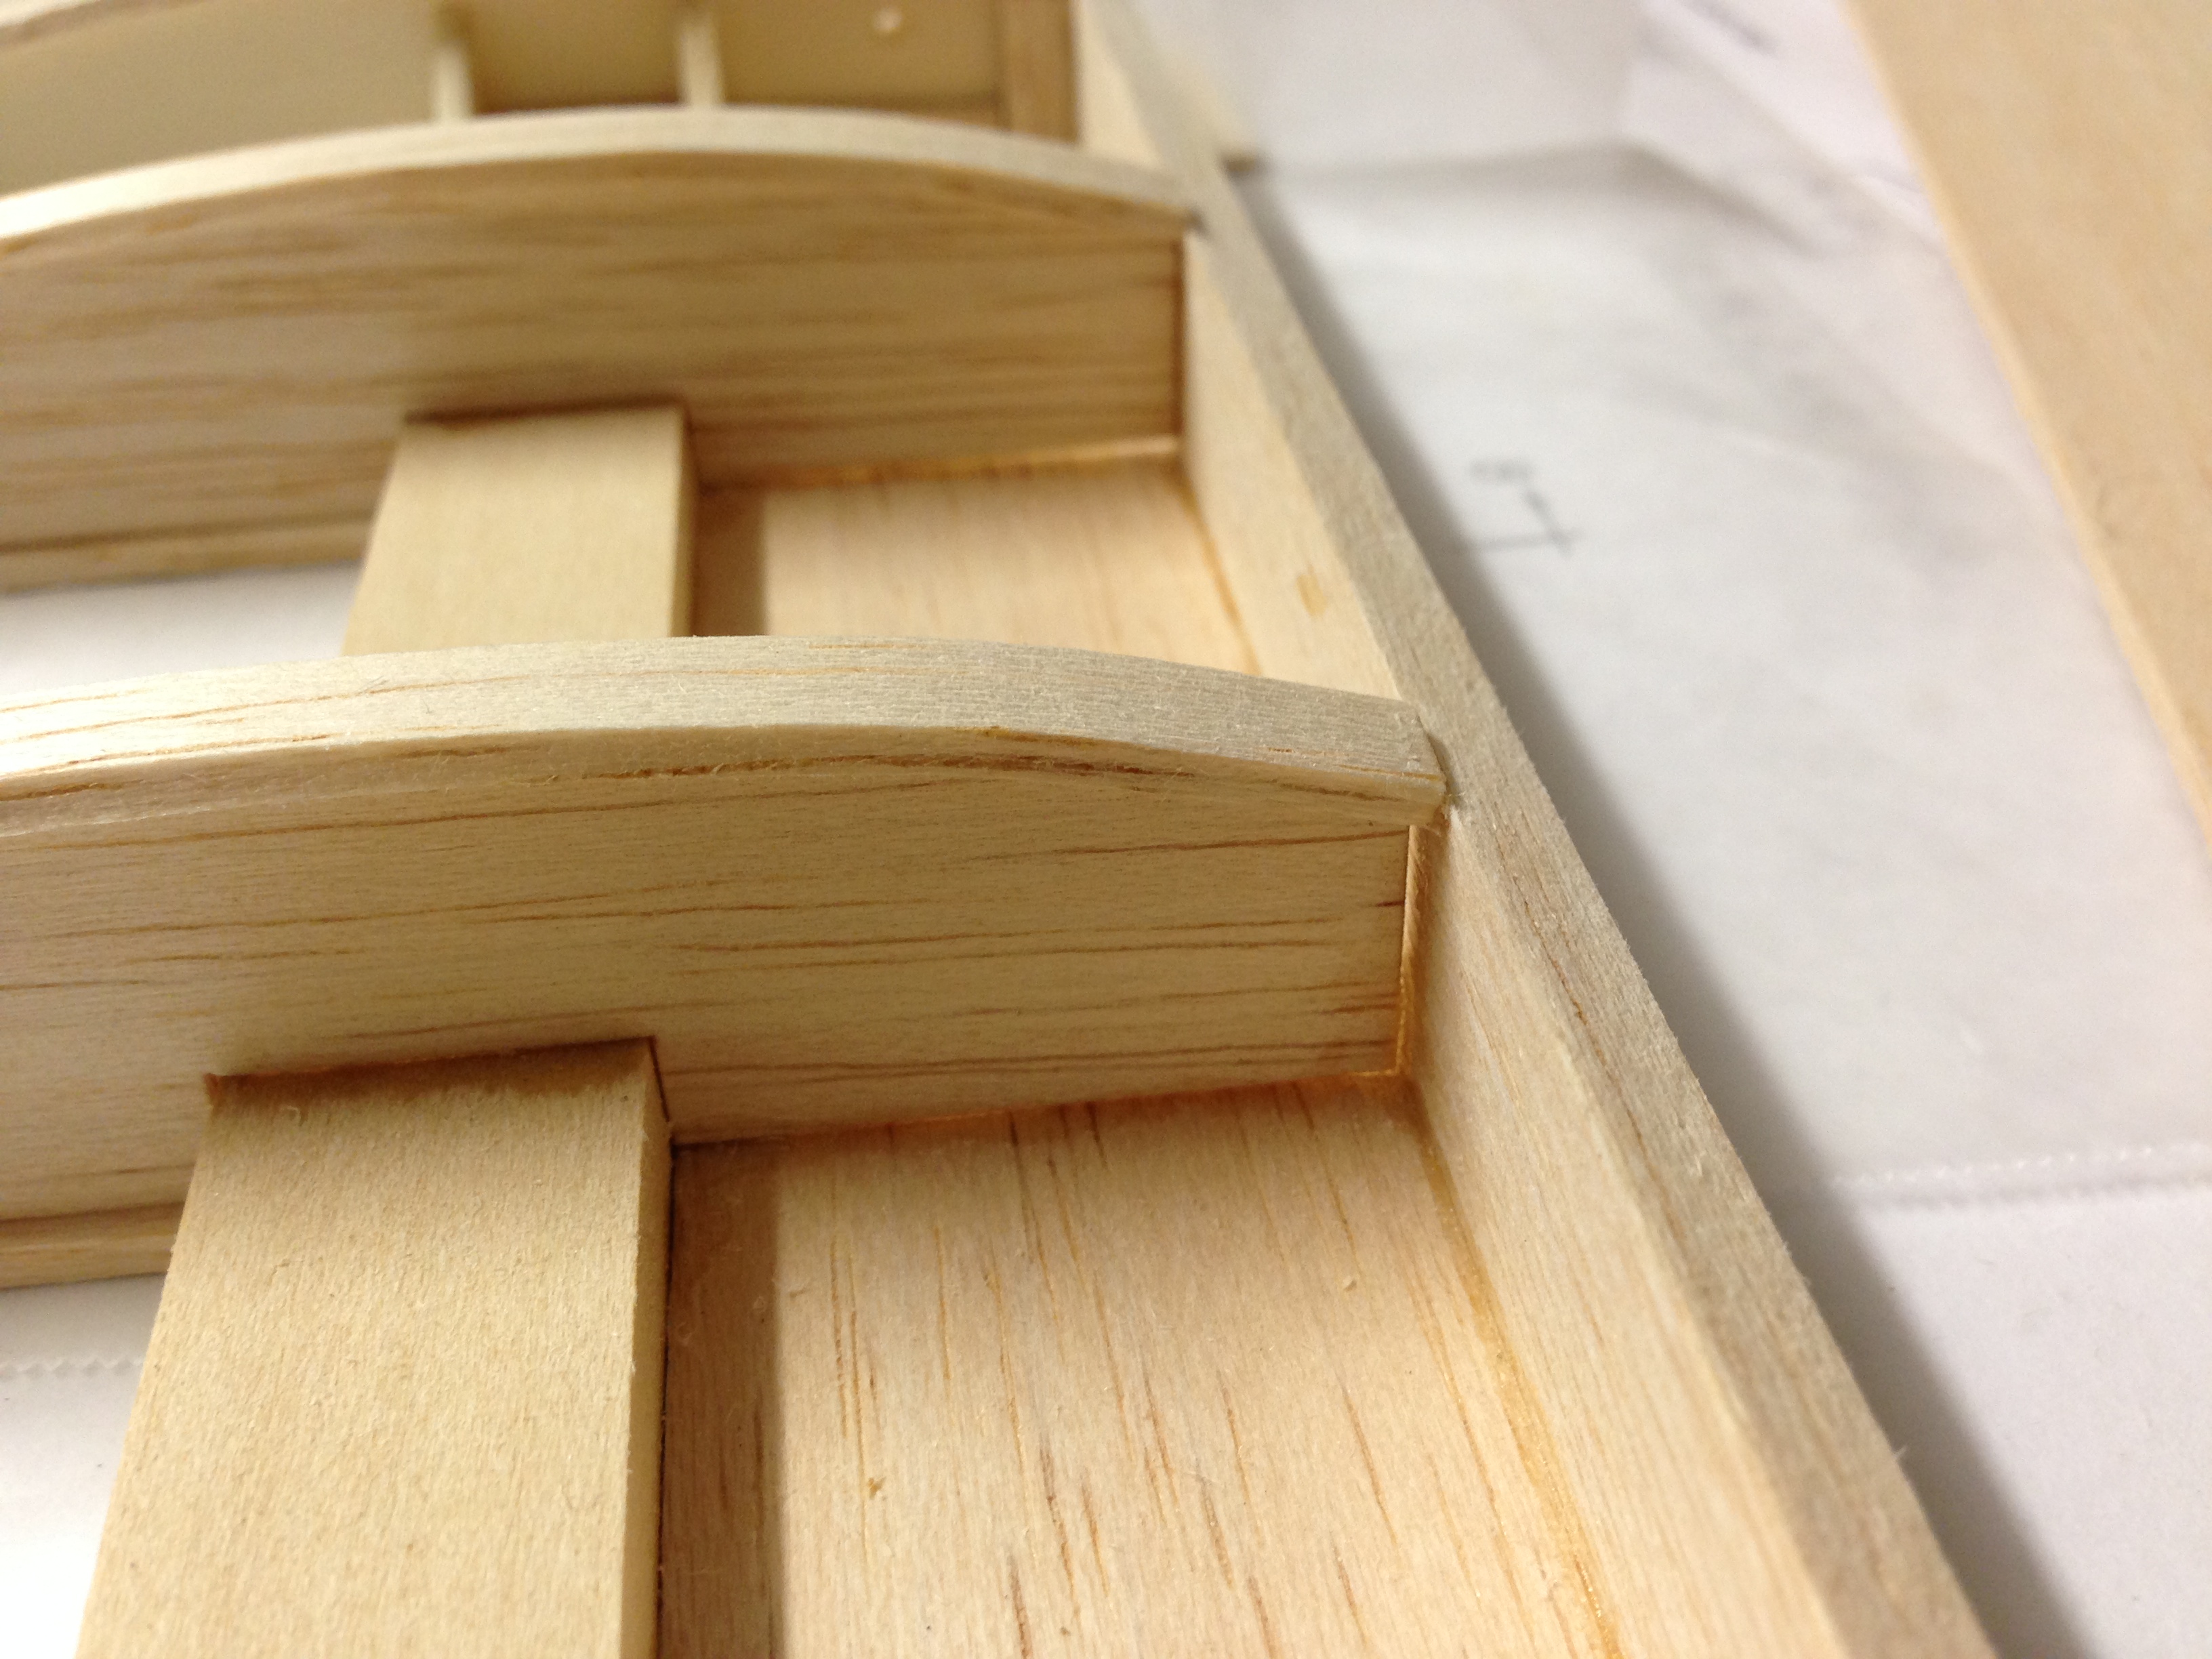
Between work and heat, I don't have a lot to show for the last week. I live in Florida, and it's just hot this time of year, but the last few evenings my garage has been like a oven. Add to that busy days at work, and I did not feel like building too much. Got back to it tonight, at least a little bit. The dents in the bottom of my top wing have been filled.

This has the benefit of hardening the attachment point. I got a little bit done on the struts. Like I said, a lot of work and not much to show for it on these struts.

I hope to get a lot more done this weekend. I'm always saying that.
This has the benefit of hardening the attachment point. I got a little bit done on the struts. Like I said, a lot of work and not much to show for it on these struts.
I hope to get a lot more done this weekend. I'm always saying that.
 09-10-2013, 04:10 PM
#102
Thread Starter
My Feedback: (7)
Join Date: Jan 2004
Location: Parrish,
FL
Posts: 206
Likes: 0
Received 0 Likes
on
0 Posts
I really have been working on the Dr 1. Well, maybe not a whole lot. Those blasted struts are almost done. It's funny, they are something that a casual observer will probably not even notice, but were a very time consuming part of the build. At least I get to paint mine RED!

 09-13-2013, 03:53 PM
#104
Thread Starter
My Feedback: (7)
Join Date: Jan 2004
Location: Parrish,
FL
Posts: 206
Likes: 0
Received 0 Likes
on
0 Posts
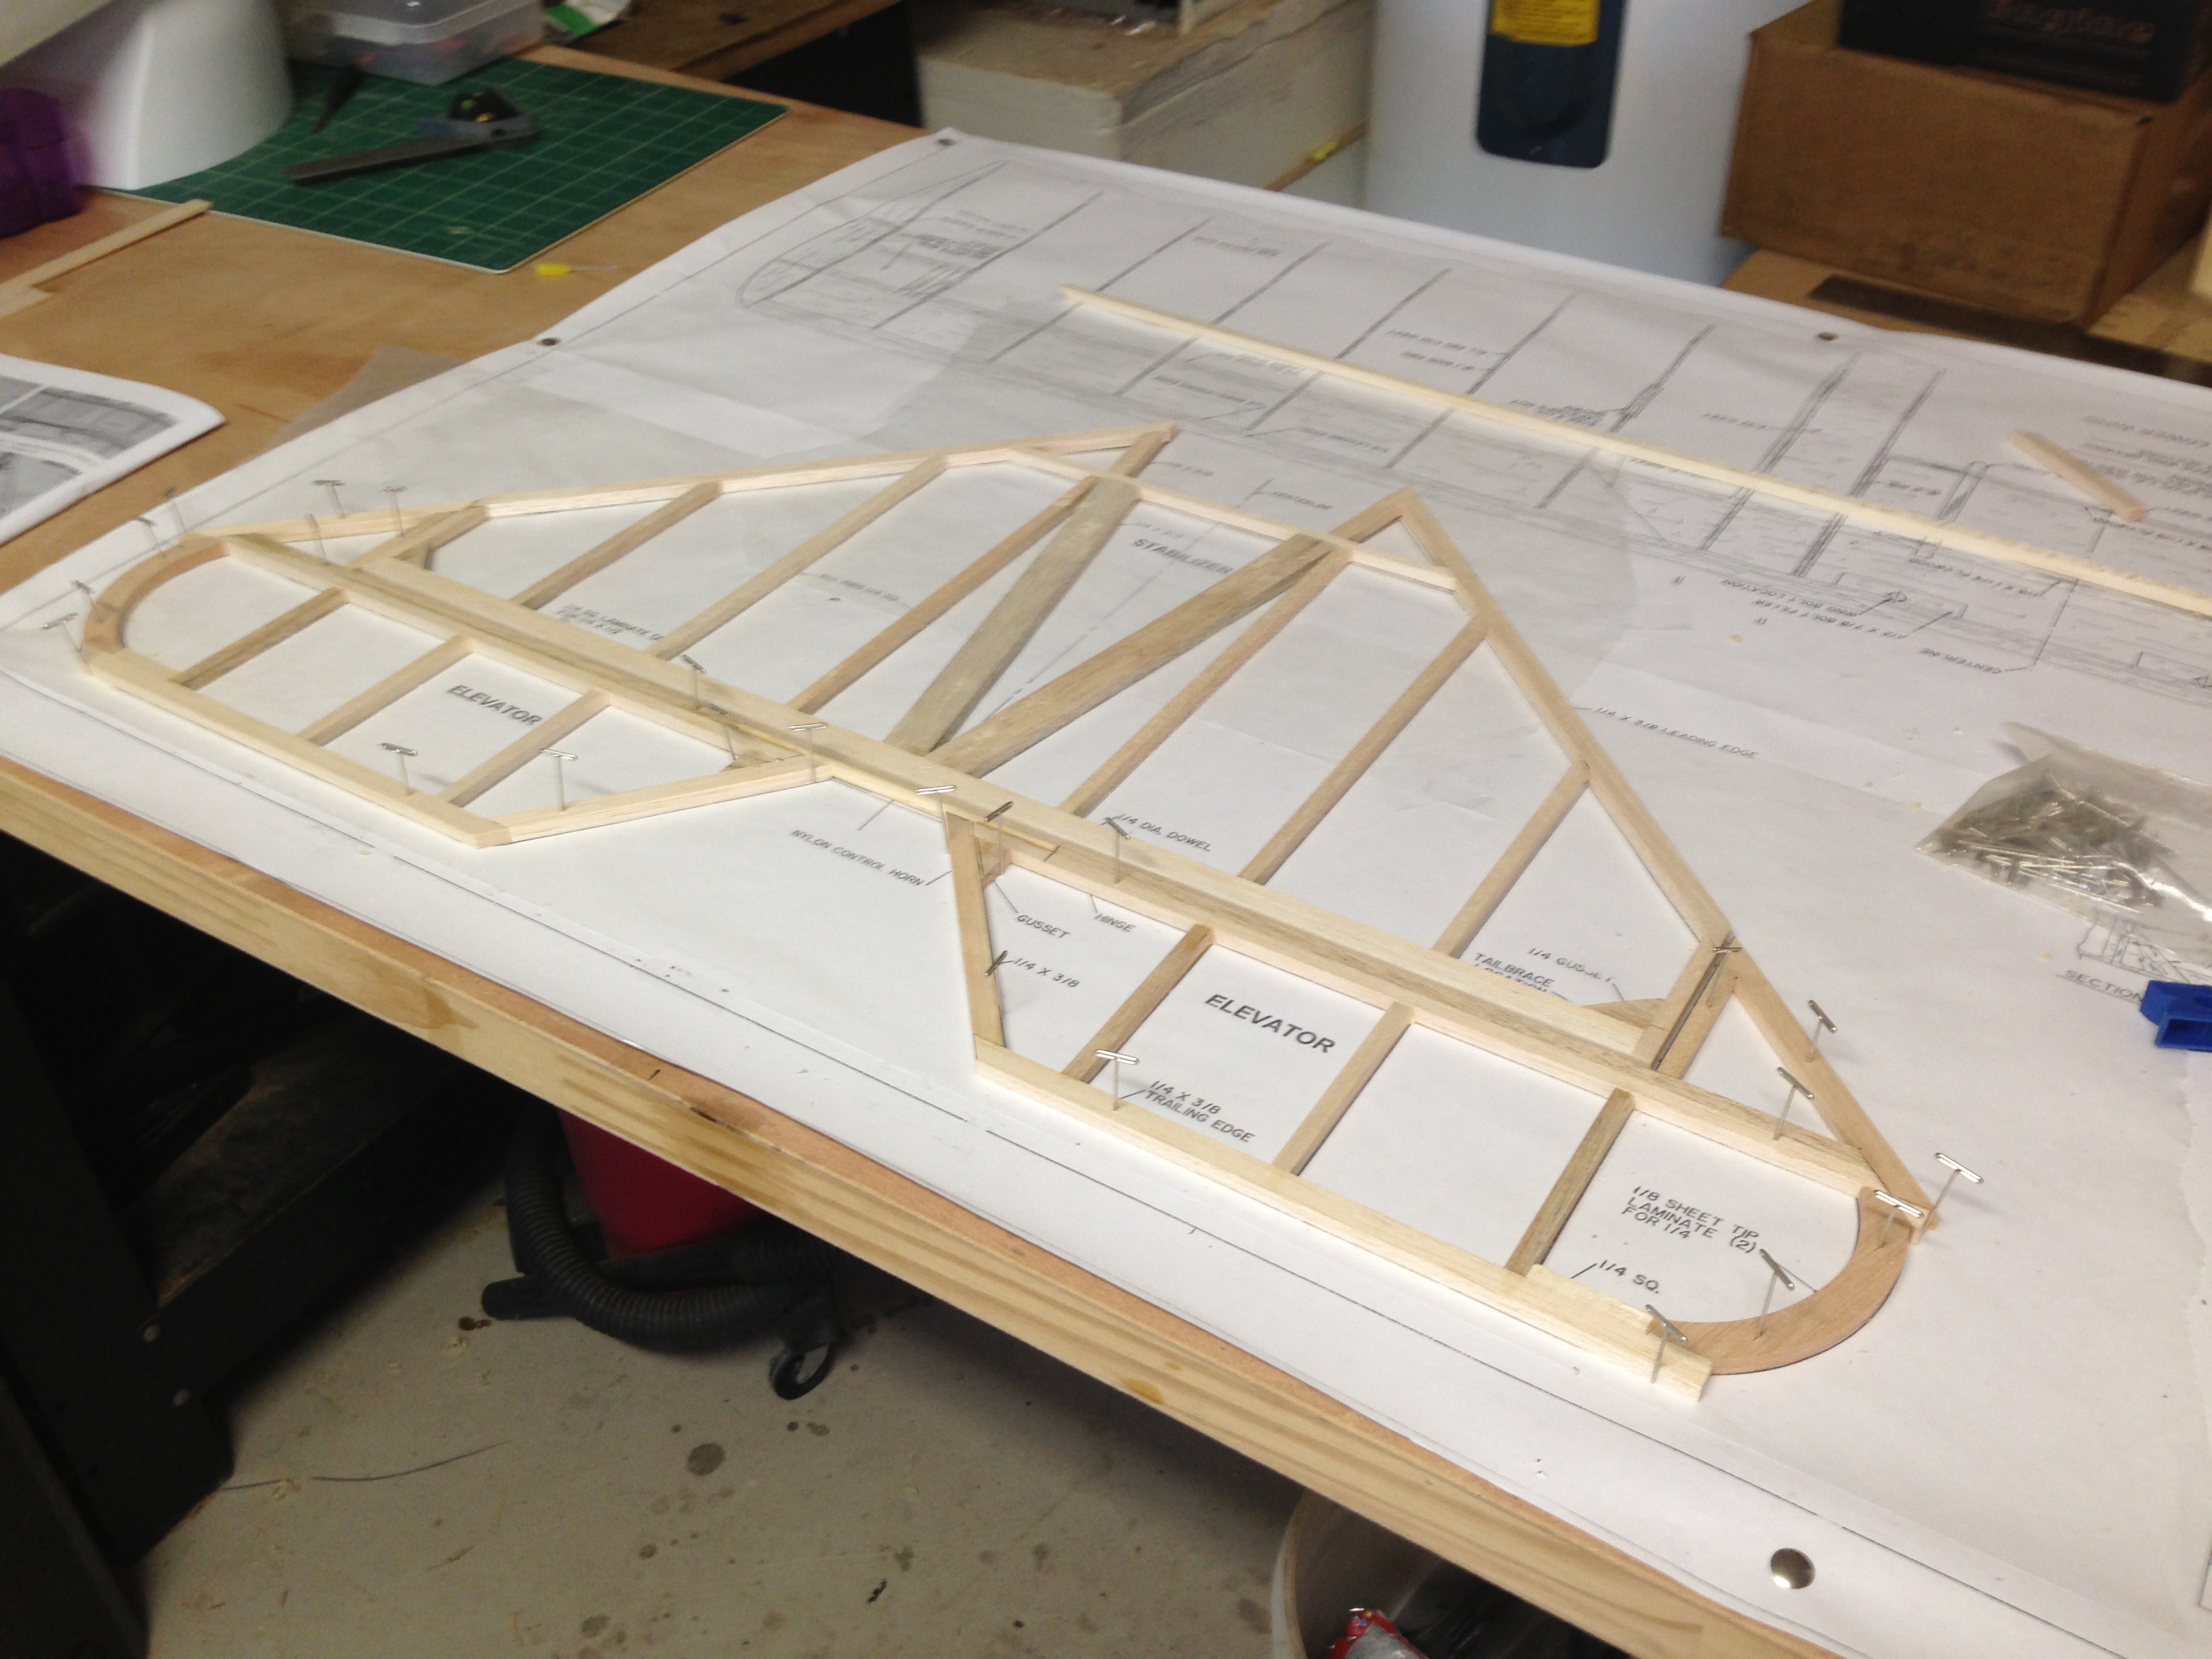
Well, my struts are finally done and the passed the assembly test. This is, take the bottom wing off the plane and see if you can get it back on with the struts in place. I was happy with that. I have the stabilizer and elevator pretty much built,
just hinging and sanding left to do there. Looks like the rudder is next.
just hinging and sanding left to do there. Looks like the rudder is next.
09-16-2013, 04:03 PM
#107
Thread Starter
My Feedback: (7)
Join Date: Jan 2004
Location: Parrish,
FL
Posts: 206
Likes: 0
Received 0 Likes
on
0 Posts
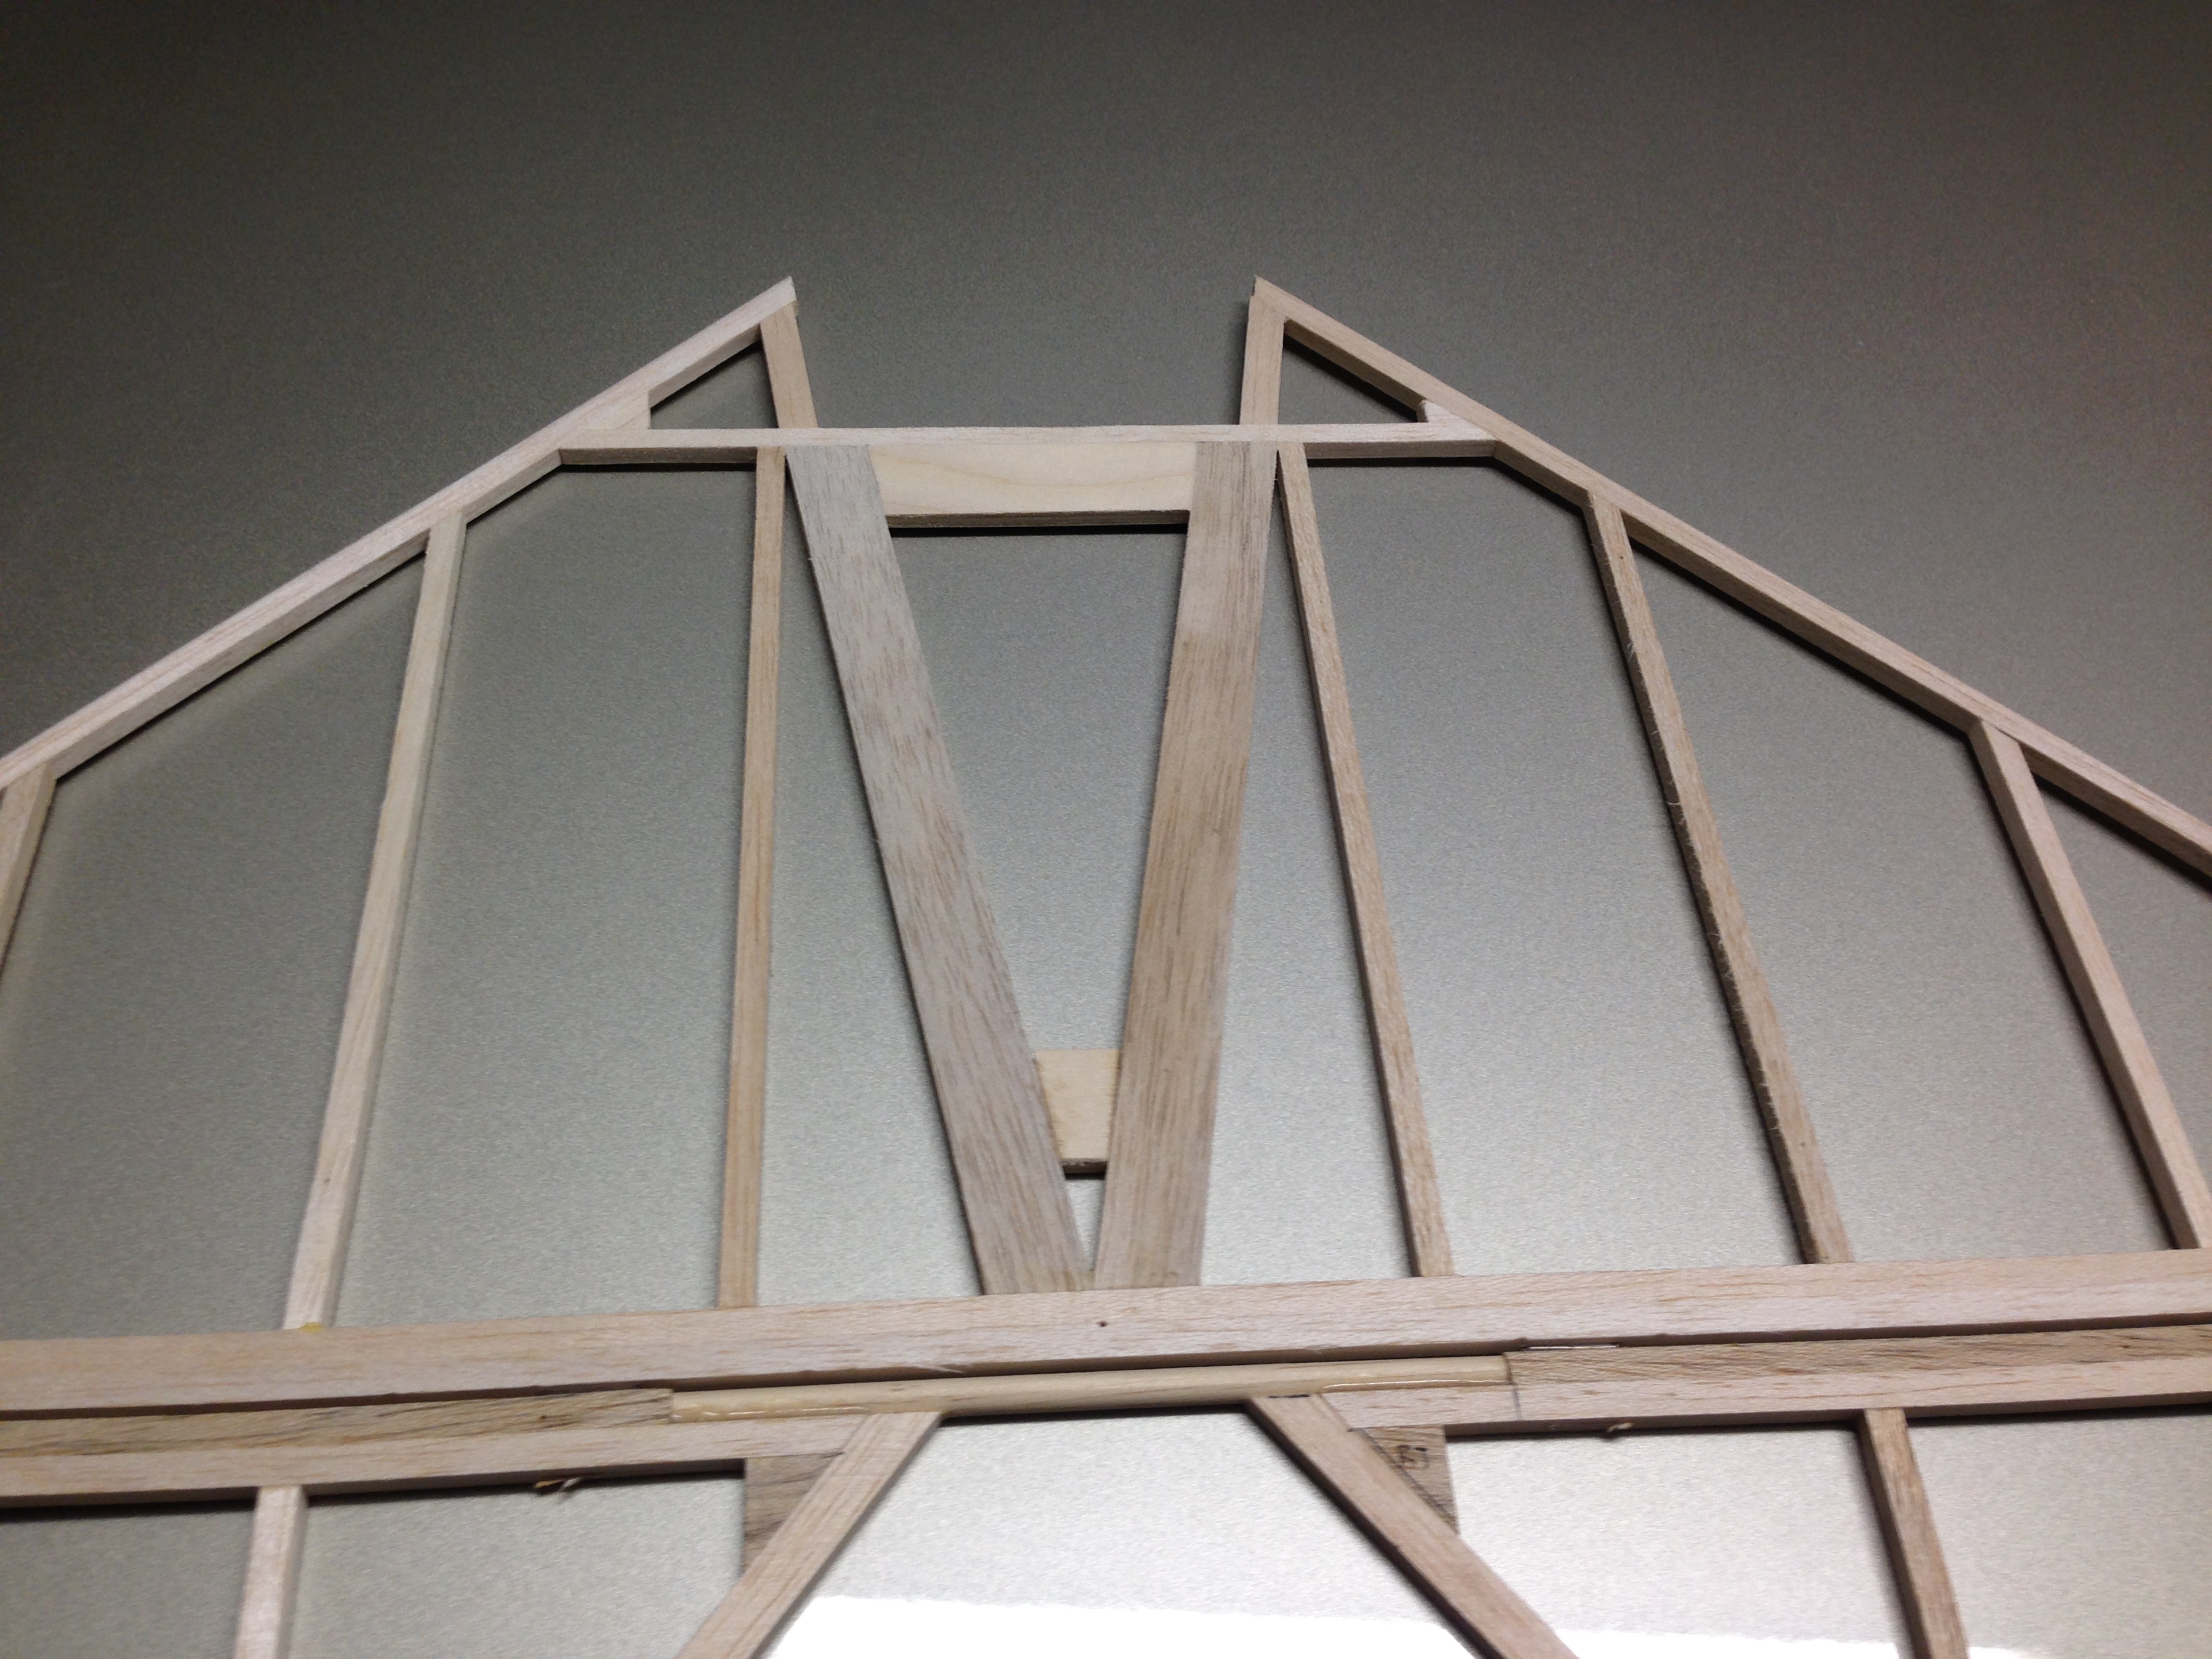
Rudder is build. It just needs sanding.
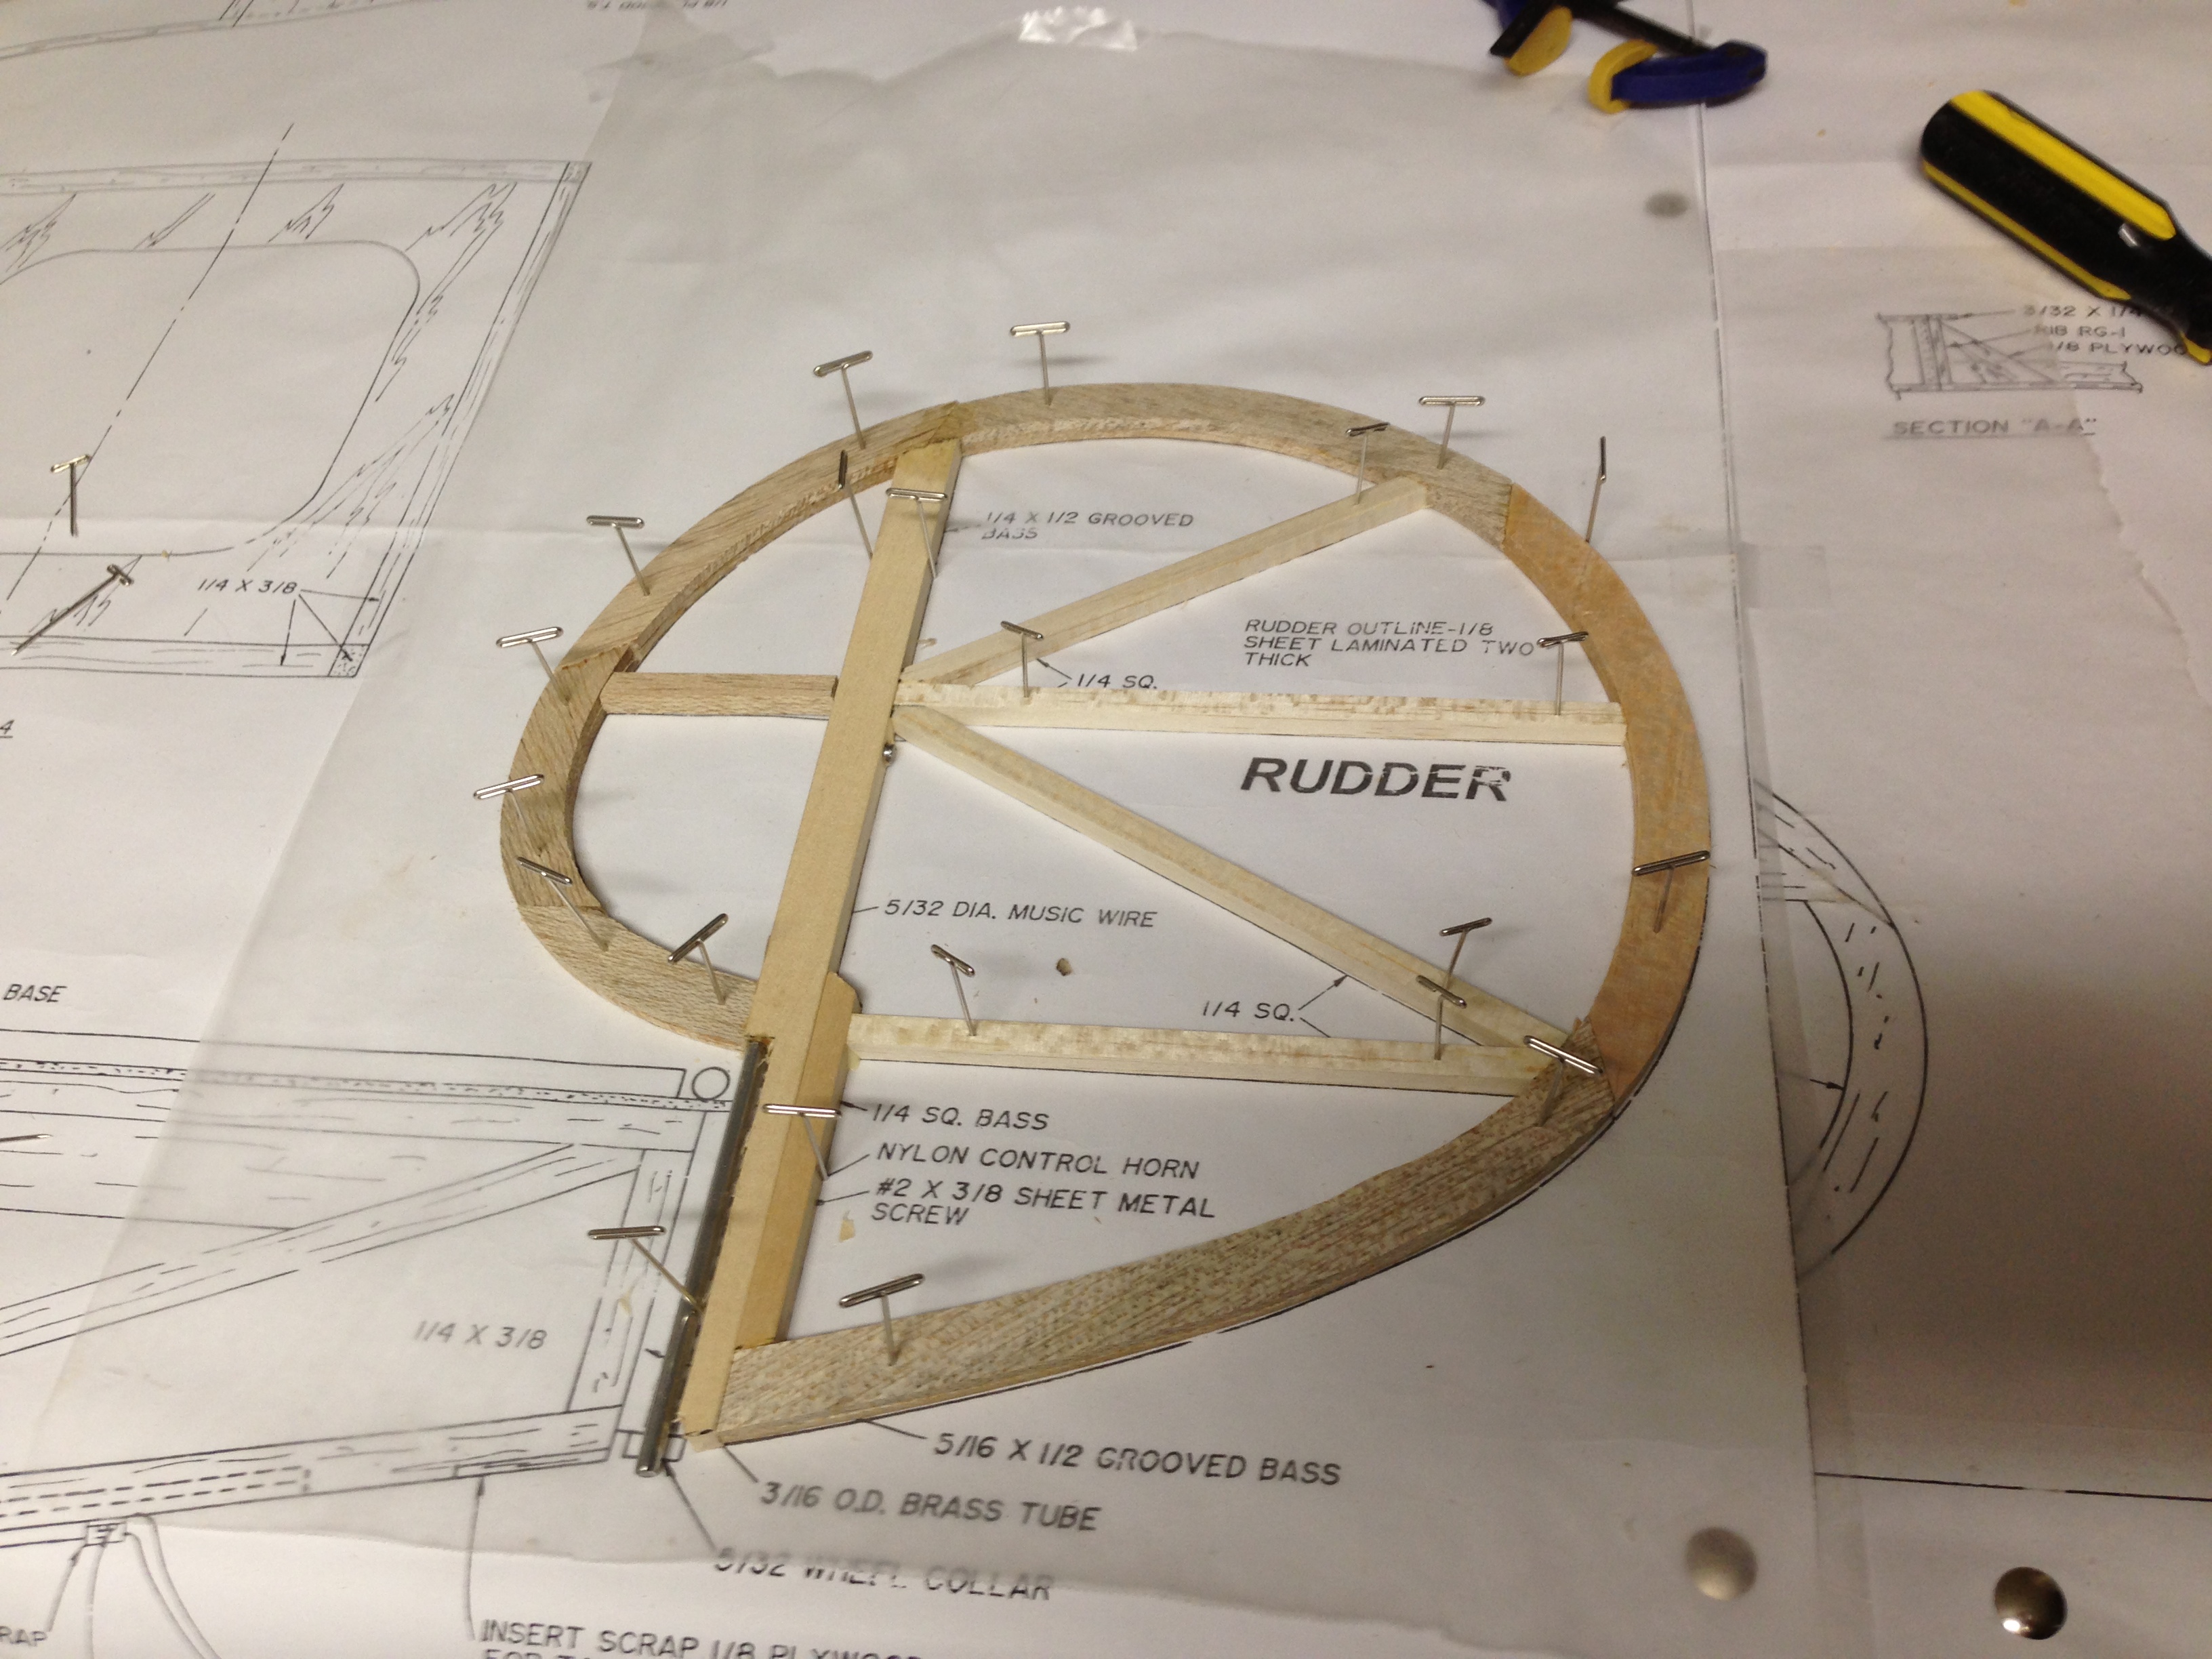
Now, I have a problem with the next step. VG, jeffo, I need some input here. I finally realized that a single aluminum tube glued to a basswood block is going to hold my rudder on:
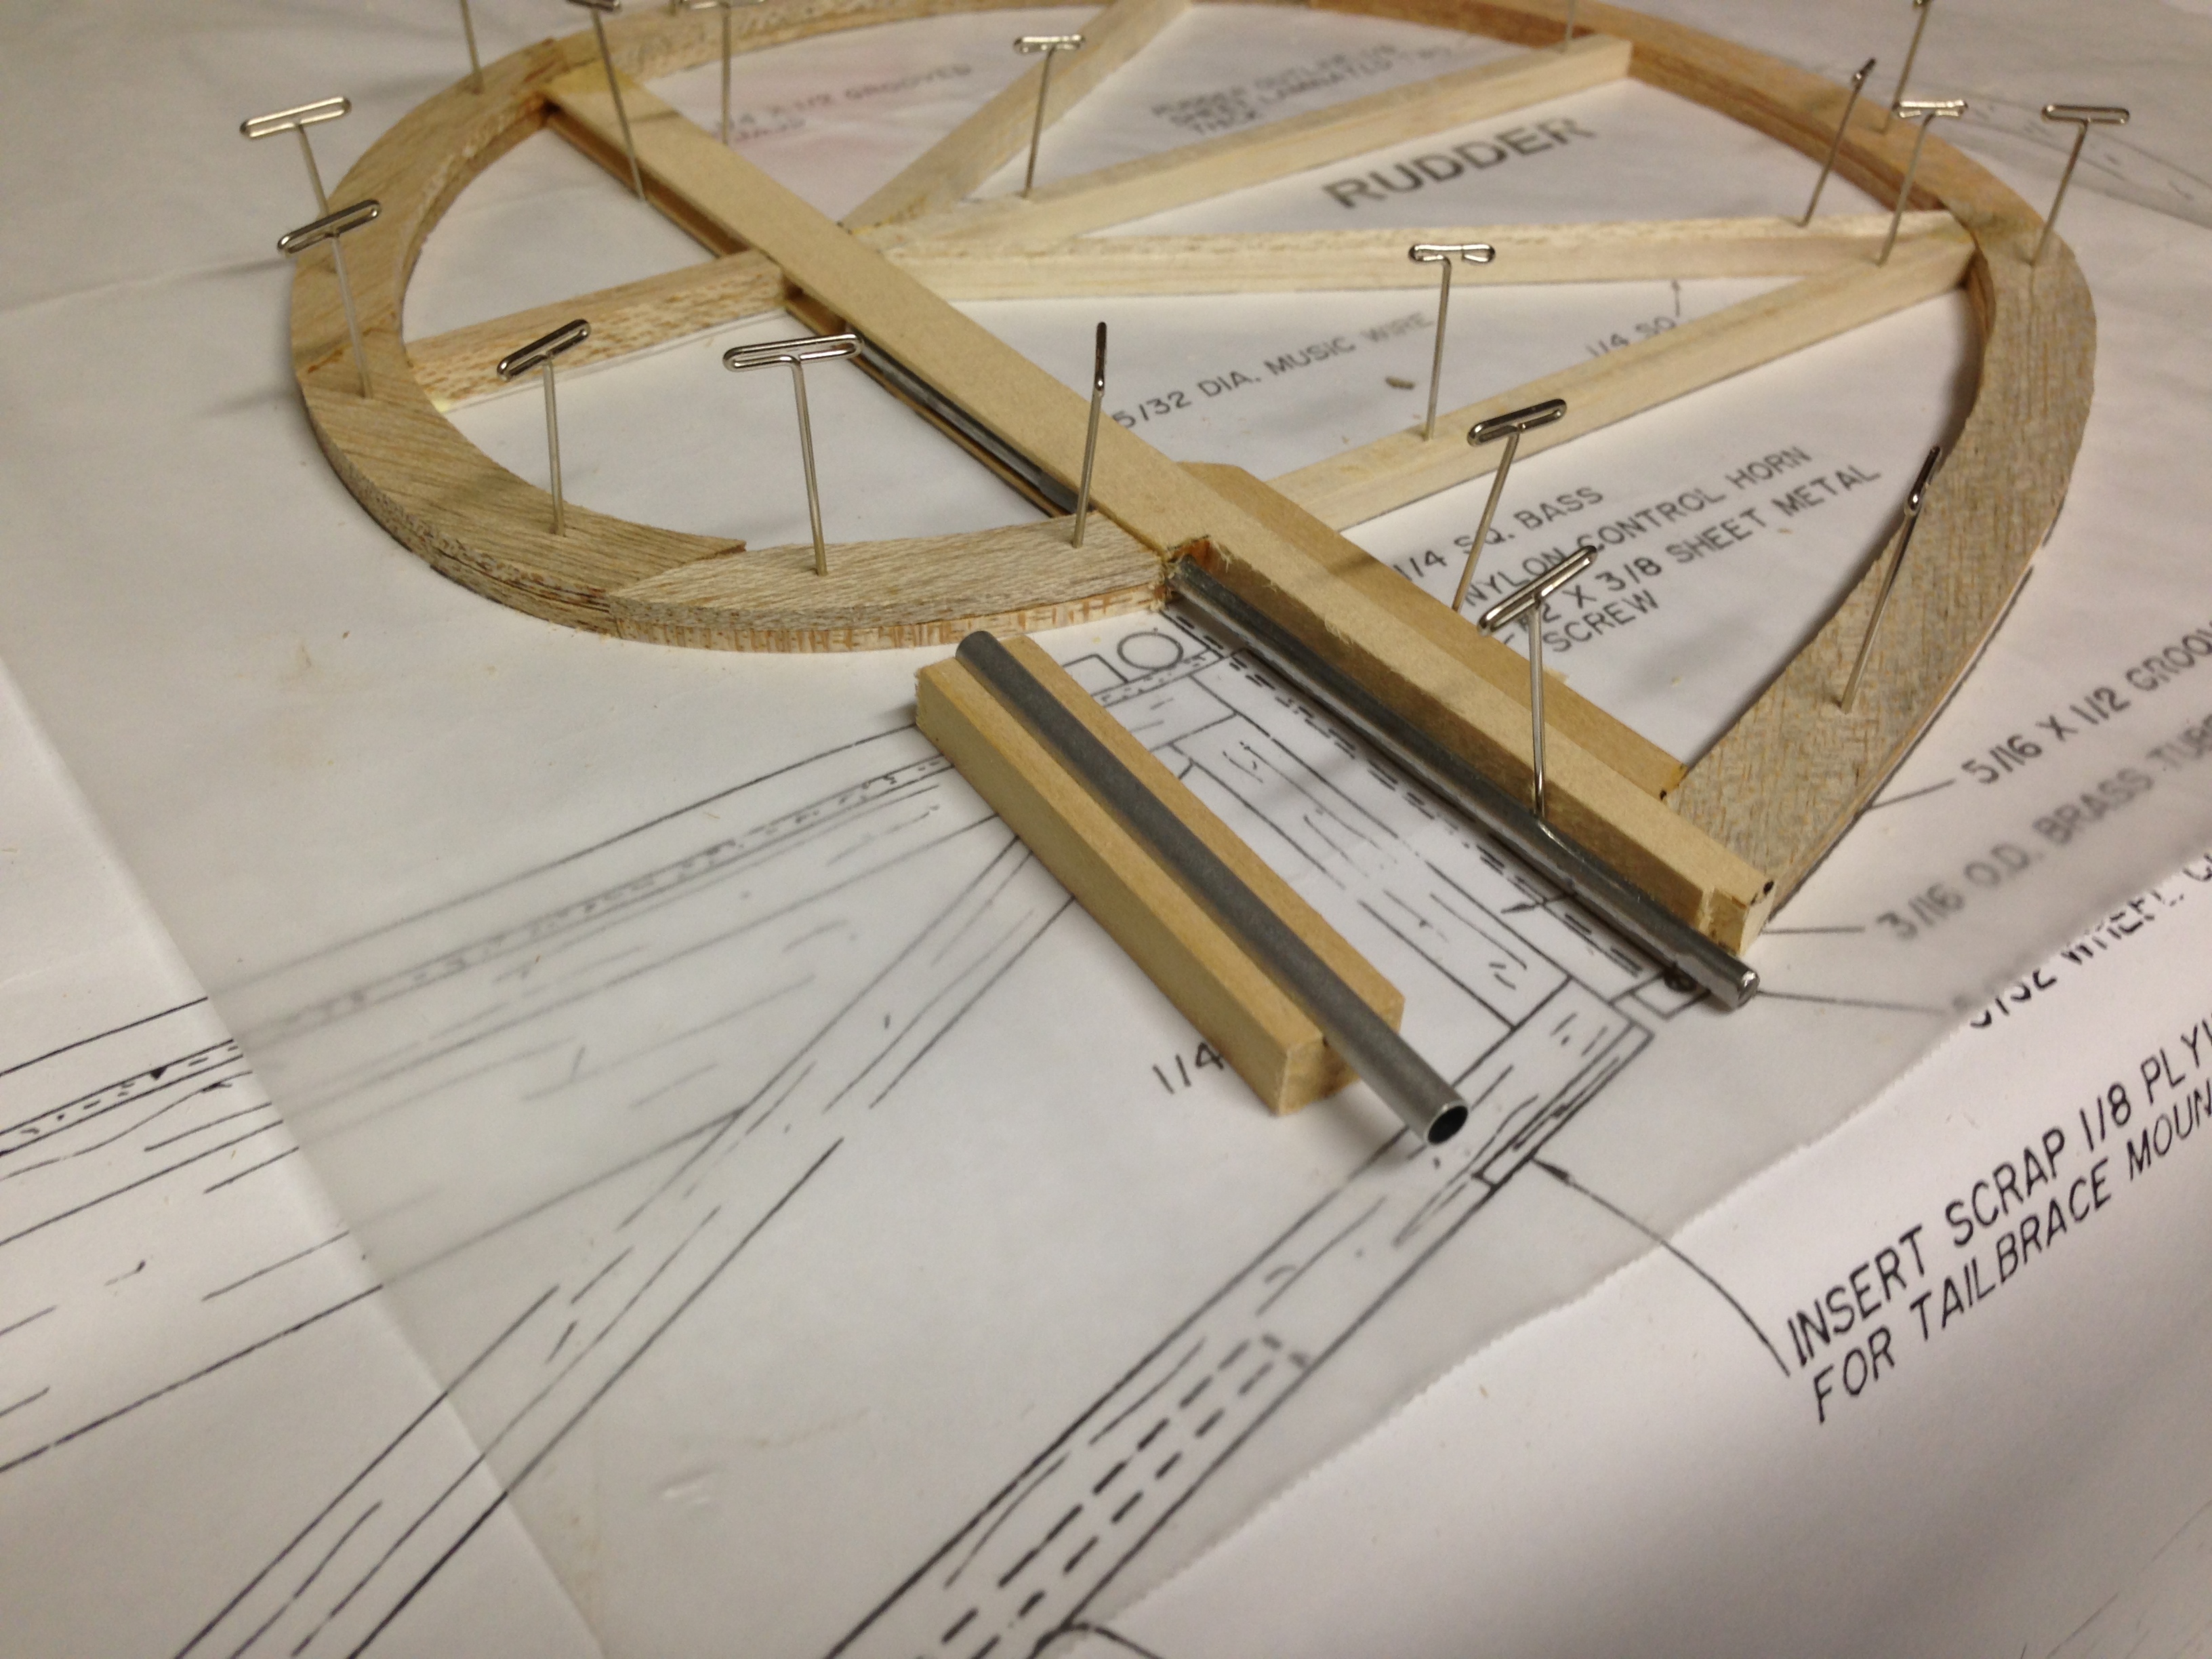
I would use epoxy over the BUSA recommended CA glue, but come on. Is that going to keep the rudder attached?
Now, I have a problem with the next step. VG, jeffo, I need some input here. I finally realized that a single aluminum tube glued to a basswood block is going to hold my rudder on:
I would use epoxy over the BUSA recommended CA glue, but come on. Is that going to keep the rudder attached?
09-16-2013, 04:30 PM
#108


I used epoxy and it held just fine. Do yourself a favor and get a better control horn for the rudder. If the rudder connection fails the plane will go into a death spiral that you cannot recover from.
Your build is looking good. I do not envy you having to cover the scallops at the T/E.
Later!!
Anthony
Your build is looking good. I do not envy you having to cover the scallops at the T/E.
Later!!
Anthony
09-16-2013, 04:52 PM
#109
If you follow the instructions, it is just fine. The trick that they do later is wrap fabric over the aluminum tube several times. That is important. If it makes you feel better, you can wrap fiberglass cloth over the tail post with tube and thin CA that. Then on the rudder, you can use some cloth, with several wraps of cloth and CA that. I never had this area become a concern.
Do not worry, the scallops are not that bad. Just a little time consuming.
Do not worry, the scallops are not that bad. Just a little time consuming.
09-16-2013, 11:55 PM
#110
My Feedback: (68)
V.G. is correct,just make sure when you cover your bird,wrap the covering around the tail post from one side,then when you do the opp.side wrap the covering back over the tail post the the side you just covered.Basically a double wrap around the tail post.Put the gussets at the most outer corners of the stab.I've seen them break free.-jeffo
09-18-2013, 03:30 PM
#111
Thread Starter
My Feedback: (7)
Join Date: Jan 2004
Location: Parrish,
FL
Posts: 206
Likes: 0
Received 0 Likes
on
0 Posts
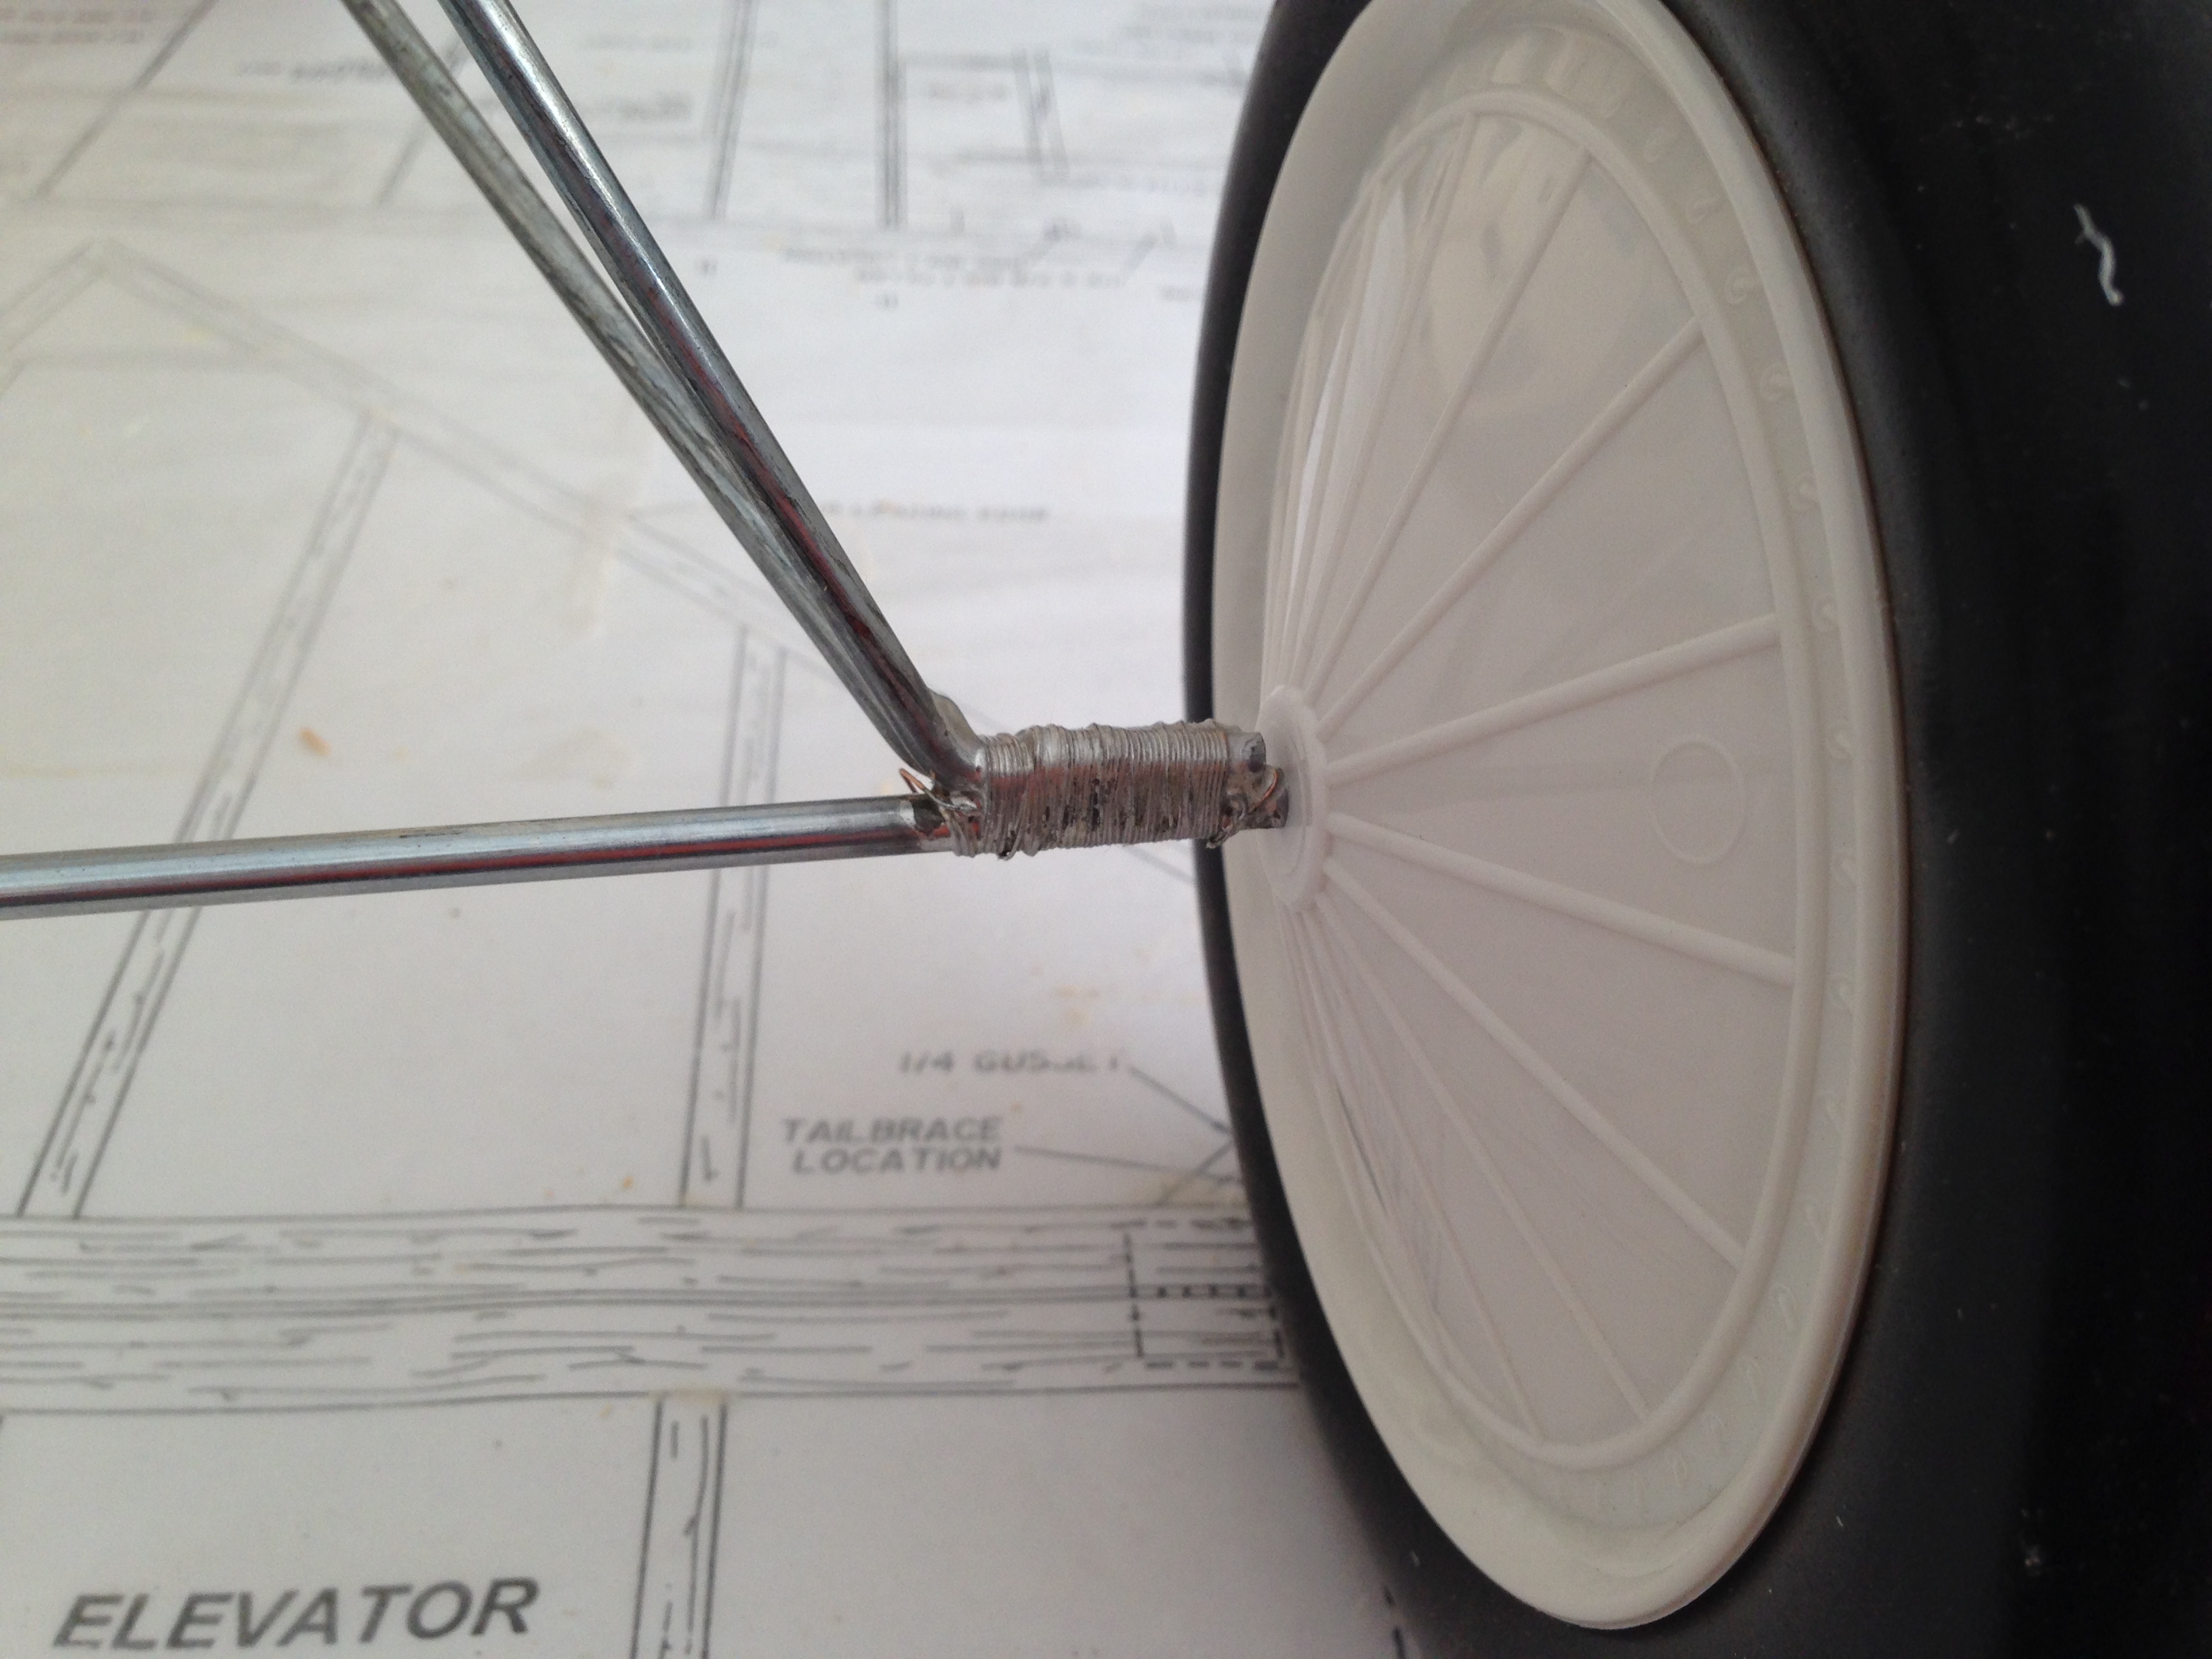
Thanks for the help and encouragement on the rudder post attachment. I had planned on building a wood tail skid, much as you guys have done. Additionally, I was planning on a removable steerable wire tail skid, sort of like this:

That would ( I hoped) give me some ground control when I needed it. But, when I saw the rudder attachment, I didn't want to add any stress to that glue joint. Now I have to re-think my steerable tail skid.
I'm at the point of stabilizer and rudder attachment. I think VG mentioned using a removable stab in case an adjustment to the incidence is needed. Sounds simple, but being sensitive to the idea of adding weight to the tail of an aircraft, I was curious about how you went about that. Any ideas other than beefing up the stab and the deck to support a couple of bolts? Or should I even be worried about a bit of tail weight? I am using a DLE 30 for power, that might offset a little tail weight.

She is looking good.
That would ( I hoped) give me some ground control when I needed it. But, when I saw the rudder attachment, I didn't want to add any stress to that glue joint. Now I have to re-think my steerable tail skid.
I'm at the point of stabilizer and rudder attachment. I think VG mentioned using a removable stab in case an adjustment to the incidence is needed. Sounds simple, but being sensitive to the idea of adding weight to the tail of an aircraft, I was curious about how you went about that. Any ideas other than beefing up the stab and the deck to support a couple of bolts? Or should I even be worried about a bit of tail weight? I am using a DLE 30 for power, that might offset a little tail weight.
She is looking good.
09-18-2013, 05:05 PM
#112
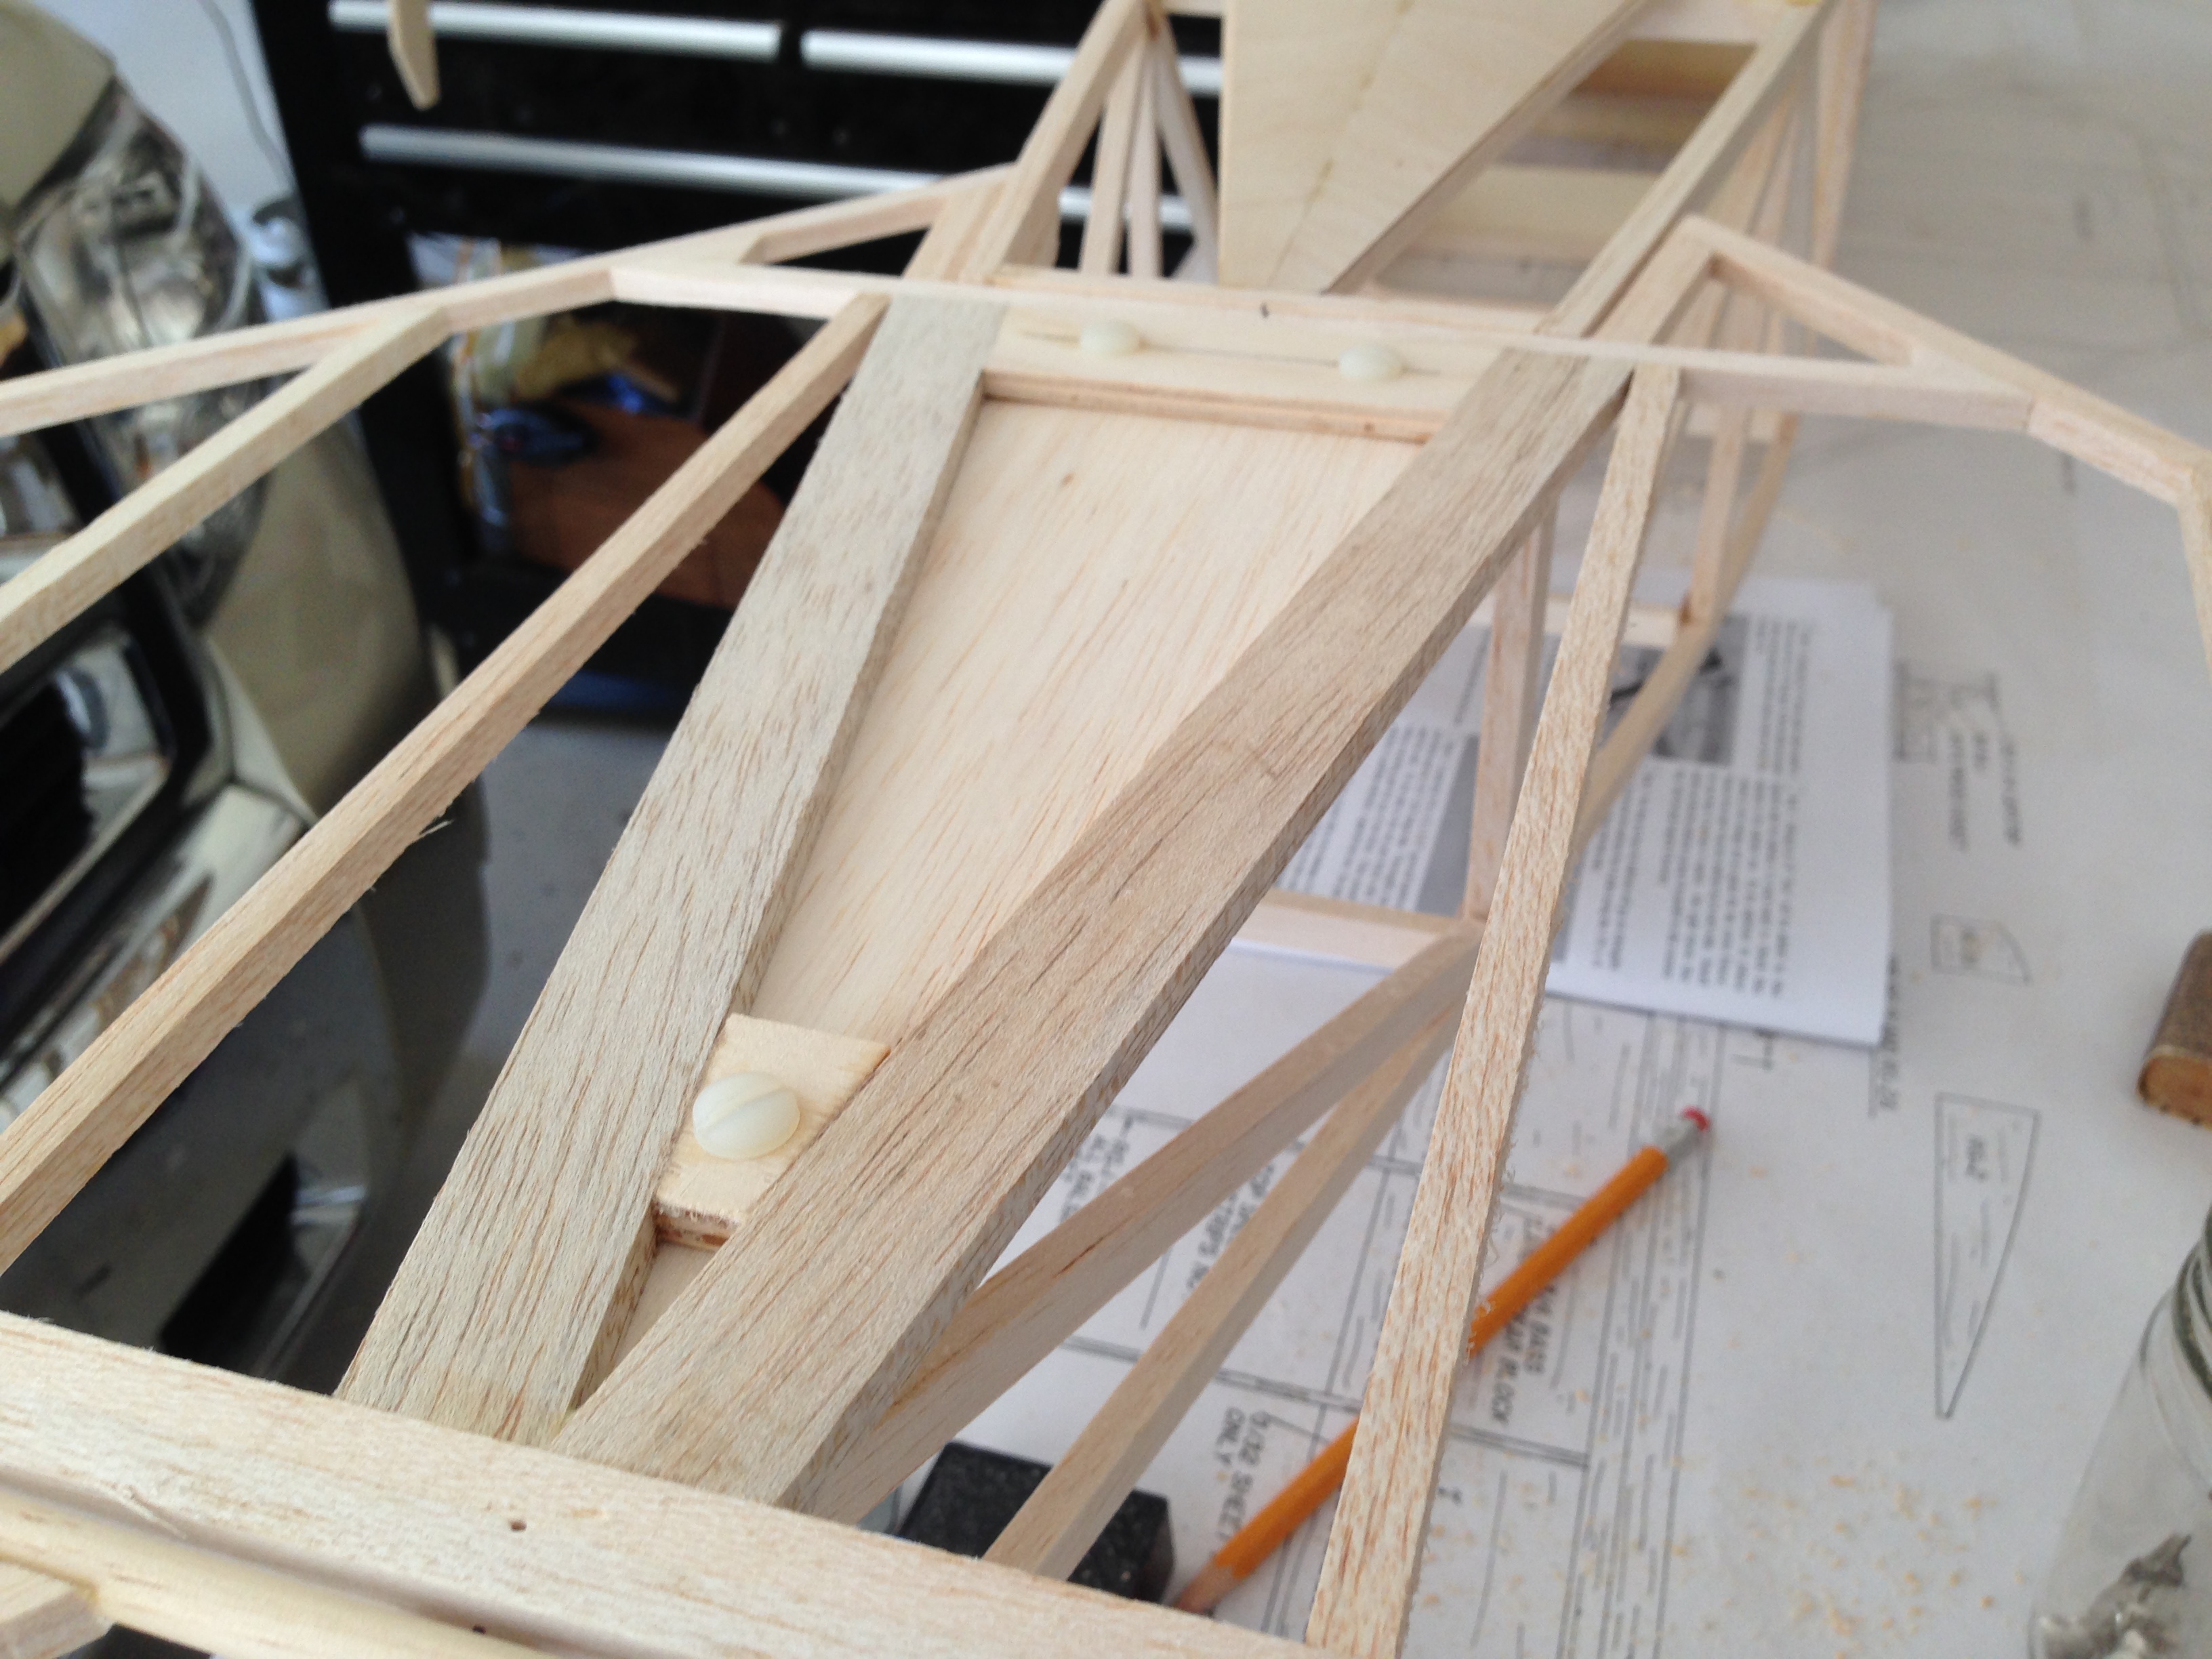
I made my stab removable on mine and it was a simple mod. I cut some pieces of wood dowel and drilled the stab to accept these and glued them in place. This was then drilled for the bolts and blind nuts were installed in plates in the fuselage. I will attach a couple of pics.
I also powered mine with a DLE-30 and I still had to put everything up against the firewall to get it to balance. You still need to be cautious about adding tail weight.
Hope this helps!!
Anthony
I also powered mine with a DLE-30 and I still had to put everything up against the firewall to get it to balance. You still need to be cautious about adding tail weight.
Hope this helps!!
Anthony
09-18-2013, 06:34 PM
#113
I essentially did the same thing. I used 3 4-40 bolts with blind nuts, positioned in the same place as the previous post. So far it is working great. One benfit of being able to take the stab off is storage. I can get the fuselage on the wall when storing it, without it hanging too far out. I have like the mod so far.
09-19-2013, 03:47 PM
#114
Thread Starter
My Feedback: (7)
Join Date: Jan 2004
Location: Parrish,
FL
Posts: 206
Likes: 0
Received 0 Likes
on
0 Posts
After receiving some good advice, I decided to go with the removable stab. I had some 1/4 aircraft plywood, so I cut blocks for the stab and fuse and glued them in place. I'll glue a few gussets to the stab blocks tomorrow and be ready to move on.

09-19-2013, 06:00 PM
#115
Looks good. That should work fine. With that plywood, you might consider just drilling and tapping it. Possibly even using nylon bolts. I have found nylon works good with gas engines as they absorb vibration better, and are not as likely to back out on their own.
09-20-2013, 04:19 PM
#116
Thread Starter
My Feedback: (7)
Join Date: Jan 2004
Location: Parrish,
FL
Posts: 206
Likes: 0
Received 0 Likes
on
0 Posts
Actually, I am drilling and tapping the ply for nylon bolts. I picked up some 10-24 nylon bolts today. They should be big enough for the job, but not as noticeable as the 1/4-20 that I have laying around. If I paint the heads of the bolts yellow, they should pretty much disappear against the covering of the stab.

So here I am ready to drill the stab for the bolts when I find that I have a 10-32 tap and not the 10-24 that I thought I had. My bad, but I'll be driving by the hardware store tomorrow morning.
My pilot arrived, and he looks good. I call him Max. I will probably add a base to raise him up a bit.


He is the Aces of Iron "Blue Max" bust painted by Greg Pierson, who you can find on the Aces of Iron web site. Painting is not one of my strengths.
So here I am ready to drill the stab for the bolts when I find that I have a 10-32 tap and not the 10-24 that I thought I had. My bad, but I'll be driving by the hardware store tomorrow morning.
My pilot arrived, and he looks good. I call him Max. I will probably add a base to raise him up a bit.
He is the Aces of Iron "Blue Max" bust painted by Greg Pierson, who you can find on the Aces of Iron web site. Painting is not one of my strengths.
09-21-2013, 07:00 AM
#117
Your pilot looks good, I painted my own Aces pilot and it was a lot of work.
10-24 nylon bolts should work fine for the stab. I don't personally like tapping ply. I suggest you harden the threads with thin CA and run that tap back thru afterwards. If it was me I would add a 10-24 blind nut into the ply.
Later!!
Anthony
10-24 nylon bolts should work fine for the stab. I don't personally like tapping ply. I suggest you harden the threads with thin CA and run that tap back thru afterwards. If it was me I would add a 10-24 blind nut into the ply.
Later!!
Anthony
09-21-2013, 04:40 PM
#118
Thread Starter
My Feedback: (7)
Join Date: Jan 2004
Location: Parrish,
FL
Posts: 206
Likes: 0
Received 0 Likes
on
0 Posts
Anthony, I've not had bad luck with the nylon bolt/plywood combo. I did, as always, harden the treads with thin CA. I'll be sure to inspect the bolts as she is flown. The good thing is that area is easy to access if I need to change something later.
Oh, got some work done today:
Stabilizer attached, and:
Rudder attached. I will be wrapping glass cloth around that rudder tube later. Landing gear starts tomorrow...
Oh, got some work done today:
Stabilizer attached, and:
Rudder attached. I will be wrapping glass cloth around that rudder tube later. Landing gear starts tomorrow...
09-22-2013, 12:03 PM
#119
Thread Starter
My Feedback: (7)
Join Date: Jan 2004
Location: Parrish,
FL
Posts: 206
Likes: 0
Received 0 Likes
on
0 Posts
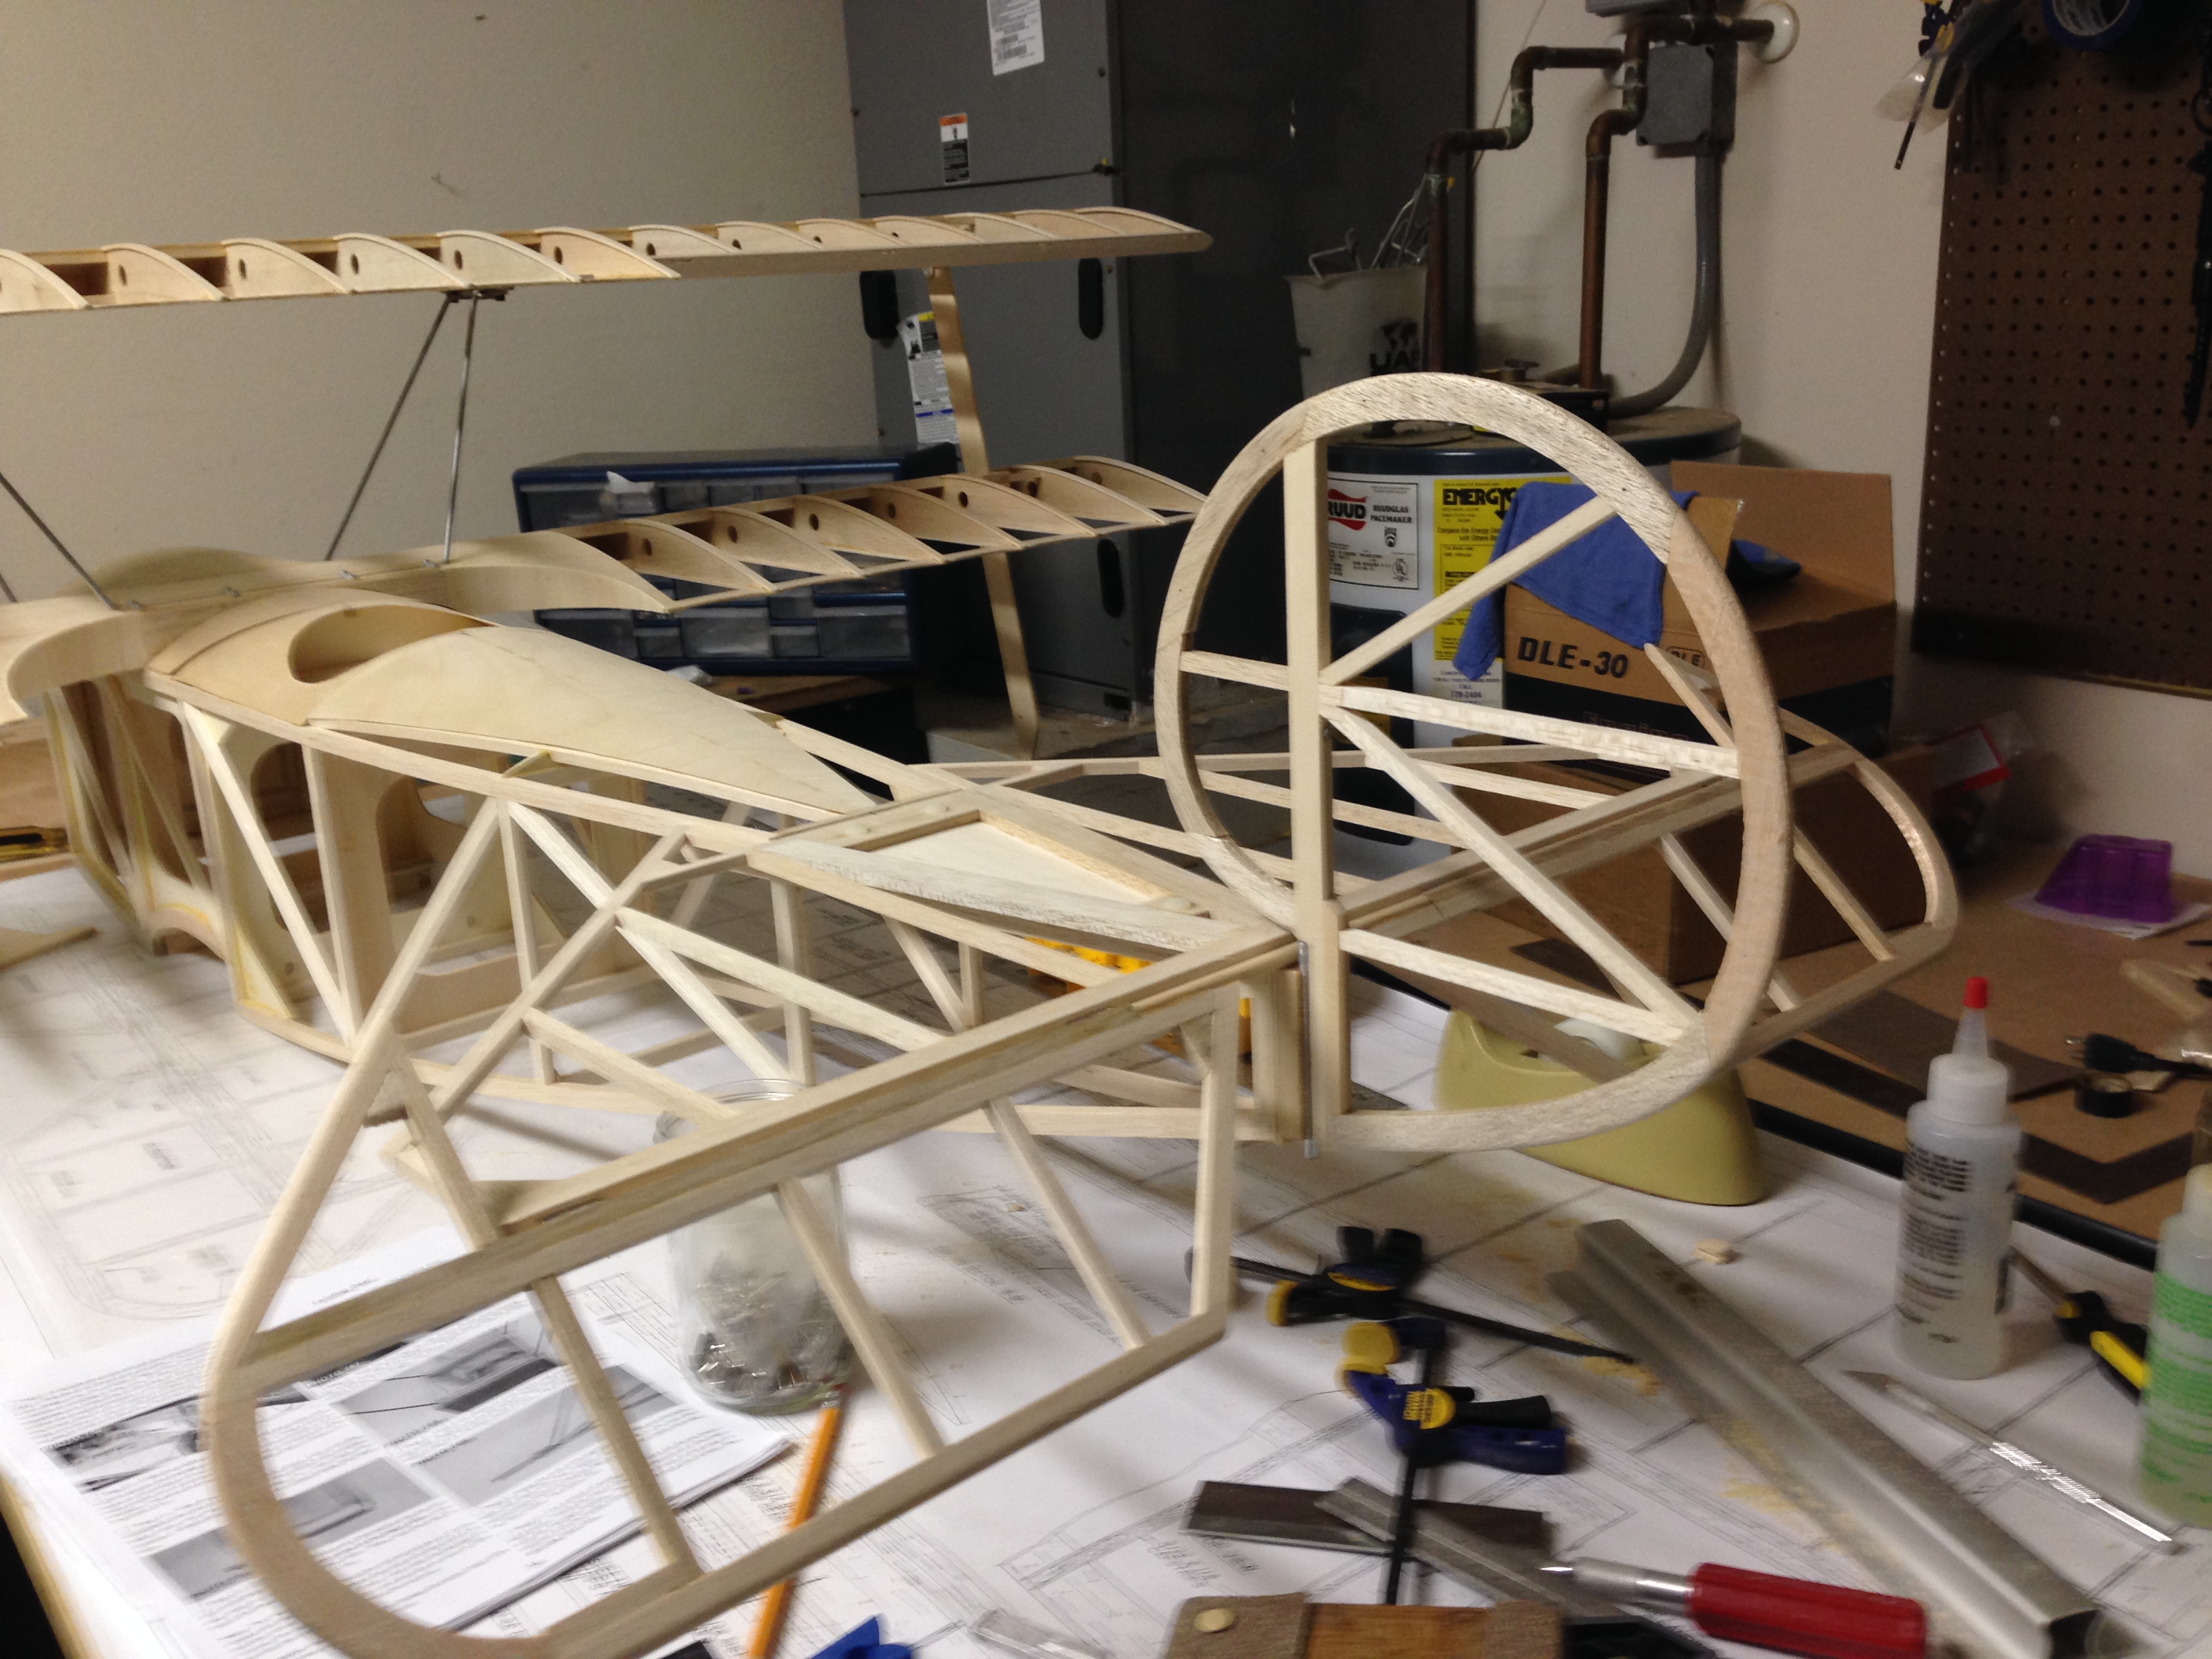
Landing gear attached. Always feels good to get one standing on it's own feet.

I was glad to be able to use my torch to solder this time, that is with no wood jig in the way. My soldering iron is not the best and I do better work with the torch.
I did say better, not perfect.
I was glad to be able to use my torch to solder this time, that is with no wood jig in the way. My soldering iron is not the best and I do better work with the torch.
I did say better, not perfect.
09-23-2013, 03:46 PM
#120
Thread Starter
My Feedback: (7)
Join Date: Jan 2004
Location: Parrish,
FL
Posts: 206
Likes: 0
Received 0 Likes
on
0 Posts
I've been busily working on the sub-wing. Center section is almost complete, but I've still got a bit to go on the end caps.

I've had one "problem" with the sub wing. The instructions state that the top cap strips run over the inner leading ledge of the wing.

That really didn't work out for me. I don't know exactly why, but the ribs and the inner leading edge did not match up in a way that looked like the cap strips should run over the inner leading edge.
So, I ran the cap strips up to the inner LE. I can always sheet over the inner LE if necessary. We will see.
Rained here most of the day today. If it's rainy again tomorrow, I should get a good bit done on the Dr 1.
I've had one "problem" with the sub wing. The instructions state that the top cap strips run over the inner leading ledge of the wing.
That really didn't work out for me. I don't know exactly why, but the ribs and the inner leading edge did not match up in a way that looked like the cap strips should run over the inner leading edge.
So, I ran the cap strips up to the inner LE. I can always sheet over the inner LE if necessary. We will see.
Rained here most of the day today. If it's rainy again tomorrow, I should get a good bit done on the Dr 1.
09-23-2013, 04:03 PM
#121
Oh my nemesis the Sub wing! lol I completely scratch built mine on my new airplane. Those things are fragile and have a tendency not to last. Do whatever you can to divert overflow fuel away from it. Raw gas is even more caustic than raw glow fuel. Maybe at least consider using an overflow bottle when filling the tank.
fully sheeting that thing is not a bad idea. It will make it more durable, and the weight will be negligible. O made mine out of a foam core and vacuum bagged it with poplar sheeting and gorrilla glue. Has worked out great so far.
fully sheeting that thing is not a bad idea. It will make it more durable, and the weight will be negligible. O made mine out of a foam core and vacuum bagged it with poplar sheeting and gorrilla glue. Has worked out great so far.
09-24-2013, 03:53 PM
#122
Thread Starter
My Feedback: (7)
Join Date: Jan 2004
Location: Parrish,
FL
Posts: 206
Likes: 0
Received 0 Likes
on
0 Posts
 09-25-2013, 04:29 PM
#125
Thread Starter
My Feedback: (7)
Join Date: Jan 2004
Location: Parrish,
FL
Posts: 206
Likes: 0
Received 0 Likes
on
0 Posts
Sub wing is completed:
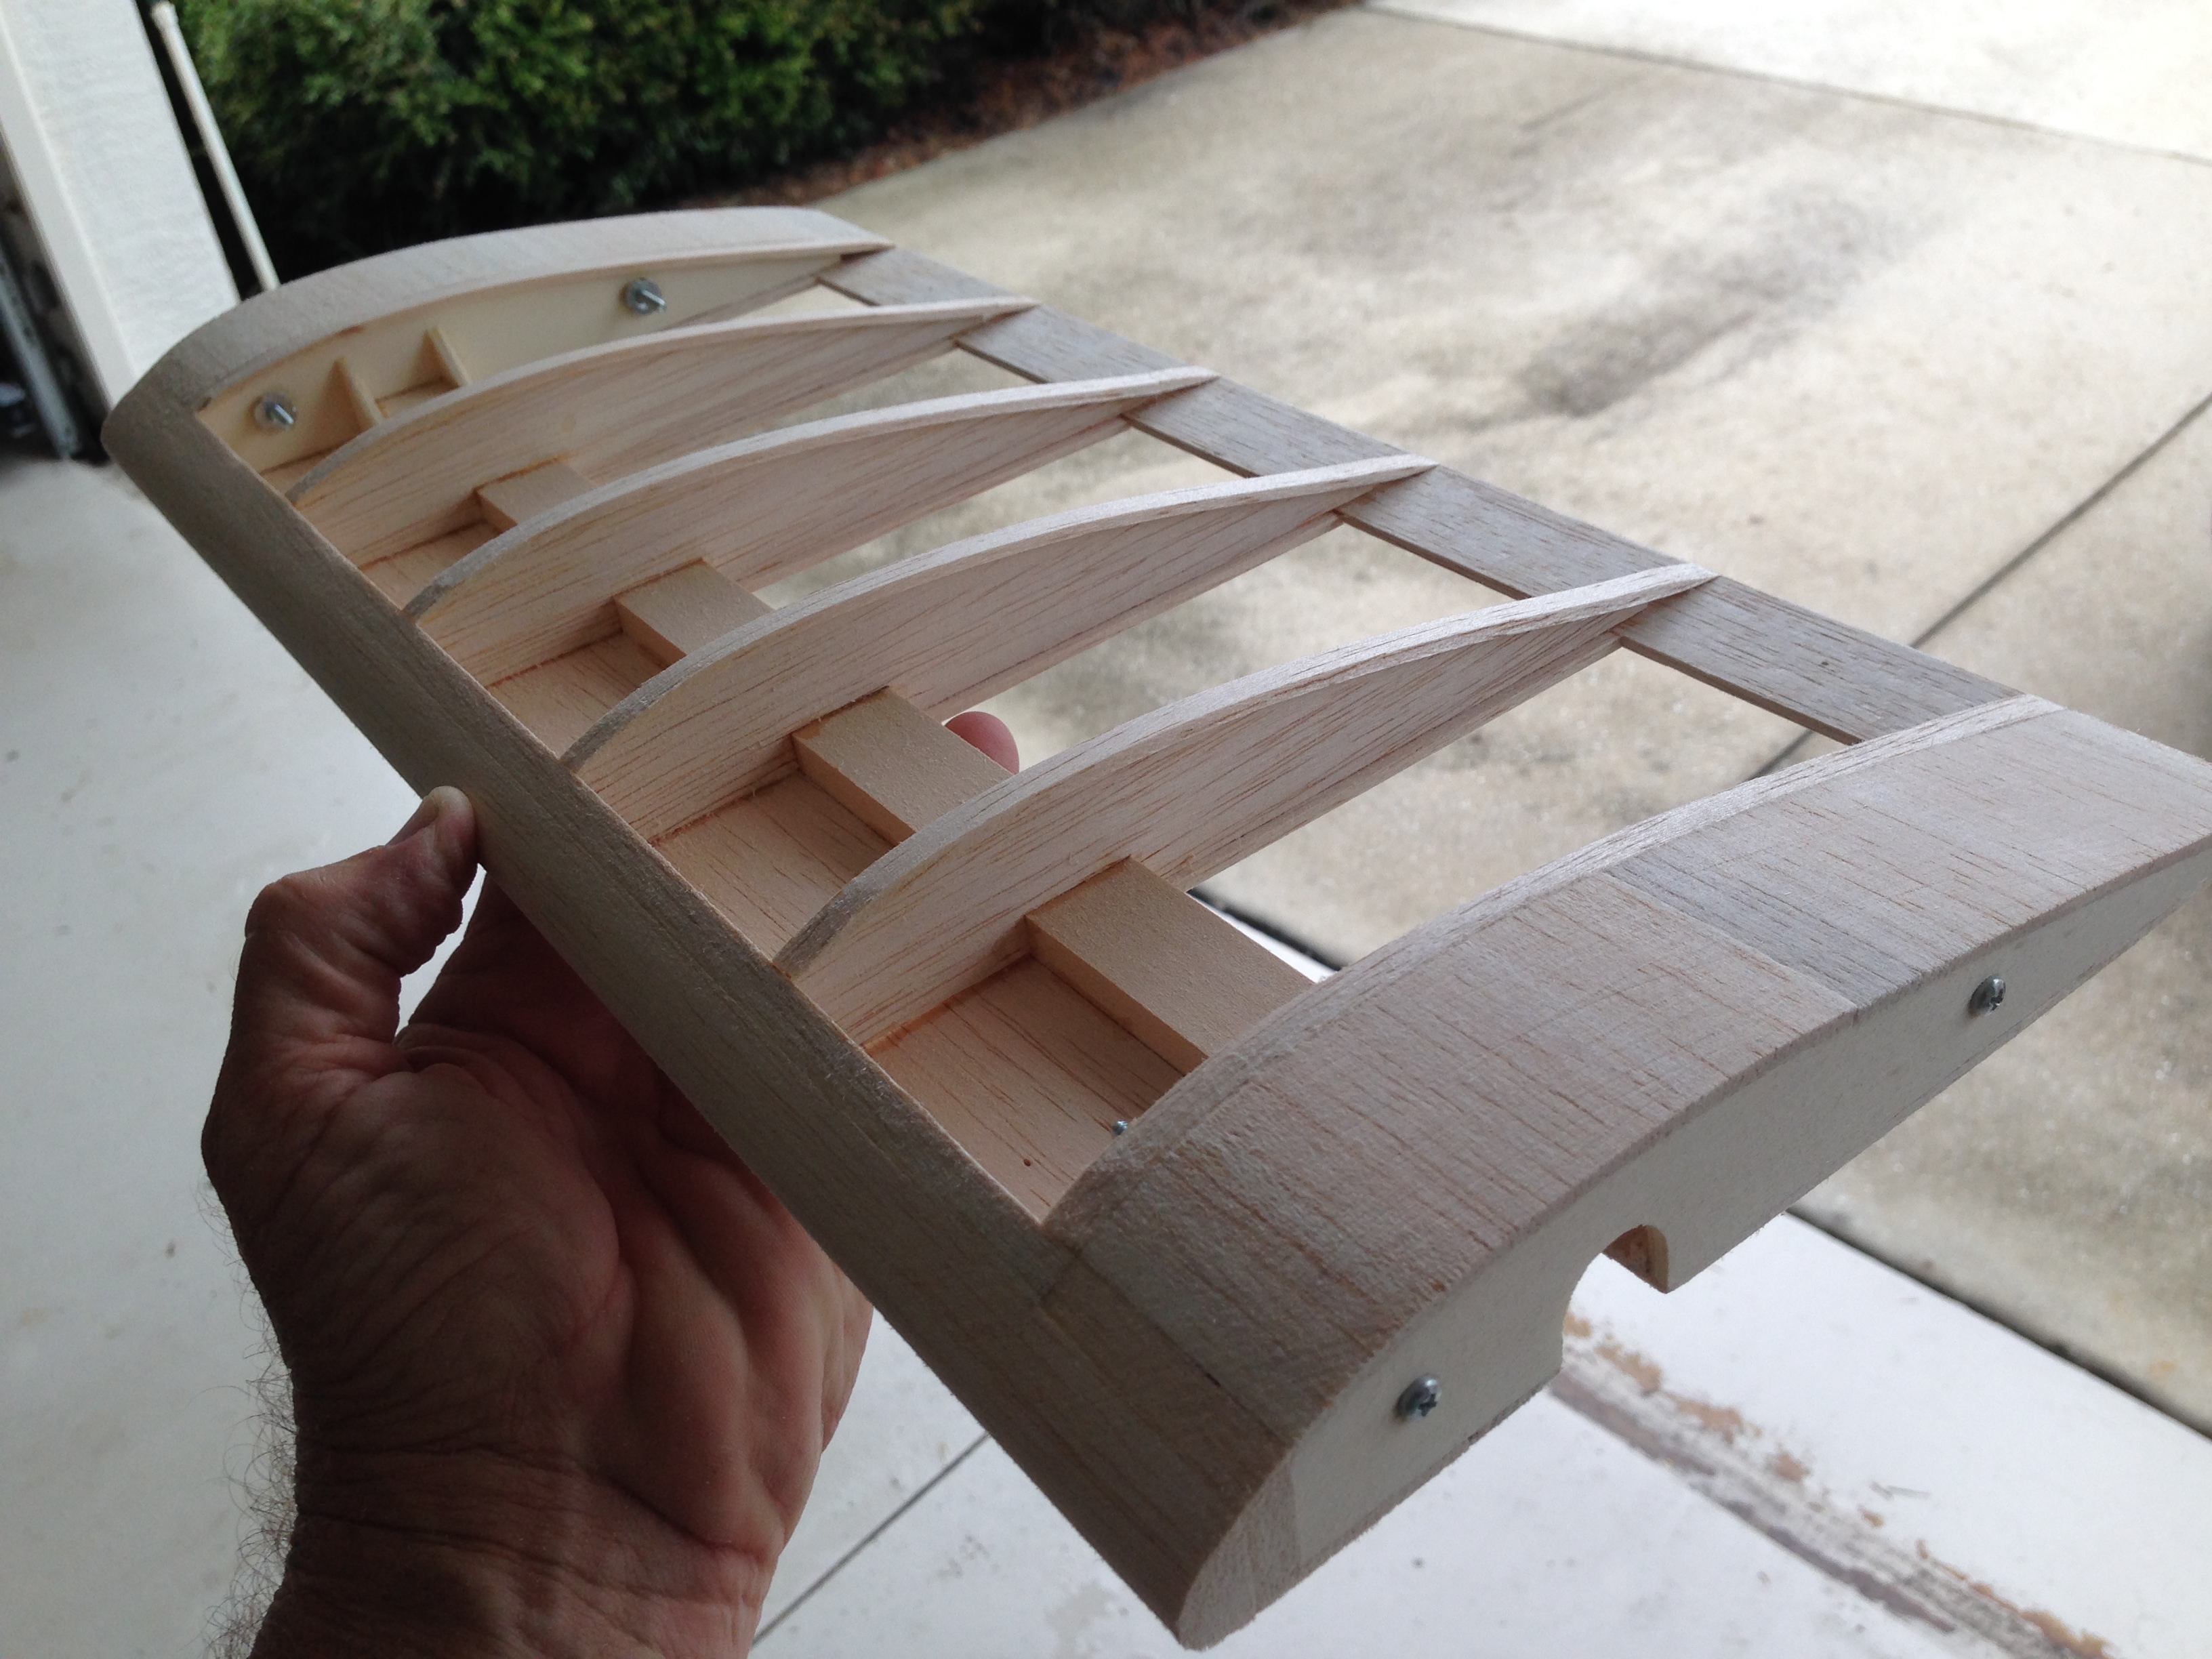
Not to bad. I hope it doesn't fall apart after a few flights. I'm already wishing I had fully sheeted and glassed it. I was not overly happy with the way BUSA wanted it attached to the axle. Specifically, the arms that keep it from rotating. So, instead of trying to solder the "L" shaped wire to the axle, I turned them into sort of a shepard's crook." Don't know if it's gonna work better or not.

My plan is to crimp them in place. Stabilize them with some thick CA, then wrap and solder. Unfortunately, the last part of the plan will have to wait until tomorrow as I ran out of silver solder.

Not to bad. I hope it doesn't fall apart after a few flights. I'm already wishing I had fully sheeted and glassed it. I was not overly happy with the way BUSA wanted it attached to the axle. Specifically, the arms that keep it from rotating. So, instead of trying to solder the "L" shaped wire to the axle, I turned them into sort of a shepard's crook." Don't know if it's gonna work better or not.
My plan is to crimp them in place. Stabilize them with some thick CA, then wrap and solder. Unfortunately, the last part of the plan will have to wait until tomorrow as I ran out of silver solder.