


BUSA 1/4 Scale Fokker Dr 1
 10-27-2013, 03:24 PM
#151

Thread Starter
My Feedback: (7)
Join Date: Jan 2004
Location: Parrish,
FL
Posts: 206
Likes: 0
Received 0 Likes
on
0 Posts
Wing strut fairings are cut and attached. Now the fun begins. I really dislike glassing things, but they look so good when finished. I will probably sand and seal my inter-wing struts with resin
while I'm at it.
while I'm at it.
 10-28-2013, 04:03 PM
#153
Thread Starter
My Feedback: (7)
Join Date: Jan 2004
Location: Parrish,
FL
Posts: 206
Likes: 0
Received 0 Likes
on
0 Posts
VG, I'm not really glassing the interplane struts. I'm just going to sand them, seal them with resin and sand again so that I have a nice surface for priming and painting. Should not add any width to the struts.
I test fit my sub-wing per BUSA instructions.
Everything fit fine, so time to proceed. Here are the disassembled parts ready to be glassed or finished.
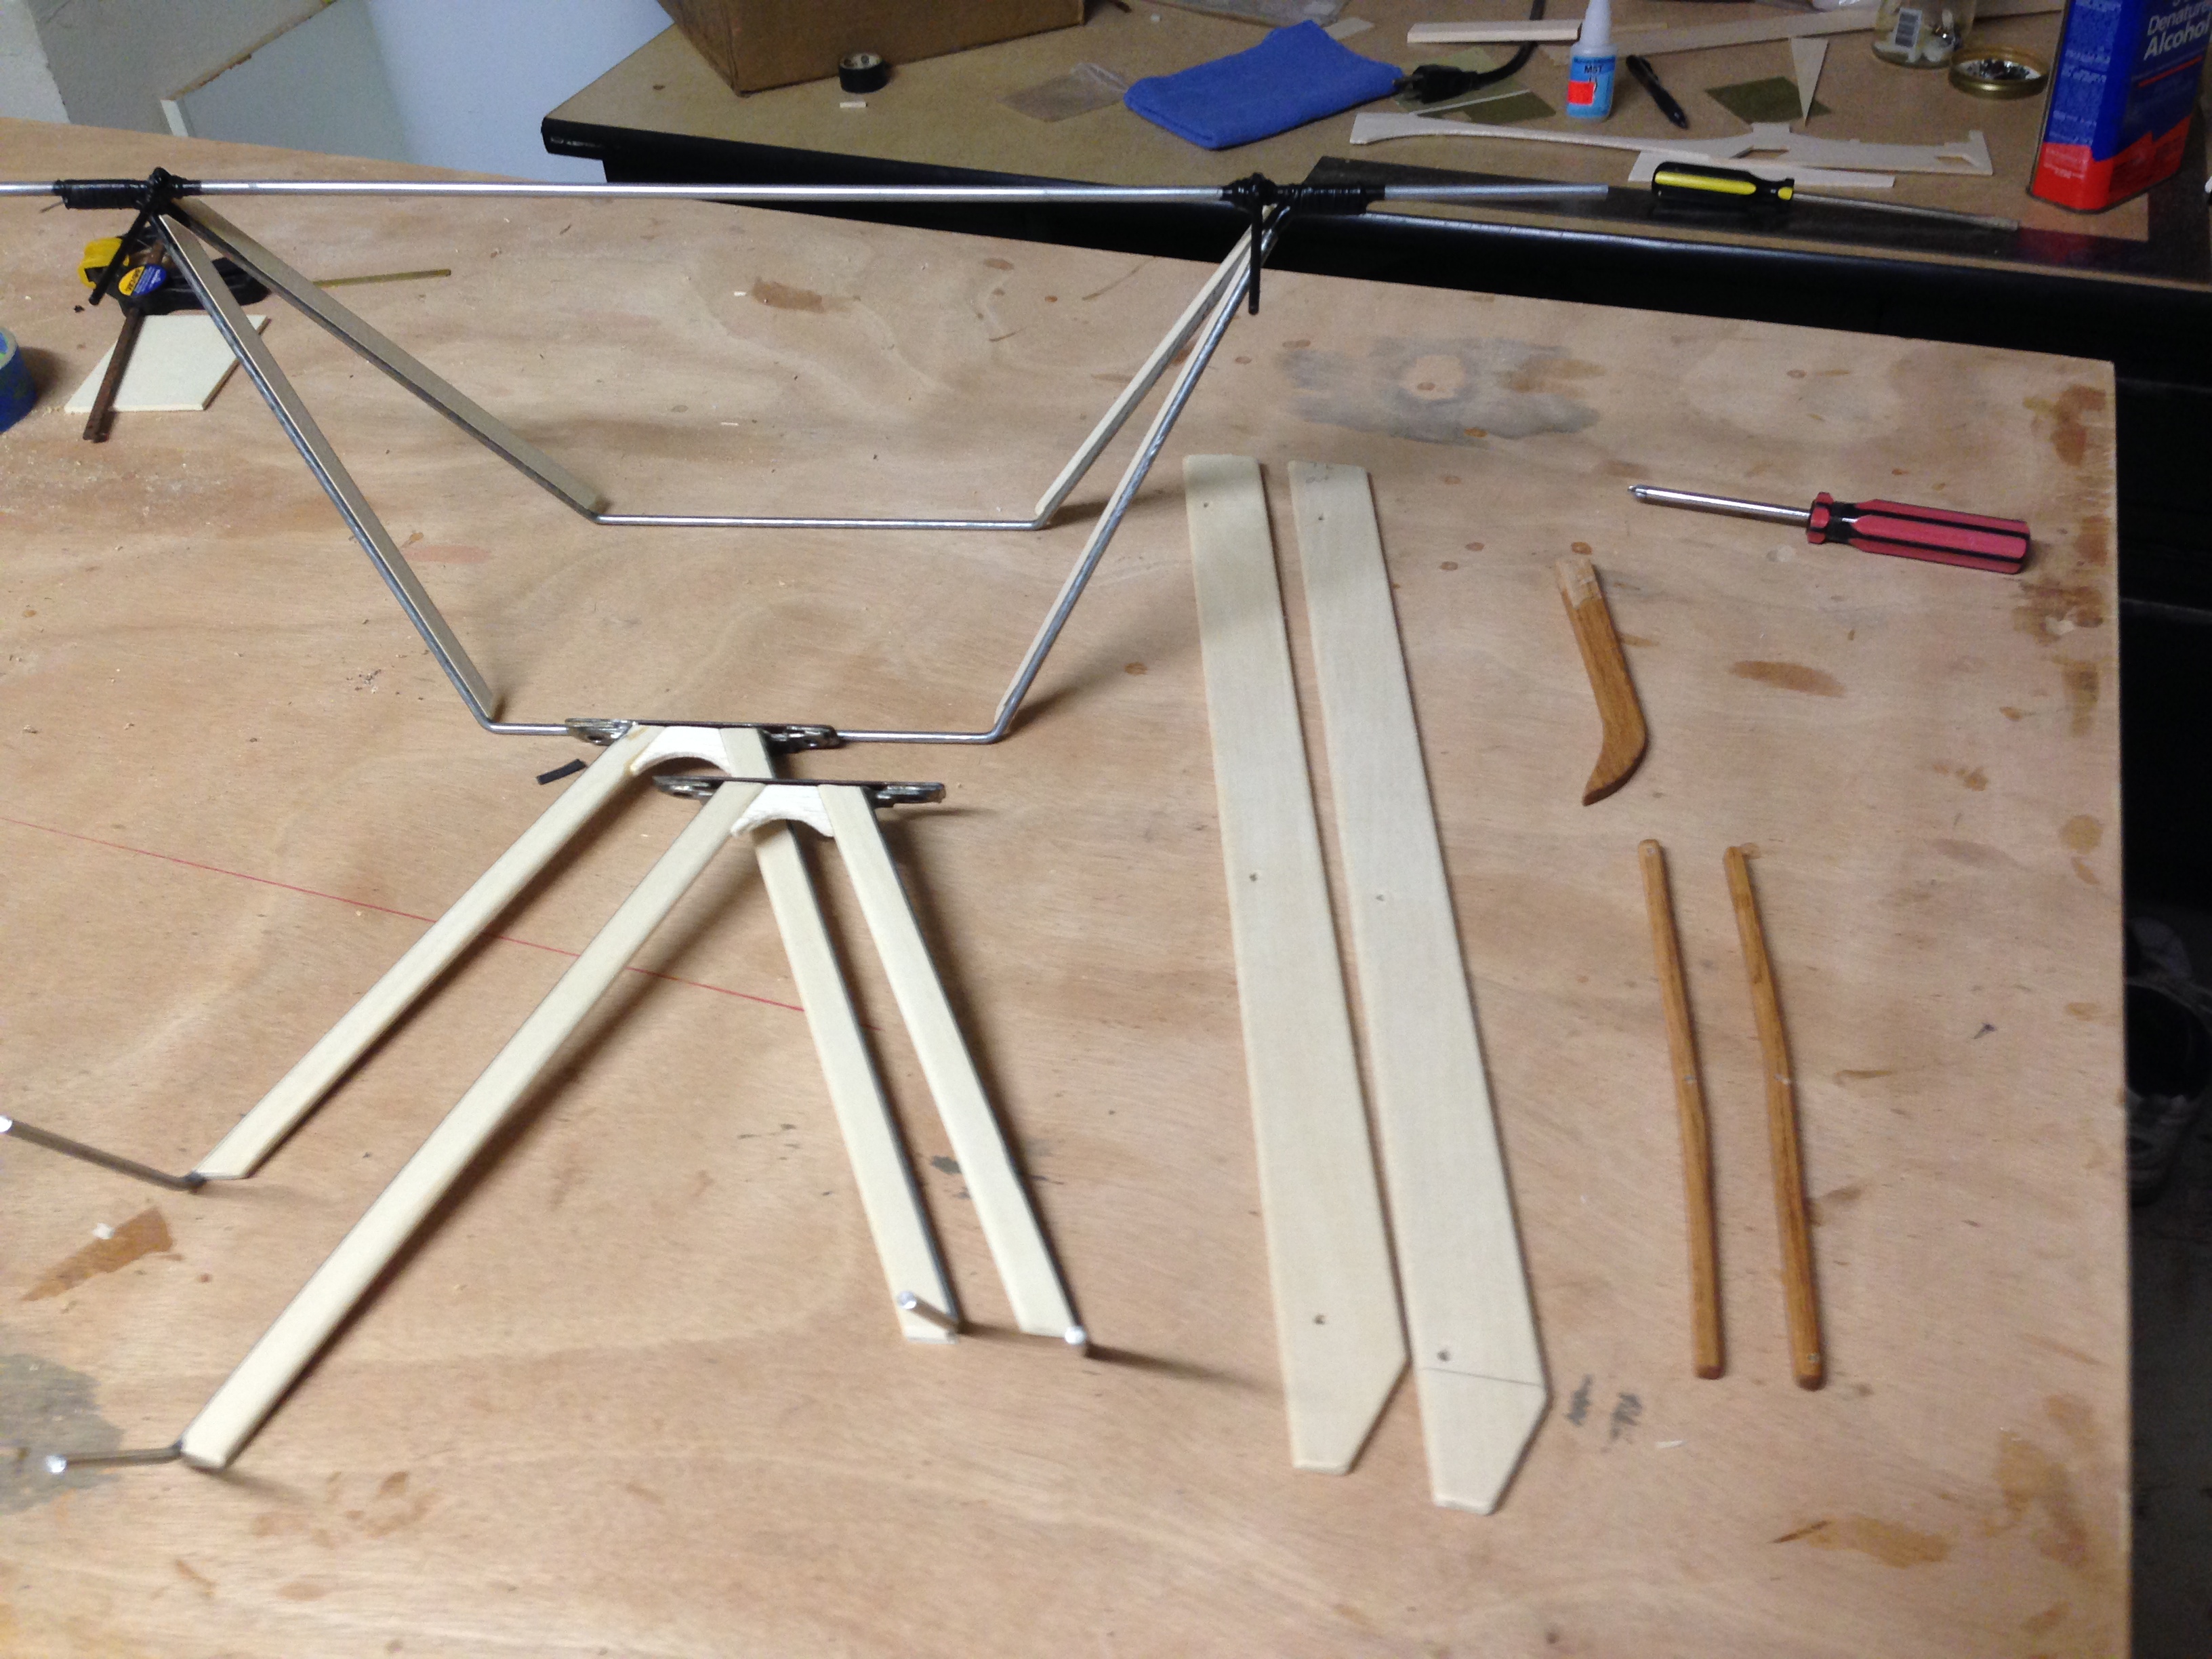
I'll get all this prepped at this time as well as wrapping the rudder post in glass cloth. Then on to one of my favorite parts of any build, radio installation. Radio installation is second only to my favorite part of the build, final sanding.
I test fit my sub-wing per BUSA instructions.
Everything fit fine, so time to proceed. Here are the disassembled parts ready to be glassed or finished.
I'll get all this prepped at this time as well as wrapping the rudder post in glass cloth. Then on to one of my favorite parts of any build, radio installation. Radio installation is second only to my favorite part of the build, final sanding.
11-06-2013, 04:43 PM
#154
Thread Starter
My Feedback: (7)
Join Date: Jan 2004
Location: Parrish,
FL
Posts: 206
Likes: 0
Received 0 Likes
on
0 Posts
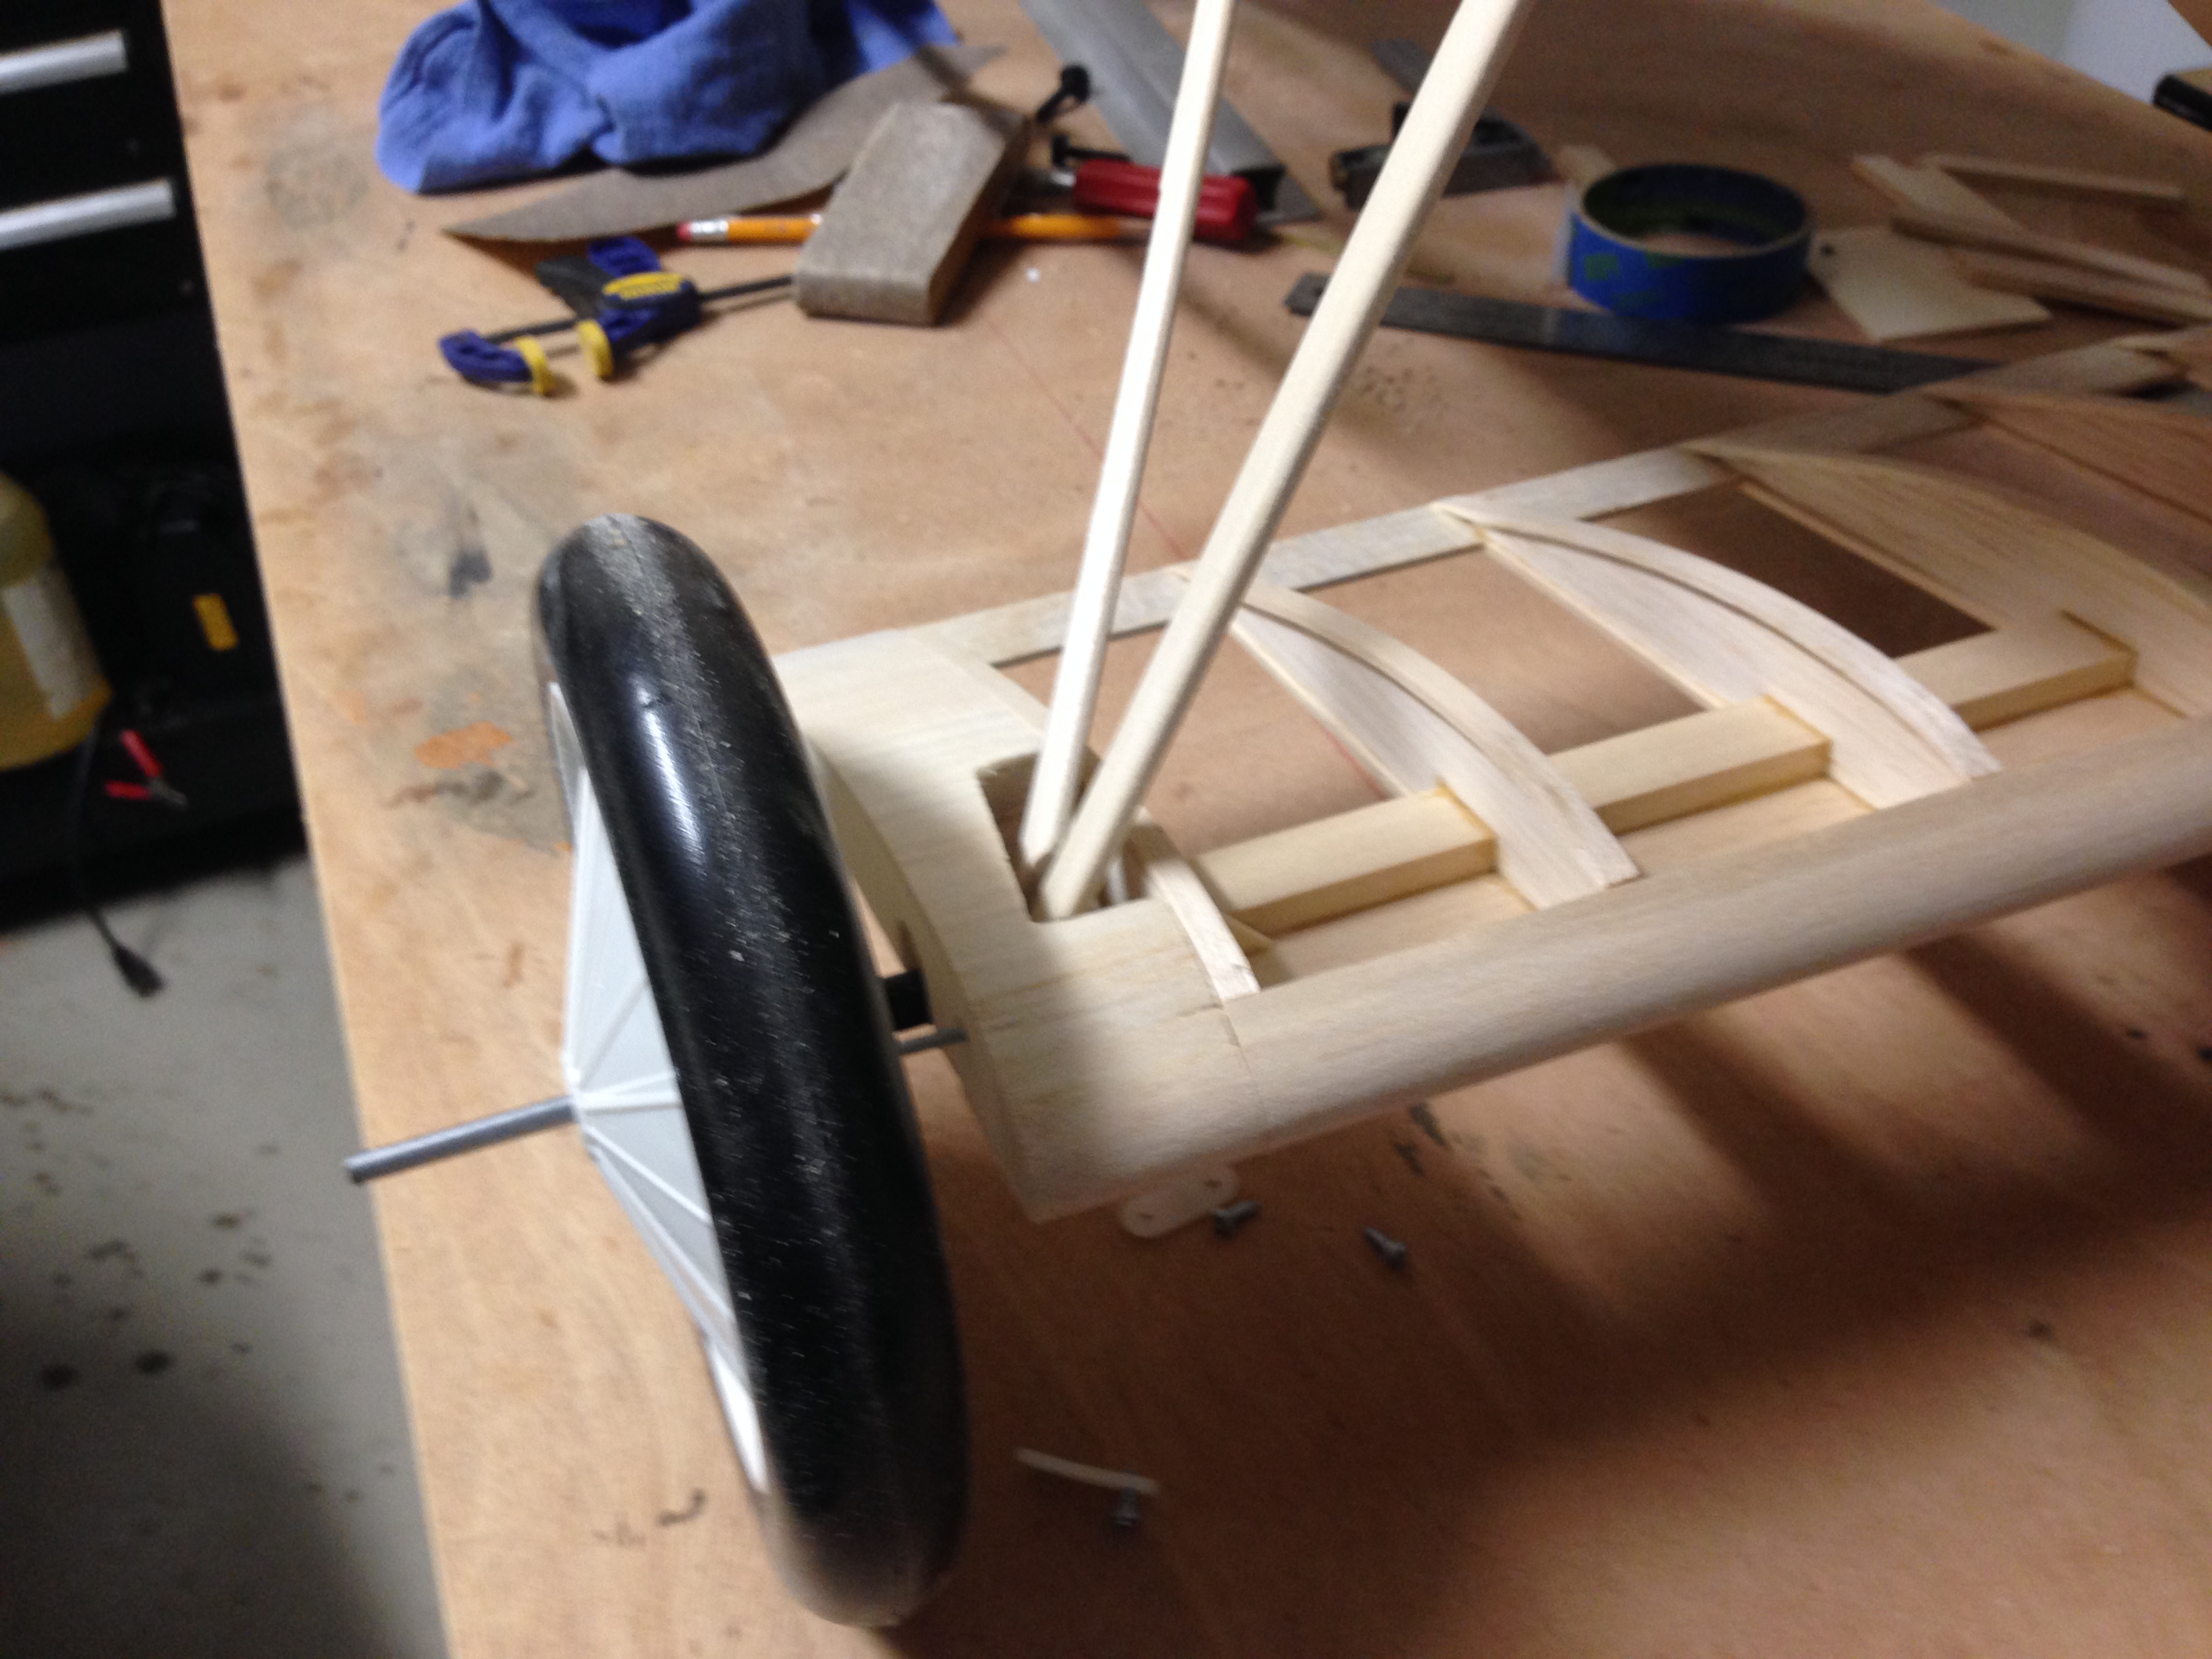
I'm done glassing and sanding the struts and such. I really hate fiberglassing, but it seems that I always find some part that needs to be glassed. If I ever decide to build a WWII bird that needs to be glassed, someone please reach through the internet and slap me silly. I know that when I get around to painting the struts, I will be glad they are glassed. Anyhow, that's done and I'm getting the radio bits installed.

I've got to build a rack for my fuel tank, which will fit very nicely between those push-rods. Not sure where I'm putting the throttle servo, still working on that one.
I've got to build a rack for my fuel tank, which will fit very nicely between those push-rods. Not sure where I'm putting the throttle servo, still working on that one.
11-09-2013, 11:37 AM
#155
Thread Starter
My Feedback: (7)
Join Date: Jan 2004
Location: Parrish,
FL
Posts: 206
Likes: 0
Received 0 Likes
on
0 Posts
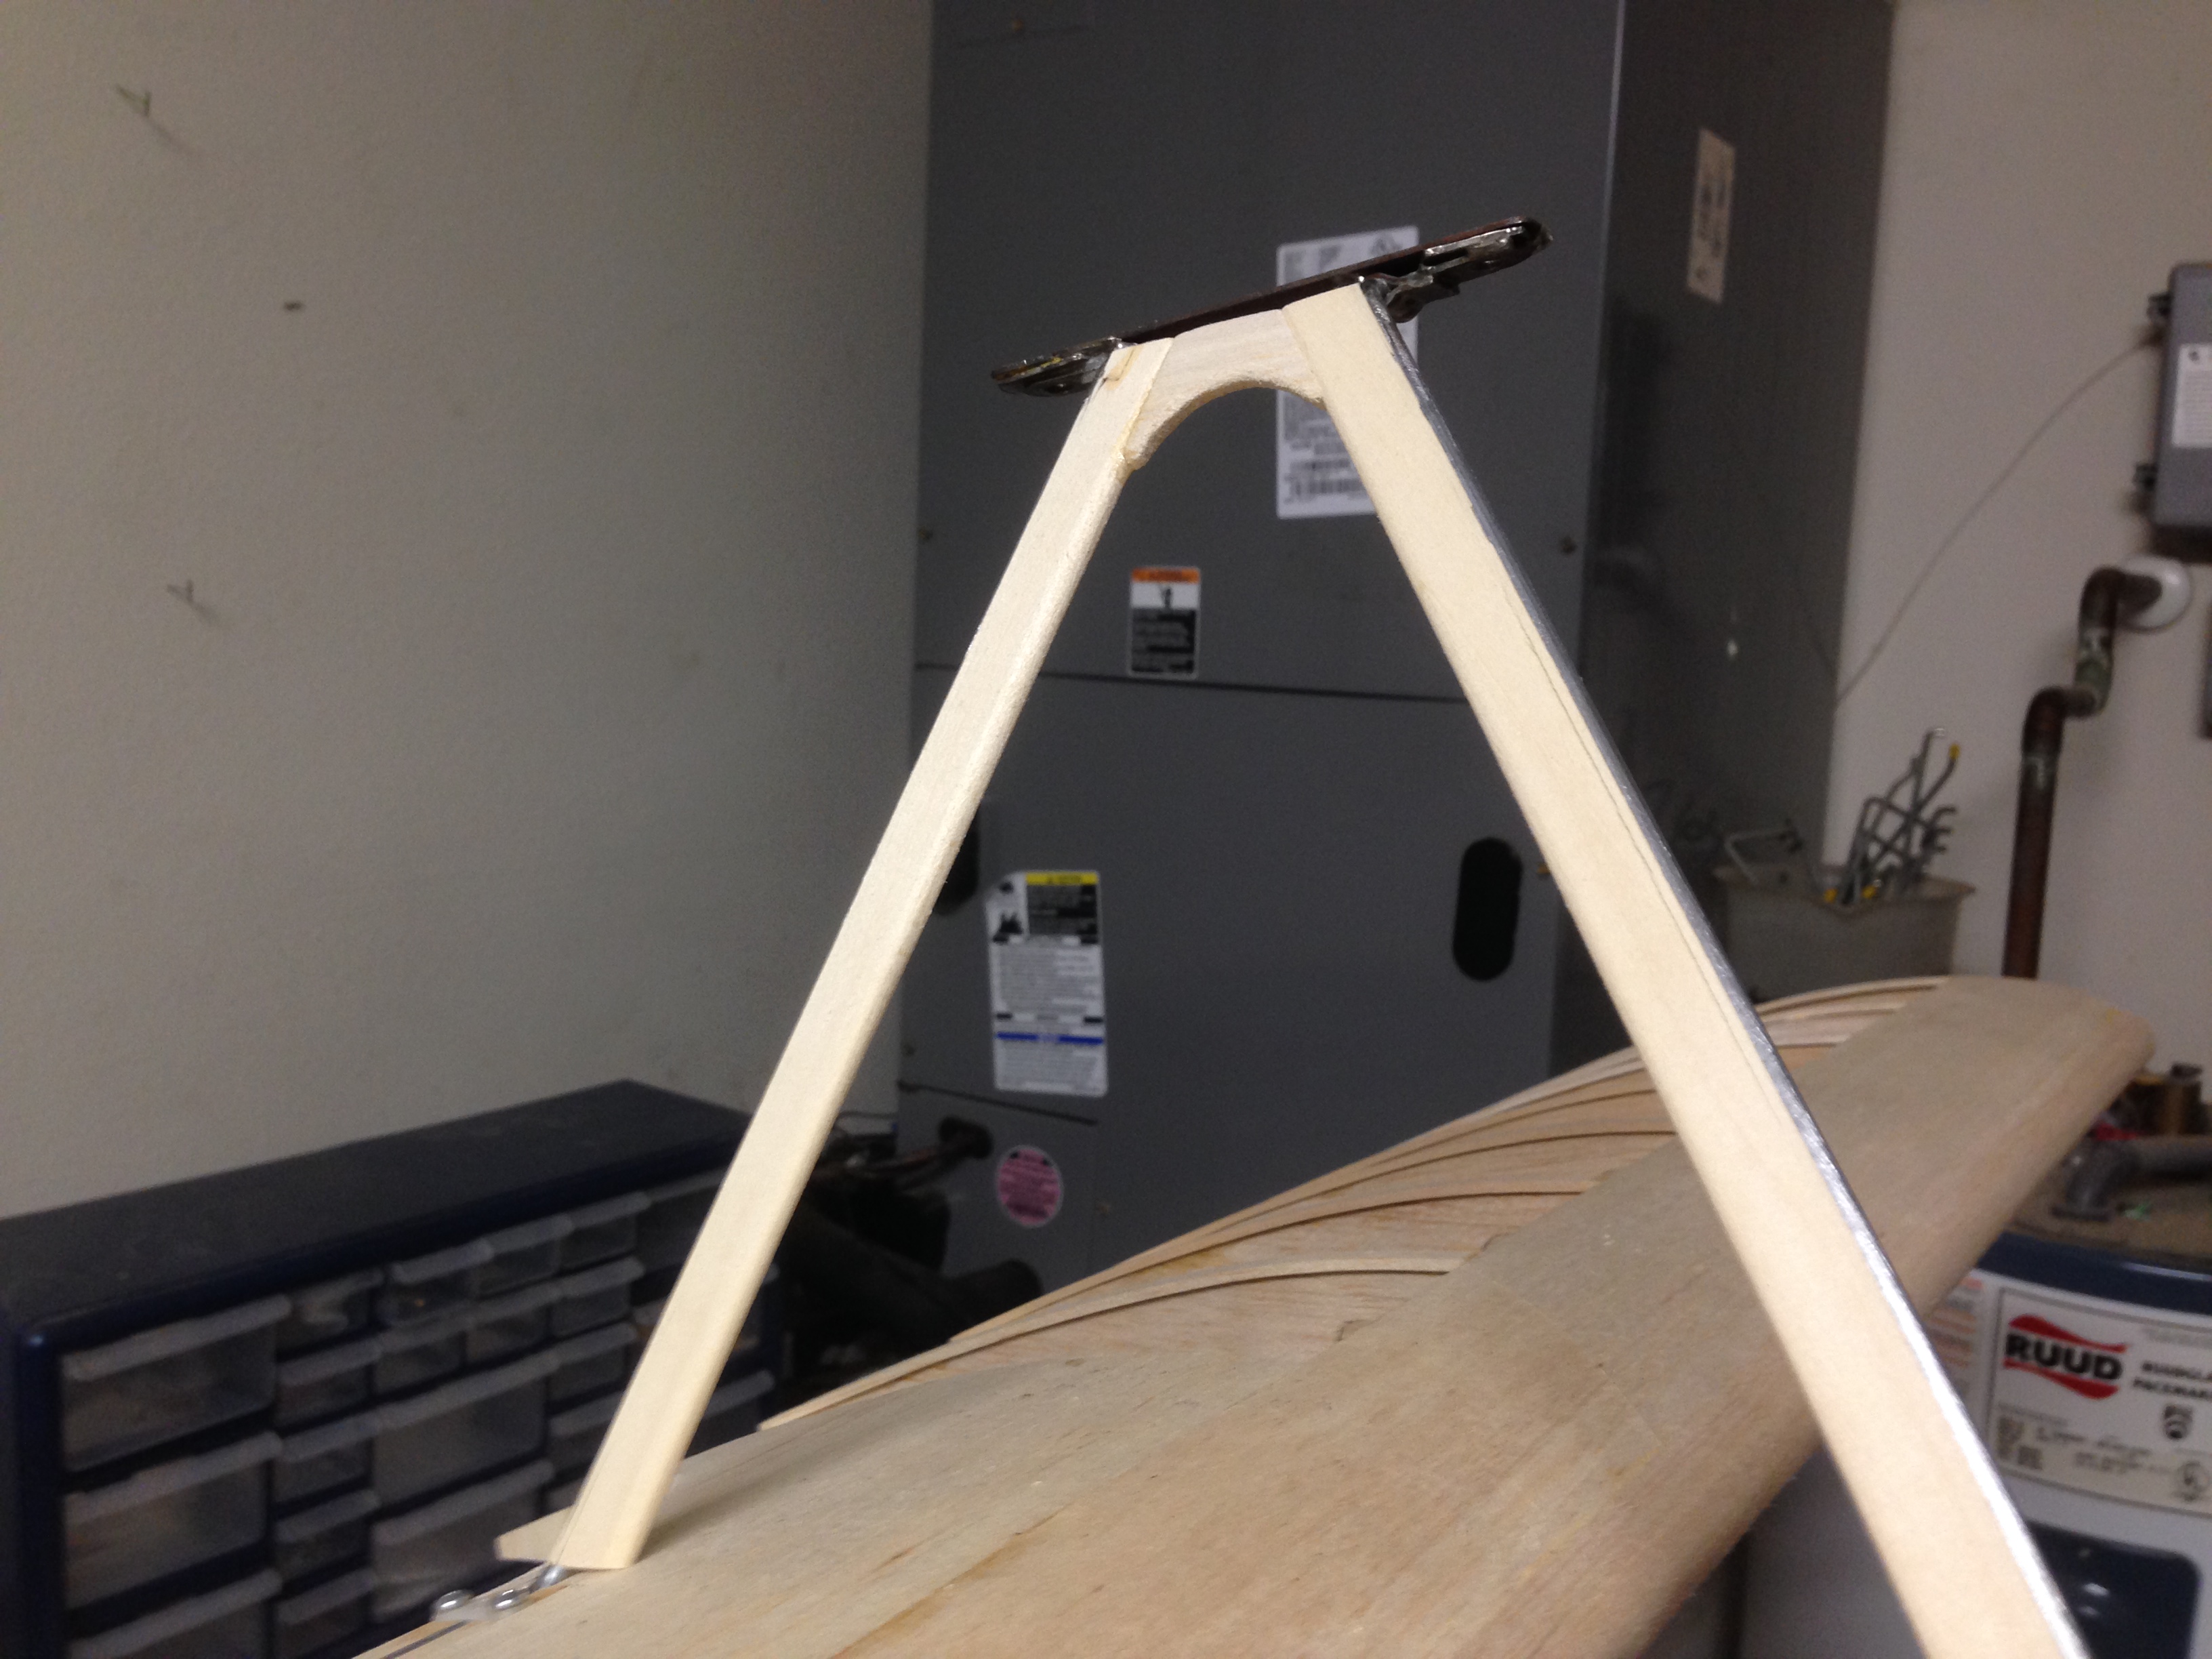
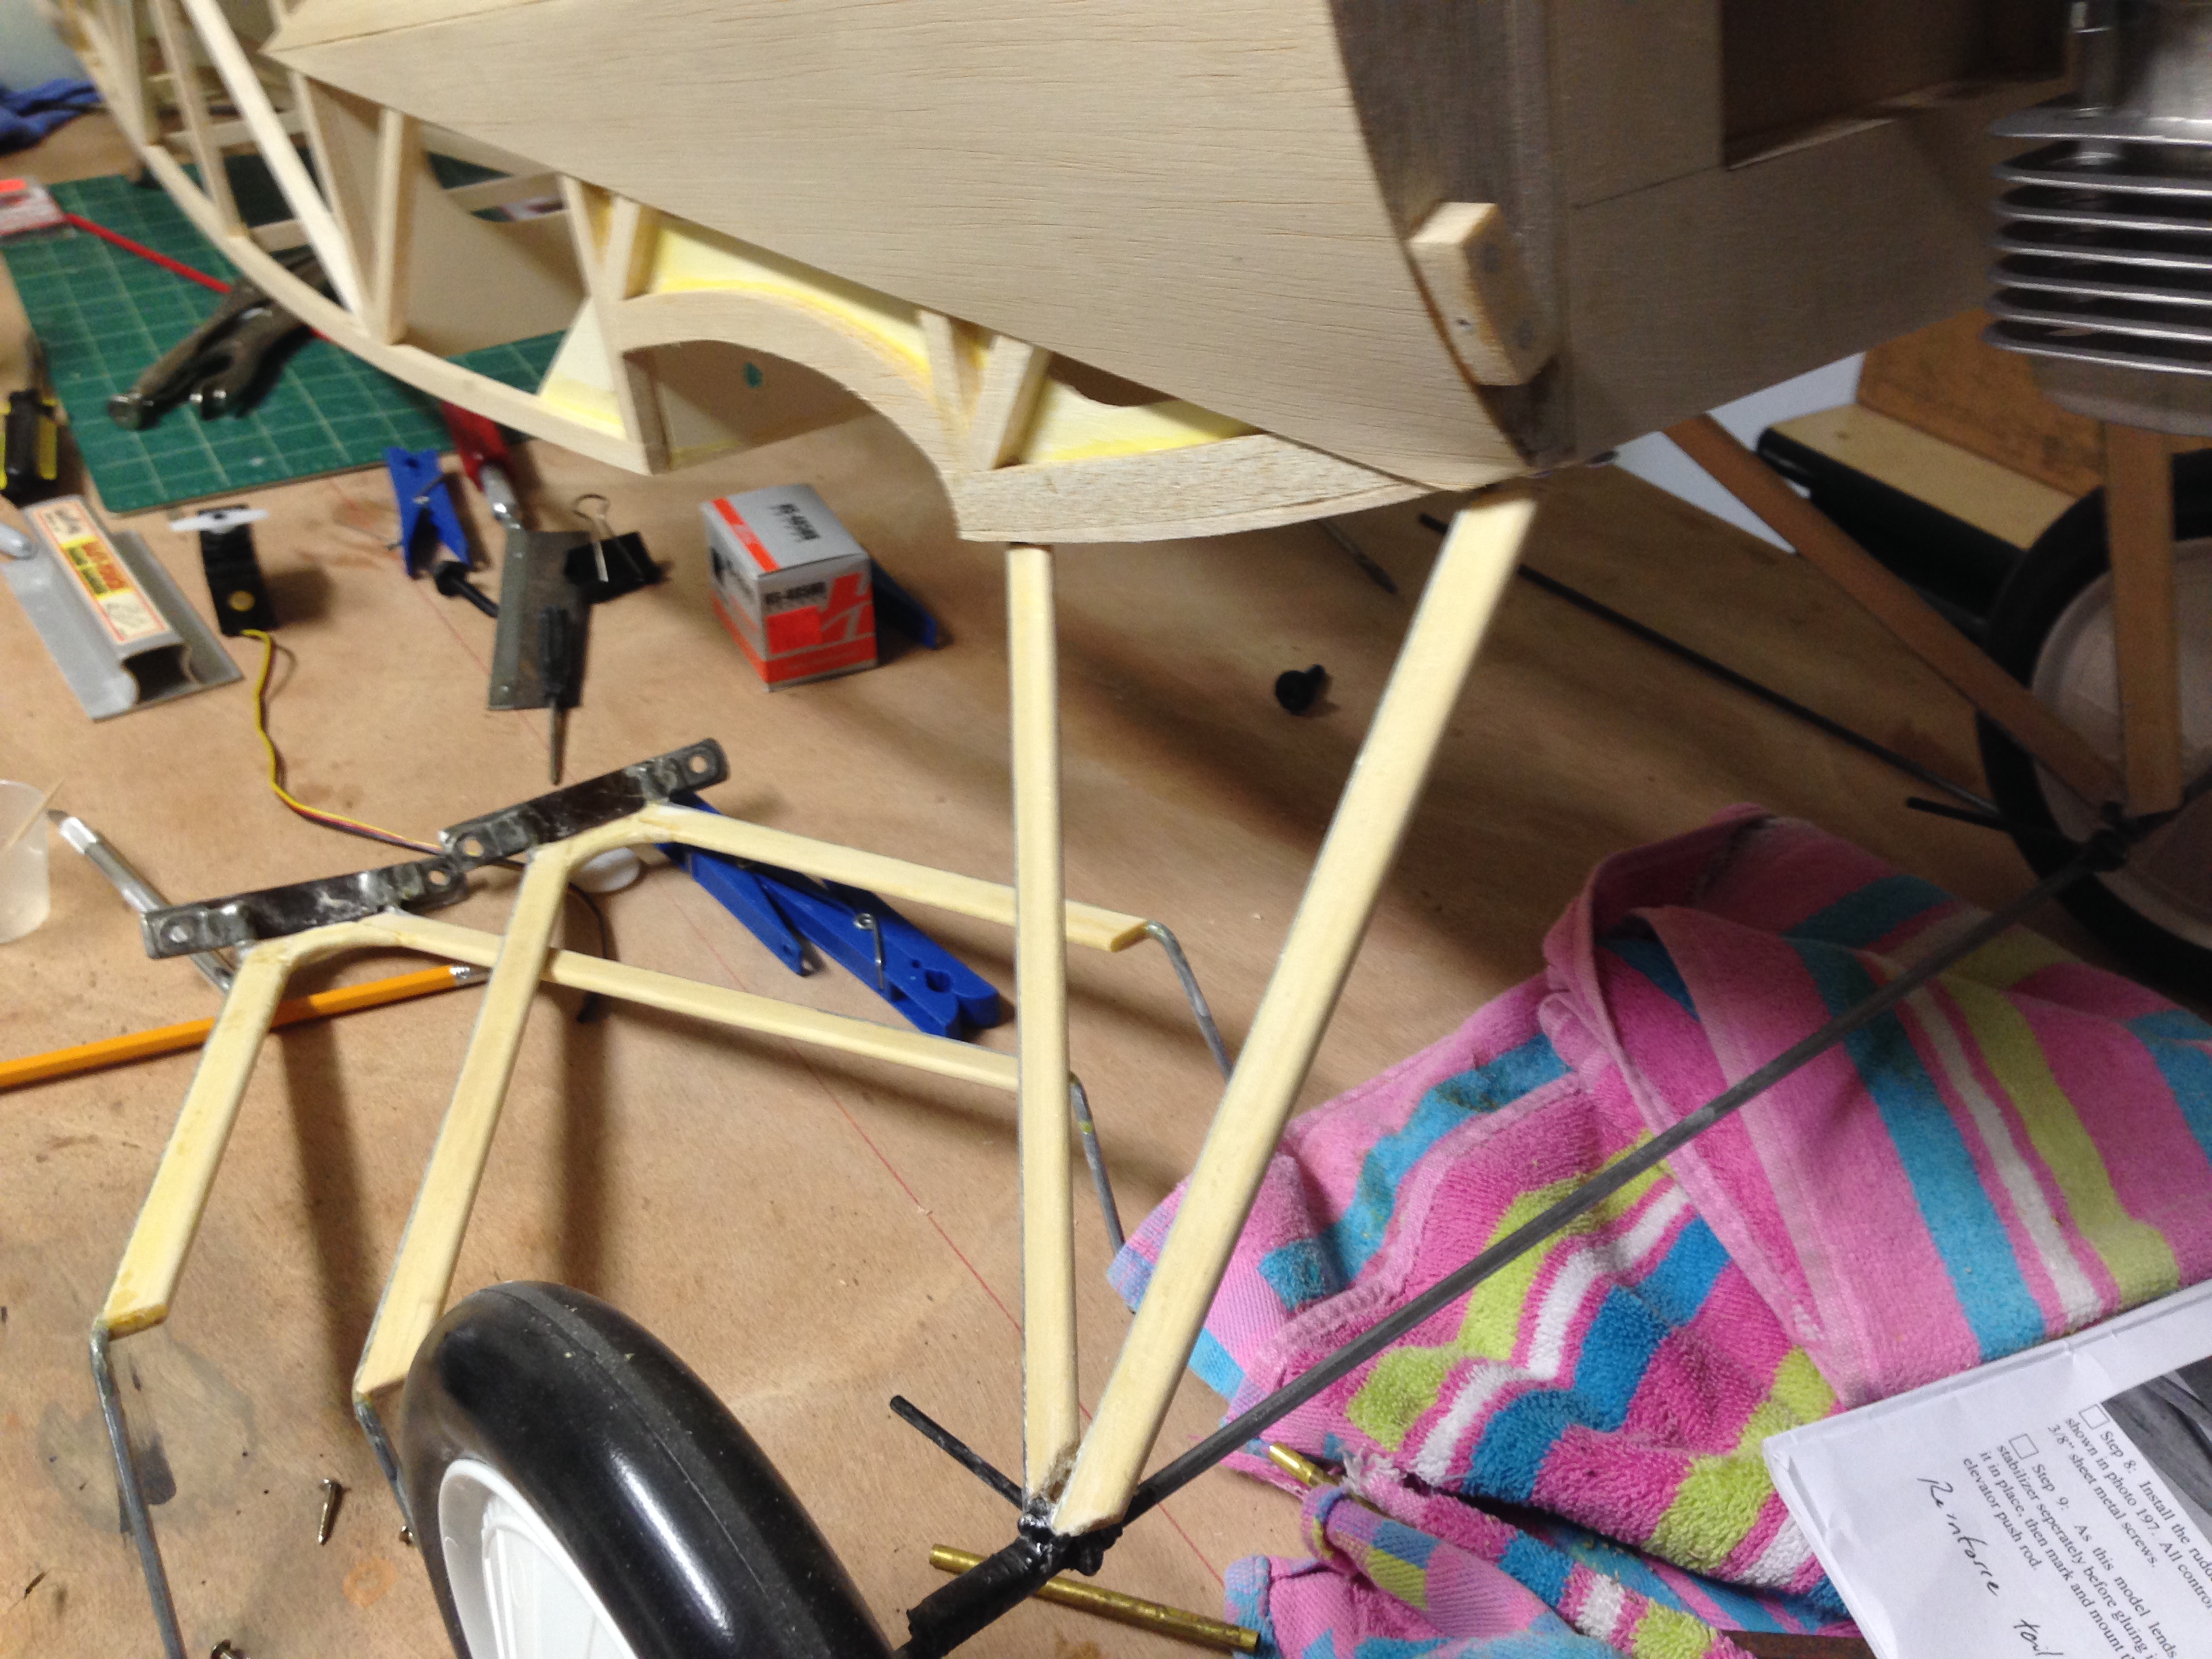
Well, here she is, almost built.
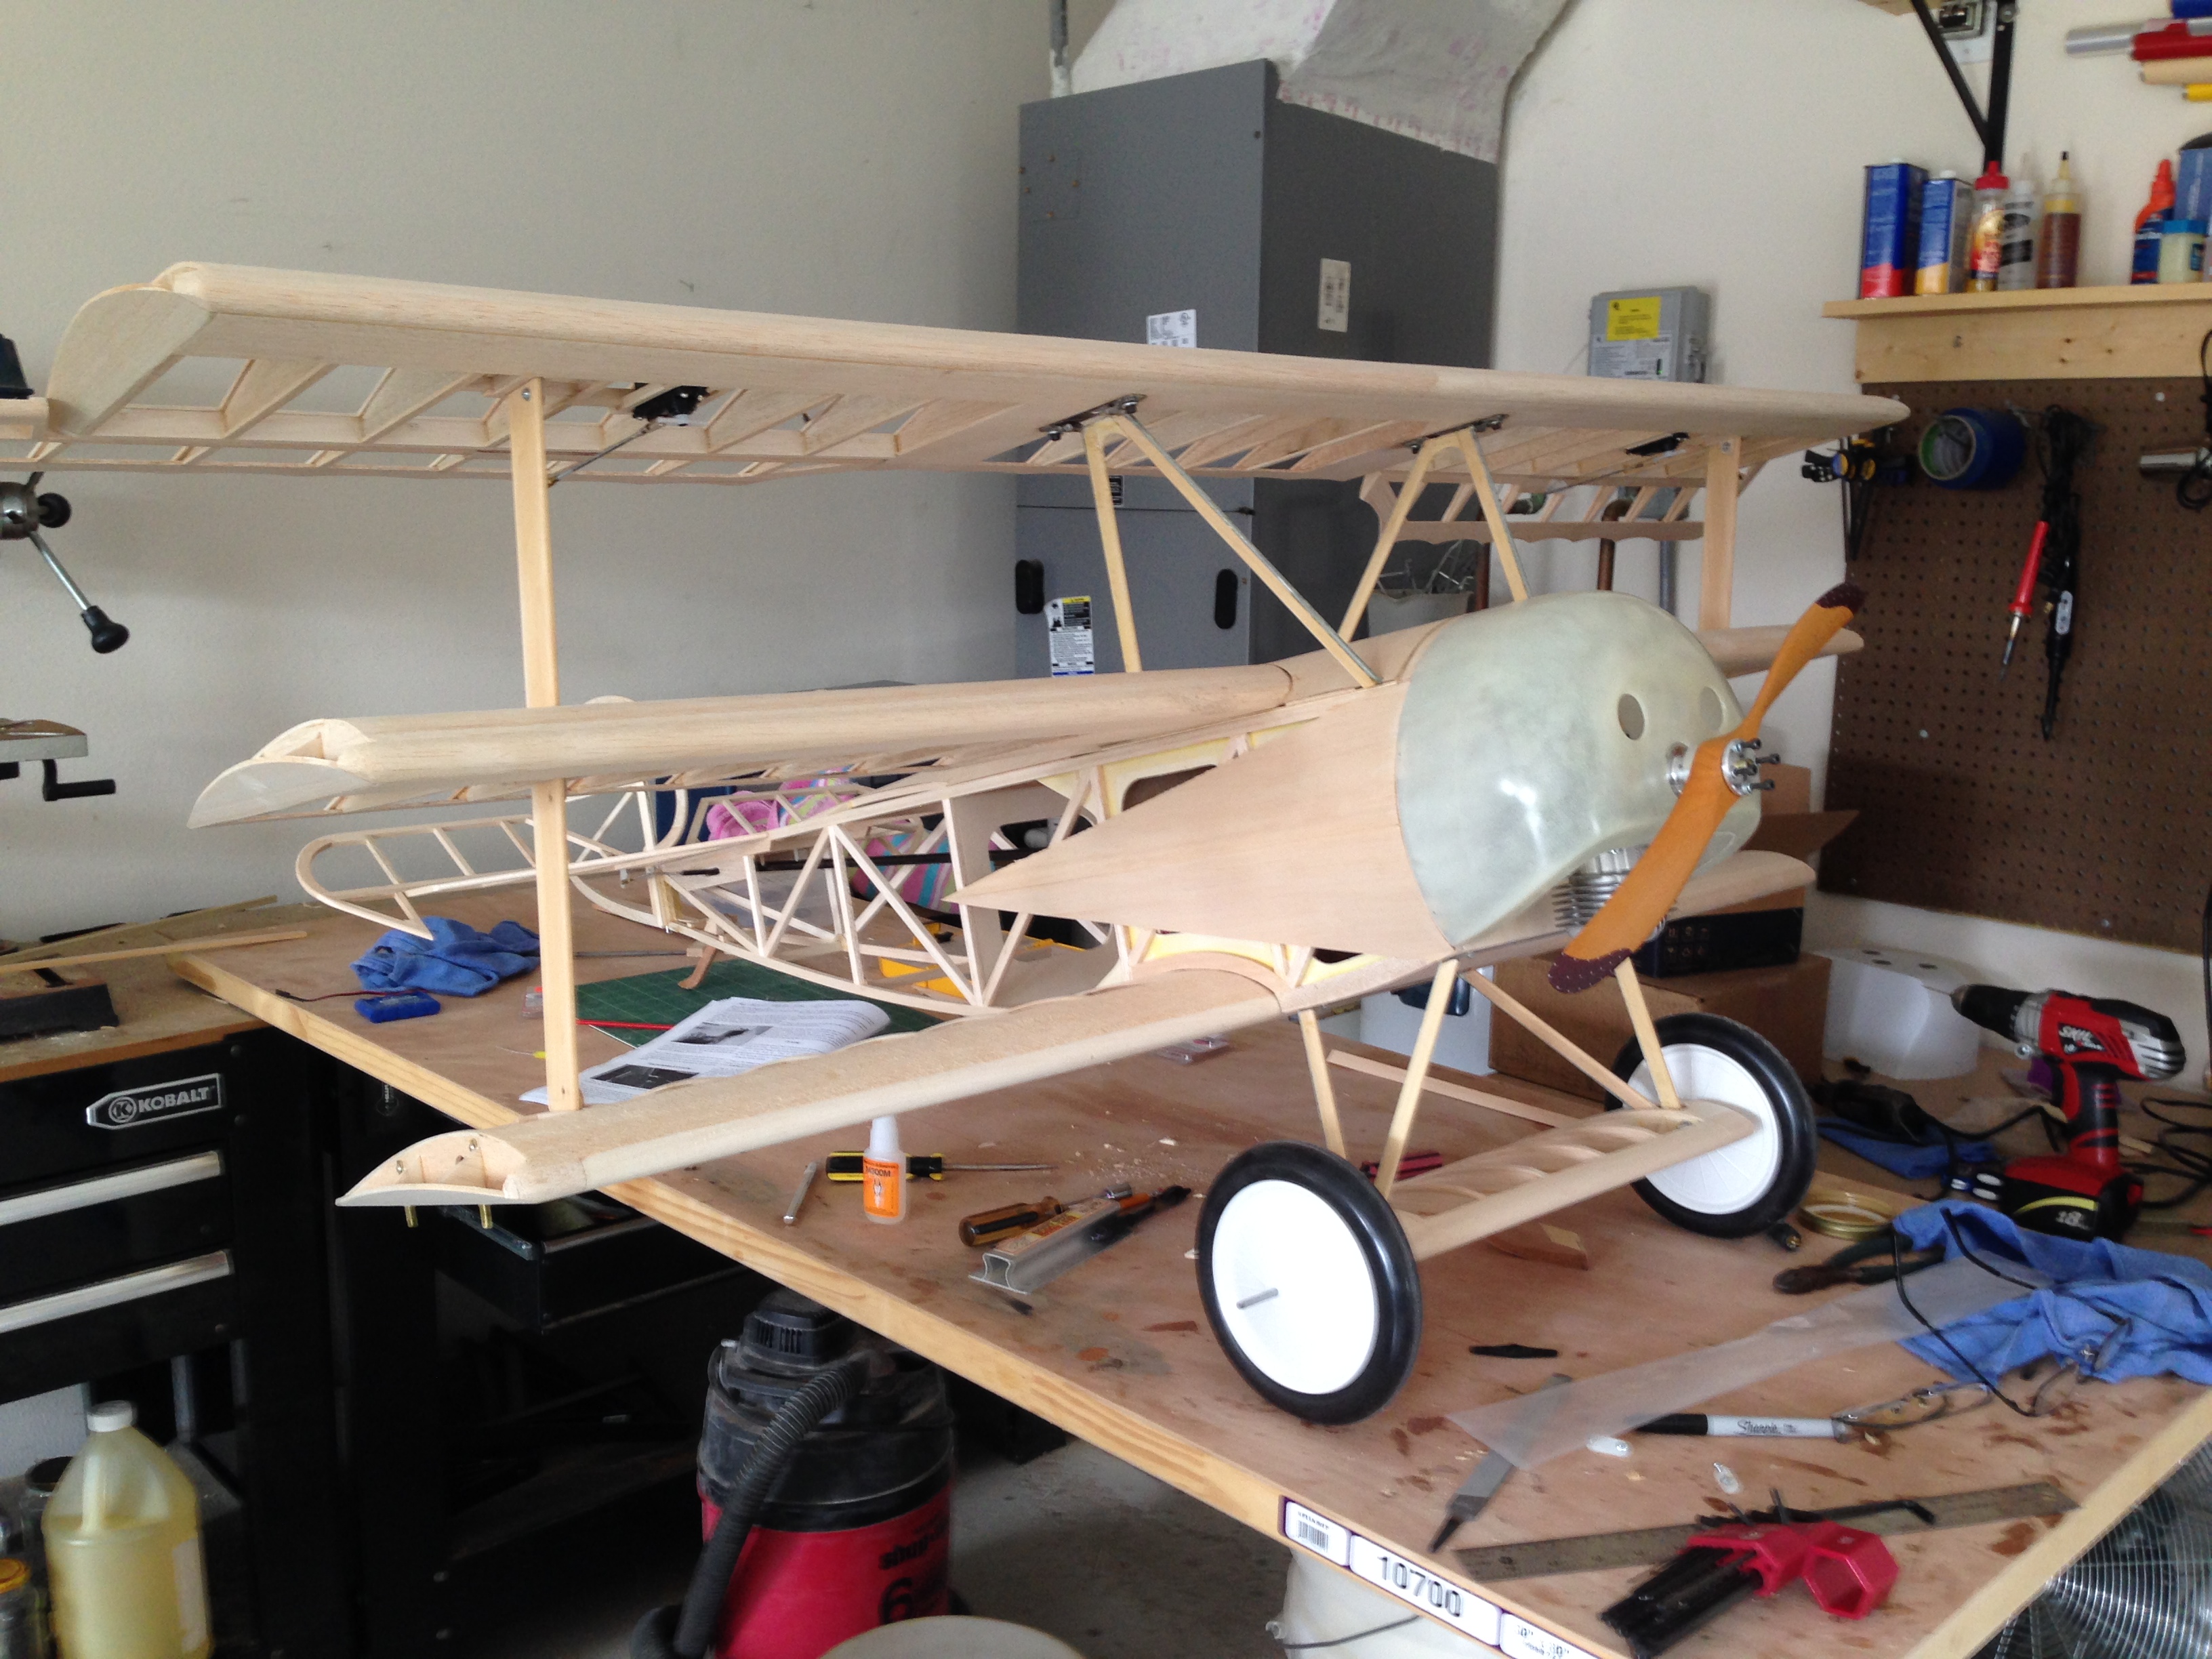
I have just a couple of small things to do before covering. The tail skid mount will be reinforced. I think VG mentioned it tends to break. The throttle servo mount needs to be built. Sometimes I'm a bit of a dummy, and on this occasion it took me a while to realize that the throttle arm on the carb could be rotated to make servo mounting easier.

Additionally, I ended up with a gab between the firewall and the top center fuse section which will have to be closed up. Gluing some balsa in place and sanding will do the job.

And, of course, there are the assorted hangar rashes and blemishes that have to be fixed, but I'm pretty much ready to sand everything nice and smooth then cover.
I have just a couple of small things to do before covering. The tail skid mount will be reinforced. I think VG mentioned it tends to break. The throttle servo mount needs to be built. Sometimes I'm a bit of a dummy, and on this occasion it took me a while to realize that the throttle arm on the carb could be rotated to make servo mounting easier.
Additionally, I ended up with a gab between the firewall and the top center fuse section which will have to be closed up. Gluing some balsa in place and sanding will do the job.
And, of course, there are the assorted hangar rashes and blemishes that have to be fixed, but I'm pretty much ready to sand everything nice and smooth then cover.
11-09-2013, 11:39 AM
#156
Thread Starter
My Feedback: (7)
Join Date: Jan 2004
Location: Parrish,
FL
Posts: 206
Likes: 0
Received 0 Likes
on
0 Posts
Forgot to mention. At this point, the balance is not too far off. I know covering and painting will affect that, but I still have batteries to place, so I don't think I will be adding nose weight.
11-16-2013, 09:40 AM
#158
Thread Starter
My Feedback: (7)
Join Date: Jan 2004
Location: Parrish,
FL
Posts: 206
Likes: 0
Received 0 Likes
on
0 Posts
Honest, I have been working on it. But sanding and filling is not much to show. However, I did manage to get to Lowes today and pick up some olive latex paint. So, I covered a 2x6 with linen solartex and practiced my Fokker camo paint job.

What do you guys think? I think the part on the left is fine. Big lesson is work fast. As thin as the paint goes on, it dries quickly and repainting a dried area leads to a dark patch. Later today, I will pull this covering loose to see how well the latex adhered to the solartex.
What do you guys think? I think the part on the left is fine. Big lesson is work fast. As thin as the paint goes on, it dries quickly and repainting a dried area leads to a dark patch. Later today, I will pull this covering loose to see how well the latex adhered to the solartex.
11-16-2013, 11:07 AM
#159
The streaking is tricky business. Especially since it is so hard to find out exactly how it really looked. On my last one, I streaked with the brush somewhat light, to create the streaks. Then, I kinda went back with my airbrush and filled in any areas that looked too light. I was really happy with how it worked out. It is so hard to get enough consistency alone with just a paintbrush.
As for what you have, I think they both look good. A combination of the 2 would look good. It is supposed to be inconsistent, while giving the correct impression. The main thing, I like the tone of your color. It does not look too yellow or too brown.
As for what you have, I think they both look good. A combination of the 2 would look good. It is supposed to be inconsistent, while giving the correct impression. The main thing, I like the tone of your color. It does not look too yellow or too brown.
11-16-2013, 11:26 AM
#160
Thread Starter
My Feedback: (7)
Join Date: Jan 2004
Location: Parrish,
FL
Posts: 206
Likes: 0
Received 0 Likes
on
0 Posts
I tend to agree. My streaking was fine, and the inconsistency would be fine also. Color is tricky. I bought the shade of olive I wanted for a final look. Should have gotten something that was more green. Over the linen solartex it is a bit more brown than I was looking for, but it will work.
On the good side, I just pulled it off of the 2x6, wadded it up, stretched it, balled it up, scuffed it and heated it a bit. The paint stuck.
11-18-2013, 07:28 AM
#161


I can guarantee you that I, and I'm sure others here, will be quick to say we resemble this comment!  It seems like every little problem out of the ordinary you fuss over and build over and over again in your head without any viable solution. Then the simplest solution pops into your head when you least suspect it and you end up giving yourself a quick dope slap. It never fails!
It seems like every little problem out of the ordinary you fuss over and build over and over again in your head without any viable solution. Then the simplest solution pops into your head when you least suspect it and you end up giving yourself a quick dope slap. It never fails!
 11-20-2013, 05:01 PM
#162
Thread Starter
My Feedback: (7)
Join Date: Jan 2004
Location: Parrish,
FL
Posts: 206
Likes: 0
Received 0 Likes
on
0 Posts
I have only one more step to complete before I start covering. Clean the garage. Everything gets put away or dragged out and all the dust, dirt and balsa bits go away. It's my wife's favorite part of the build.
I was unhappy with the shade of olive I had chosen for my camo pattern, so while I was at Lowe's yesterday, I picked up and quart of something that was a lot greener. That too, I was not completely pleased with. But If I mix the two, I get what I was looking for. What do you guys think? Left, middle or right?
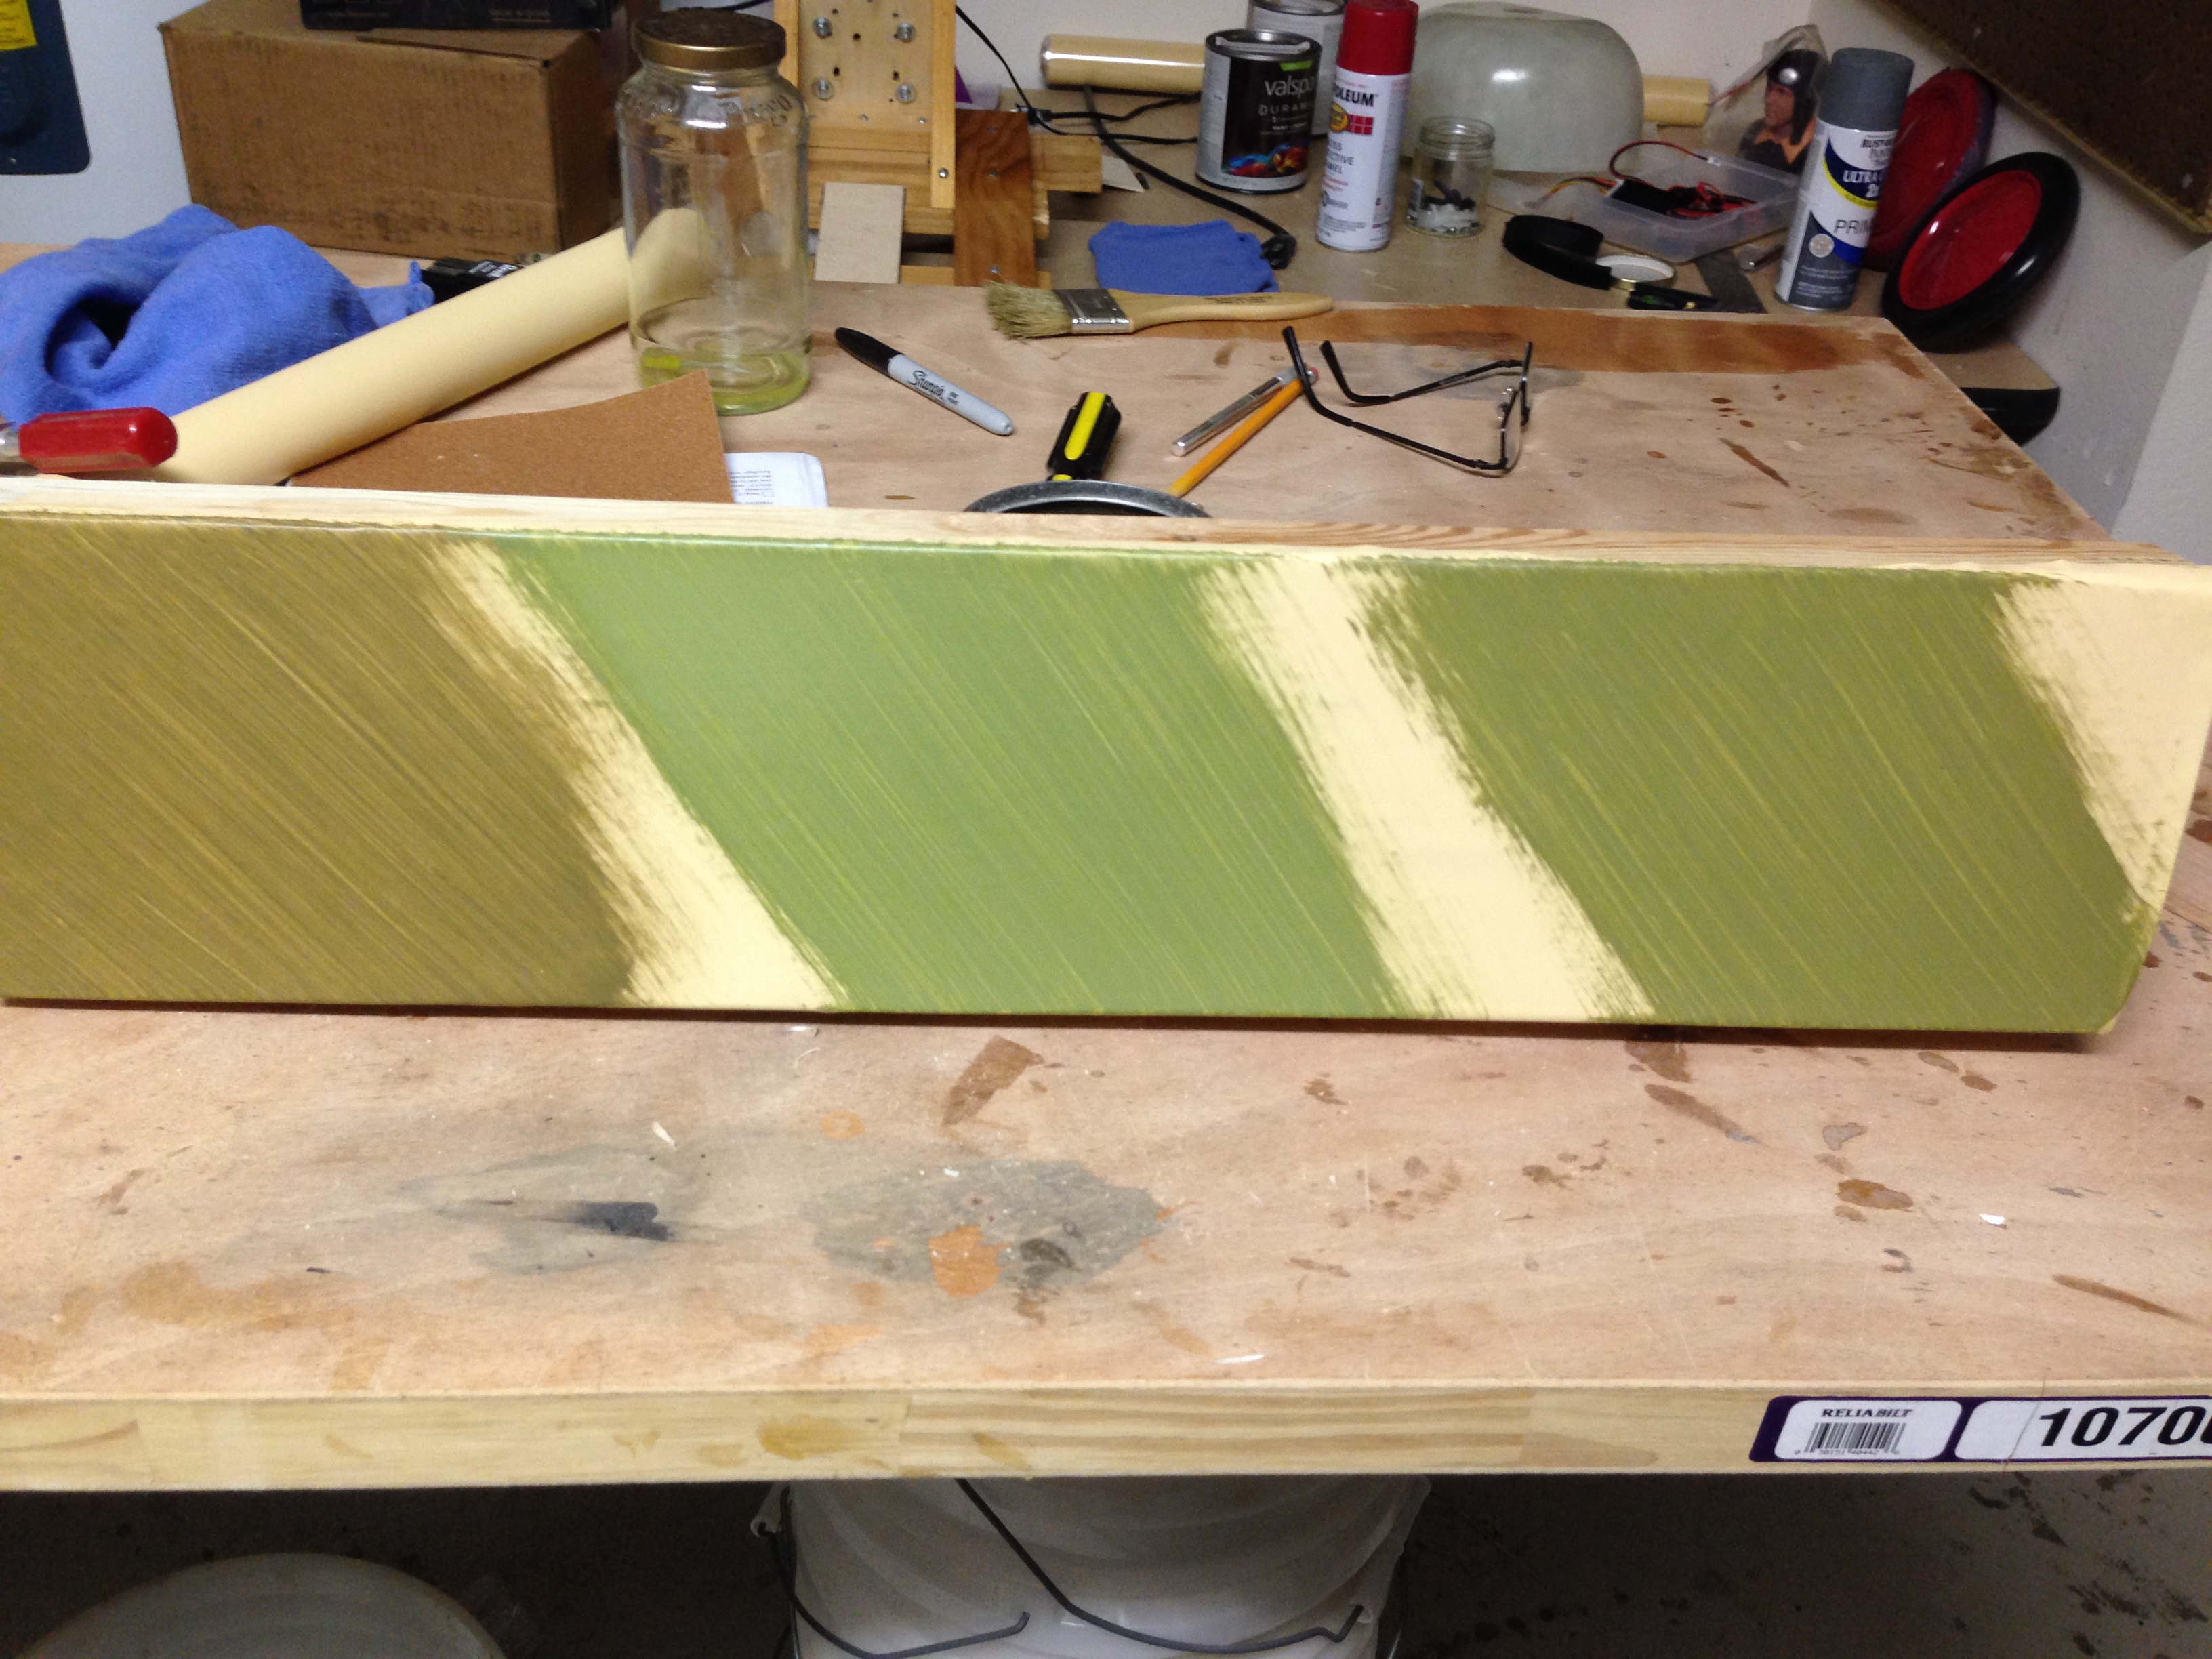
I was unhappy with the shade of olive I had chosen for my camo pattern, so while I was at Lowe's yesterday, I picked up and quart of something that was a lot greener. That too, I was not completely pleased with. But If I mix the two, I get what I was looking for. What do you guys think? Left, middle or right?
12-19-2013, 12:04 PM
#168
Last edited by jeffEE; 12-19-2013 at 12:14 PM.
12-29-2013, 04:59 PM
#170
Well the build goes along pretty well. All three wings done and the fuse is laid out. Its a Balsa Usa kit, after all, and it goes together easy. But the same problems that I had with the DVII I found in this DRI kit as well. Missing parts, parts that do not match the size on the instructions, etc. The parts that are missing so far are just 4 balsa strips for the cap strips. And I know that if I called Balsa USA they would send them to me at no charge. But I really didn't think its worth the wait, after all it only cost me about 2 bucks at the LHS. I must say that the Die cutting is very good on the parts. Oh well, back to the build.
12-30-2013, 11:27 AM
#171

I found missing stock in my kit as well, it was the L/E stock on mine. I had some on hand so I didn't worry about it.
I am missing my DRI, I am thinking of replacing it with a 1/3 scale version.
Later!!
Anthony
I am missing my DRI, I am thinking of replacing it with a 1/3 scale version.
Later!!
Anthony
12-30-2013, 02:25 PM
#172
If I had one complaint on the BUSA kits, it is the complete lack of organization when they pack the kit. It is no surprise there are missing parts, because I think they just look at the stock list and throw the items in the box! The first thing I did with my new tripe kit was organize and mark all of the stock. I still ended up cutting a couple of the wrong sticks at the wrong time.
The other thing to watch, the L.E. sheet stock, and spar stock, for the tripe, is too short to do an adequate scarf joint for length. They really should go up to the next length of stock so this can be done properly. Care must be taken there. In the end, they build into fabulous models, but they could be a little bit easier if some things were done differently. I have built 2 tripes and the Fokker DVII.
The other thing to watch, the L.E. sheet stock, and spar stock, for the tripe, is too short to do an adequate scarf joint for length. They really should go up to the next length of stock so this can be done properly. Care must be taken there. In the end, they build into fabulous models, but they could be a little bit easier if some things were done differently. I have built 2 tripes and the Fokker DVII.
12-31-2013, 10:47 AM
#174
Hey Anthony, its been a while since I was at your 1/3 scale Spacewalker build. Hows the back doing? And Happy New year to all! And speaking of the new year...... isn't there a gathering in Sept somewhere for a Dawn Patrol to celebrate/commorate the start of WWI? We should all go. I would love to put faces to a lot of fellow WWI ers.
Last edited by jeffEE; 12-31-2013 at 10:52 AM.
12-31-2013, 11:21 AM
#175
I agree the Dayton Dawn Patrol is an outstanding event. All WW I flyers from all over the country come for the three day event. This year will be my fourth time making the trip. It is great to put face to those we communicate with on the forums.
Happy New Year
Rich
Happy New Year
Rich