


BUSA 1/4 Scale Fokker Dr 1

 12-31-2013, 04:49 PM
#178

Thread Starter
My Feedback: (7)
Join Date: Jan 2004
Location: Parrish,
FL
Posts: 206
Likes: 0
Received 0 Likes
on
0 Posts
Guys,
Sorry for my absence from the thread. Still alive, still flying, still building. We had a series of family emergencies beginning about Thanksgiving and continuing for the next month. Couple that with the arrival of my new IMAC plane for this season, and the Dr. 1 got put on the back burner for a bit. IMAC plane will be maidened next week and then the build will continue. It's about half covered and I'm looking forward to painting it.
Tony
01-13-2014, 11:51 AM
#179
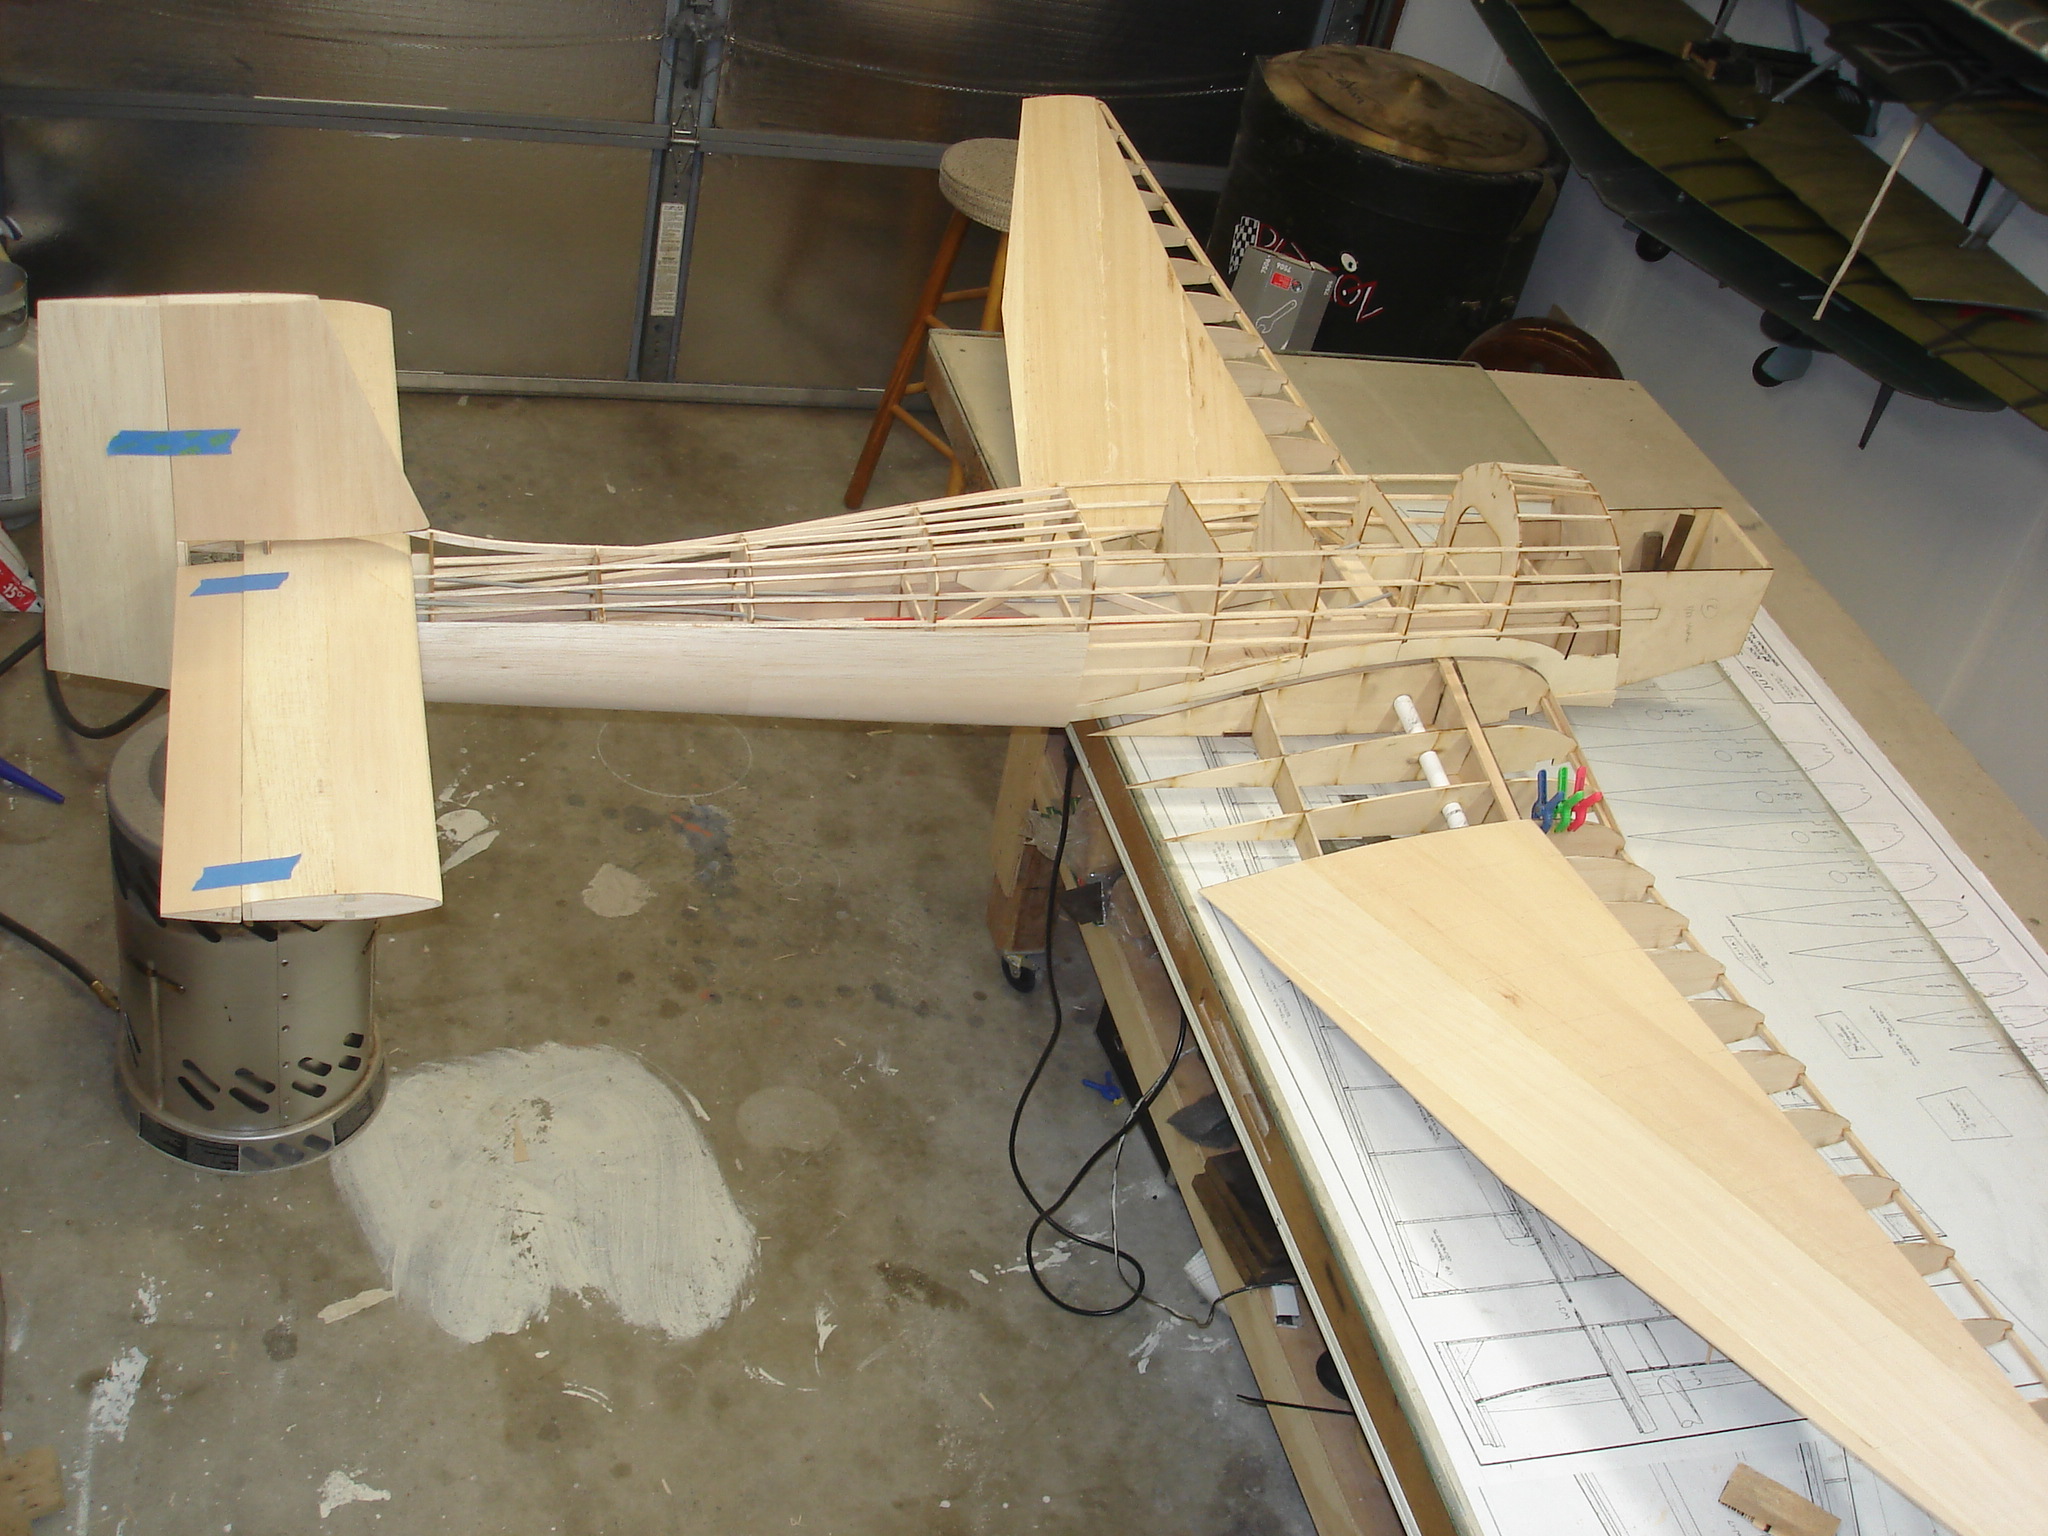
Well, I put the top wing on today. I built the frame for the cabanes and got the soldering iron hot. What a GIANT pain in the butt! I must have bent and rebent the wires 20 times. I finally just gave up and put the heat to them. I have no idea how, but everything lines up perfect. I would rather build 5 DVII's than go thru that again.


 01-14-2014, 08:01 PM
#182
Nice, you scalloped the LE sheeting and the woven fabric through the ribs. The top wing jig was a pain the first time I did it. On my second one, it worked perfectly. Care must be taken to build that jig exactly, and it is tricky the way they make the dimensions to understand it.
Here is a pic of where I am at in my current build. 100" Ziroli Stuka! Gotta keep it German you know!
Here is a pic of where I am at in my current build. 100" Ziroli Stuka! Gotta keep it German you know!
 01-15-2014, 10:52 AM
#184


Join Date: Oct 2005
Location: Dublin,
VA
Posts: 1,181
Likes: 0
Received 0 Likes
on
0 Posts
Oh man, for some reason, the last few days I have really been wanting another one of these! I sold my first BUSA DR.1 a couple years ago and I really miss it! I spent a LOT of time scaling it out. I think it took me two weeks to have it RTC but another year to finish it working off and on. My only prob. is that I don't have the funds at the moment for the kit and a new G26. Maybe some good fortune will come my way and I can get another one soon. My DR.1 has been the most realistic handling model I have ever had and was lots of fun to build.
01-15-2014, 03:50 PM
#185
Yes, it had to have a few up grades. It is way too far off scale to worry about going all out, but I still had to make it my own. And I really like the way the leading edge cut outs show up thru the covering. Now to make the cowl shorter and add some rib stitching. Then wait for the snow to melt!
01-15-2014, 05:29 PM
#186
Yes, it had to have a few up grades. It is way too far off scale to worry about going all out, but I still had to make it my own. And I really like the way the leading edge cut outs show up thru the covering. Now to make the cowl shorter and add some rib stitching. Then wait for the snow to melt!
01-16-2014, 10:49 AM
#188
I added brass tubes on the ends of the struts, and use long 4-40 through bolts to attach them. The lower struts just fold out of the way for storage and transport, while the top section remains assembled all the time. It is actually easier to put together at the field, than stock.
01-17-2014, 07:10 AM
#189
I added brass tubes on the ends of the struts, and use long 4-40 through bolts to attach them. The lower struts just fold out of the way for storage and transport, while the top section remains assembled all the time. It is actually easier to put together at the field, than stock.
01-17-2014, 11:49 AM
#190
Join Date: Oct 2005
Location: Dublin,
VA
Posts: 1,181
Likes: 0
Received 0 Likes
on
0 Posts
On the first DR.1 I built, I did a bungeed main gear and it worked great......really made the plane "stick" to the ground when landing. I always landed on the mains and kept the tail up as long as possible stearing with the rudder. It was a LOT of work and I used the GTM airfoiled alum. for the gear legs instead of the wire.
For those of you who have built this plane stock, how does it do with the stock LG on landings and is it ever bouncy etc.?
Reason I'm asking is I am in the planning stages (hopefully) of building another one and trying to decide how I am going to go about it.
Thanks!
For those of you who have built this plane stock, how does it do with the stock LG on landings and is it ever bouncy etc.?
Reason I'm asking is I am in the planning stages (hopefully) of building another one and trying to decide how I am going to go about it.
Thanks!
01-17-2014, 02:28 PM
#191
I used the stock bass material supplied with the kit, but I cut it into 4 pieces. I maintained the spacing between the wings with a stick, and some clamps while I was fitting the struts to the mounts I had previously fabricated and mounted in the wings. The mounts in the wings were made from 1/4" x 1/2" spruce, with 1/4" wide brass strips wrapped around and fastened to the spruce. These have the holes drilled through them, to accept the long 4-40 bolts. I use nylon lock nuts on the ends of the bolts. On the ends of the struts, I glued brass tubing, a little longer than the width of the strut. I then added a triangular gusset to create the flare shape. The brass tube had fiberglass wrapped around it to secure it to the strut. I still need to trim them flush to make them a little cleaner. This has worked out well.
The simulated, scale mounting brace was cut from 1/64 ply, cut in strips, and glued in place. The rivets are model railroad track nails. Very handy item to have around in your scale drawer! Then they were painted with bronze paint and shaded with the airbrush. Gave a fairly good impression. I kind of consider the feel of my triplane to be "Haunted" . That is the look it seems to have taken on.
01-25-2014, 03:41 PM
#193
I just love a photo of a plane on its wheels for the first time. It's so small compared to my DVII. But at least now it looks like a DRI. I took the Balsa USA cowl and cut the front out. Then cut a spare piece of fiberglass a bit bigger than the hole, and made a two piece cowl. Added some rivets, cut the length a bit, and it looks pretty good.
01-25-2014, 08:21 PM
#194
I just love a photo of a plane on its wheels for the first time. It's so small compared to my DVII. But at least now it looks like a DRI. I took the Balsa USA cowl and cut the front out. Then cut a spare piece of fiberglass a bit bigger than the hole, and made a two piece cowl. Added some rivets, cut the length a bit, and it looks pretty good.
01-27-2014, 04:35 PM
#195
Thread Starter
My Feedback: (7)
Join Date: Jan 2004
Location: Parrish,
FL
Posts: 206
Likes: 0
Received 0 Likes
on
0 Posts
Told you that I hadn't given up. Plane is covered. It went fast and other than the scallops, was very easy. I got better at the scallops as time went on. Lots of them to work on. Anyhow, I've started painting. The fuse will be first as assembly can begin when it's painted.

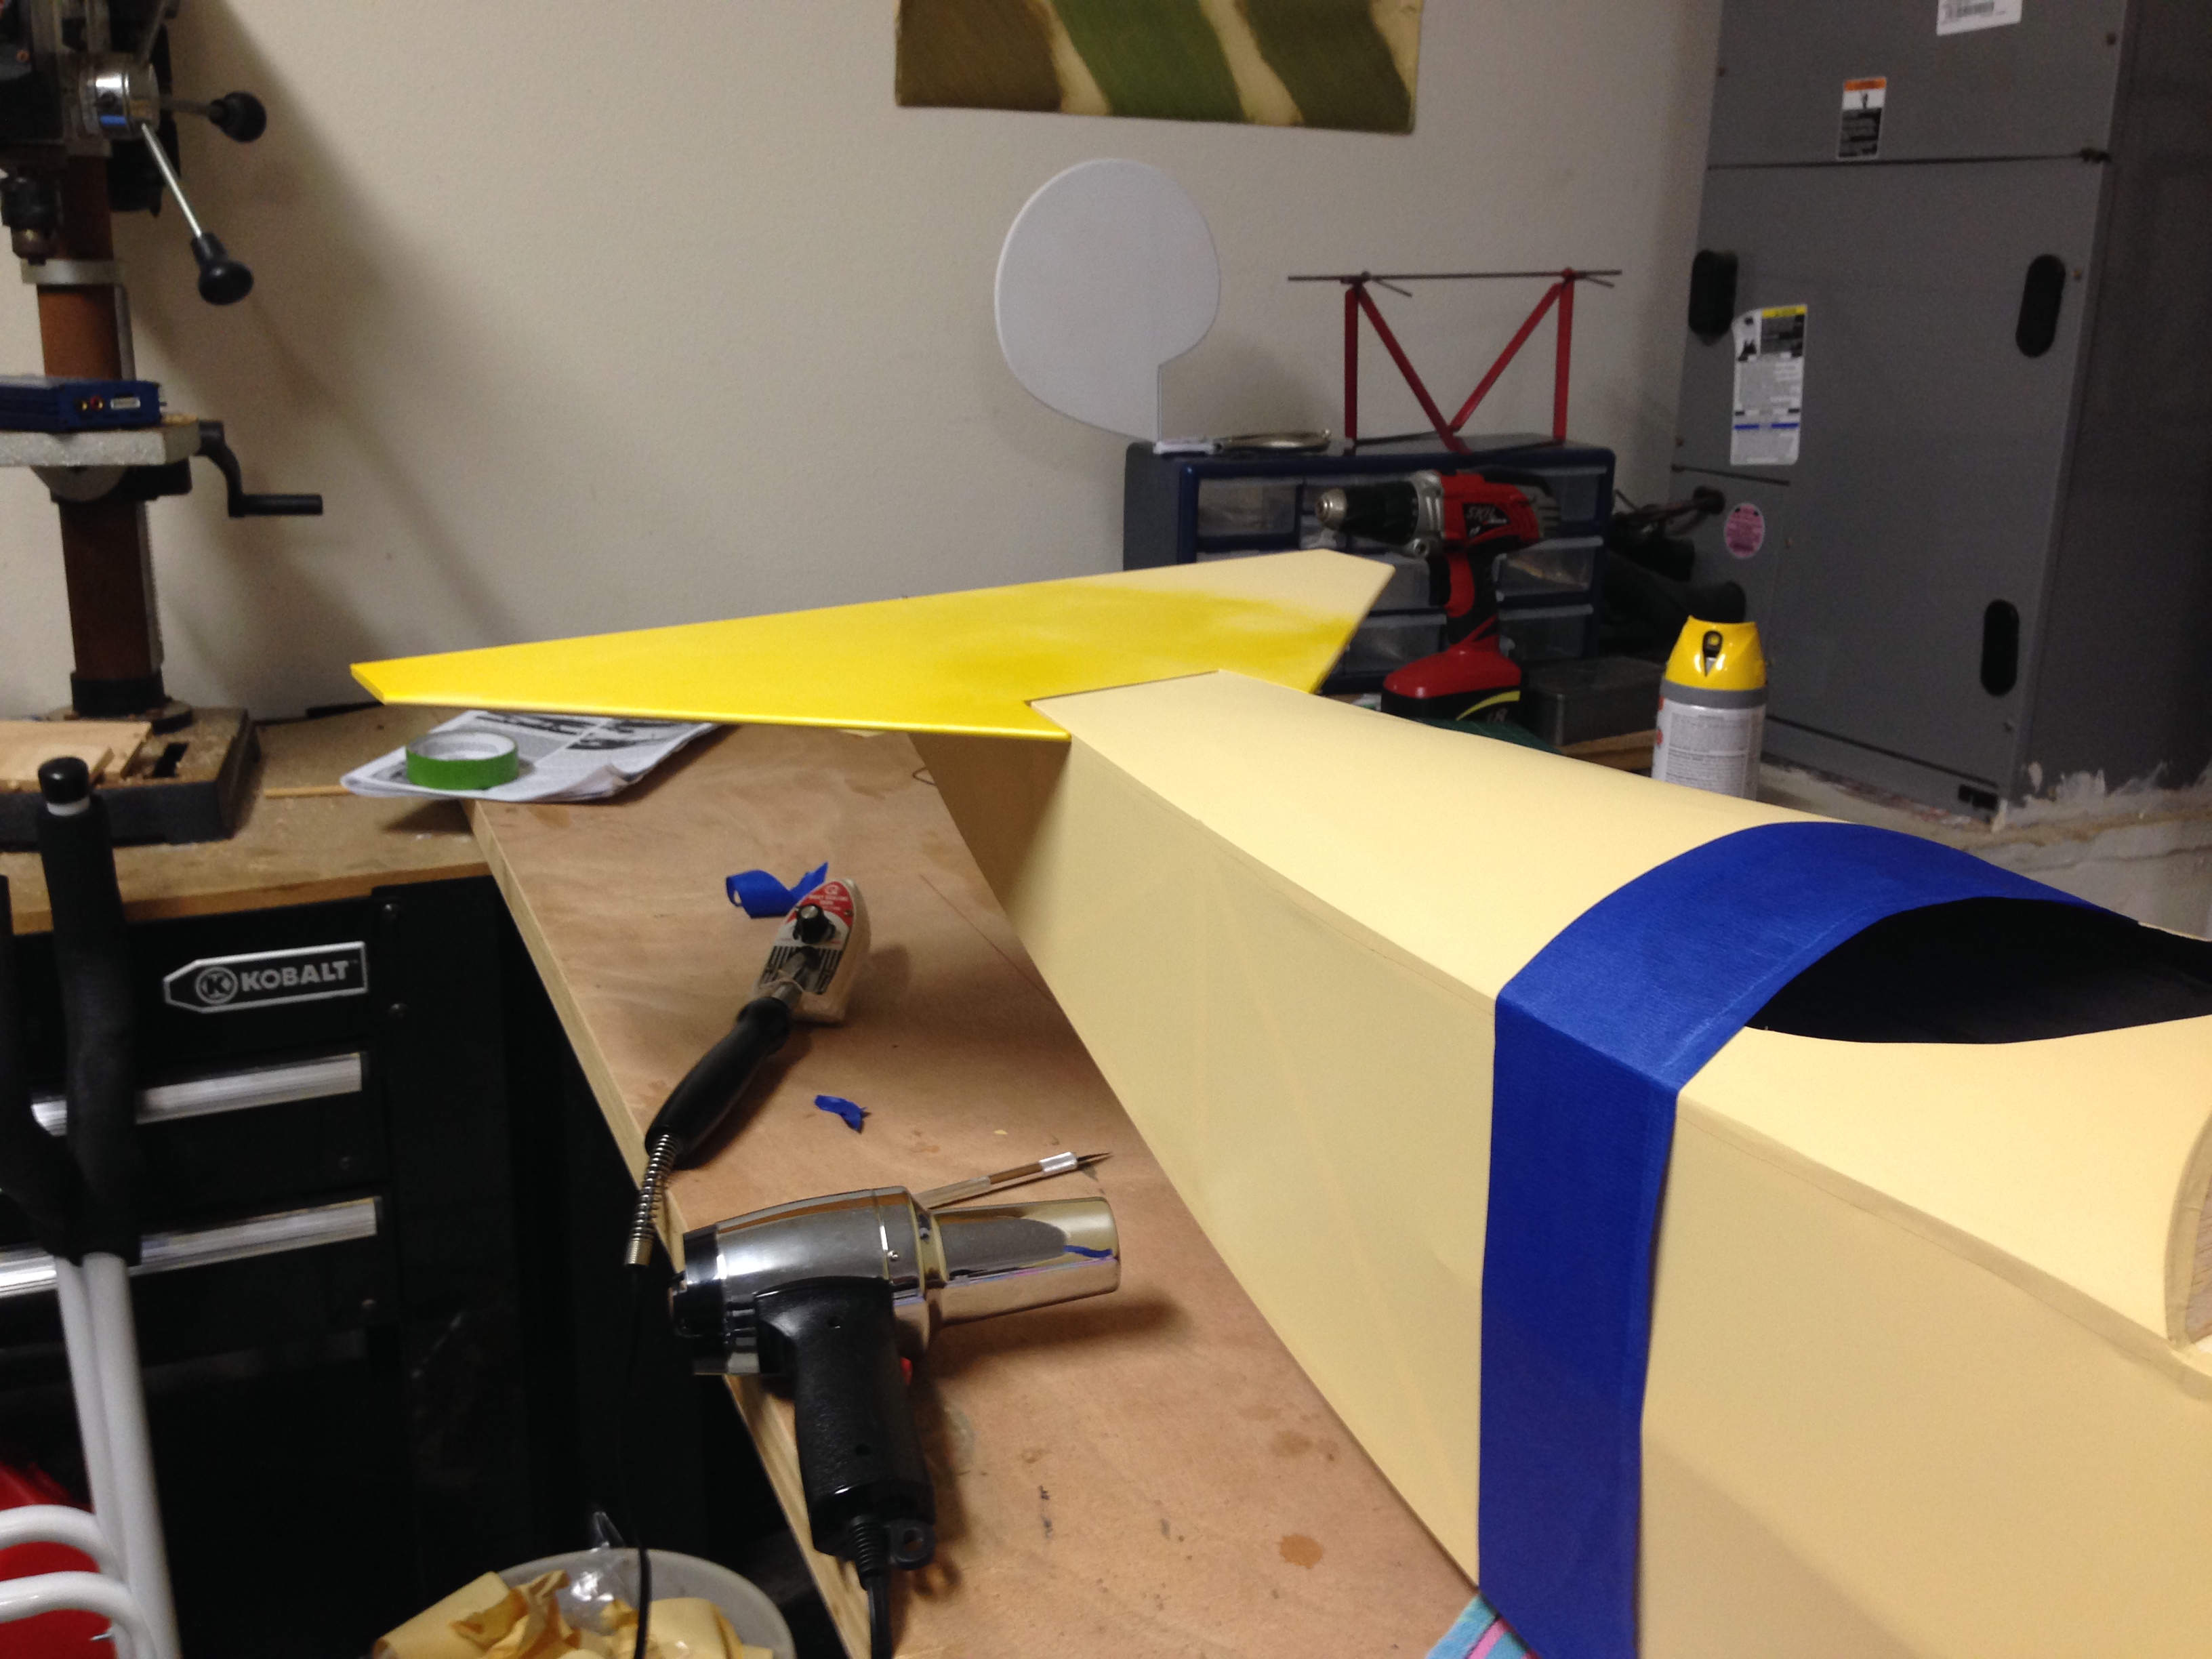
I'm going for a balkenkruz "Lothar" look.
I'm going for a balkenkruz "Lothar" look.
01-29-2014, 06:17 PM
#198
Sometimes I wish I could build in the order that the book tells me I should. So while waiting for this part to dry, or that part to get sanded, I cut down my cowl to a more scale size. Now that I am trying to attach the motor, I found that it needs to be moved back 3 inches. No problem, build a box and pin it in place. Boy...will I have to cut a lot out of the firewall to get it in there. Vertical grimmace, I saw that you had the same problem. I would like to know how the JB weld held up, and did the vents in the top of the fuse. keep the air flow over the motor enough to keep it cool? Perhaps I should just make it a slope glider.
01-29-2014, 06:43 PM
#199
Boxing the engine back was the most difficult part of the build. It worked out very well. The JB weld is getting really hot, and the junction where the copper tube connects has failed, after around 4 flights. But, I ran 4-40 bolts in to secure the copper tube. I need to wire tie the heads of these bolts as they have worked out some. I only noticed this after the last flight, and have not gotten around to working on it. The vents on top are really working good. I know my engine is getting hotter than would be desirable, but it is acceptable, as it is not overheating. I baffled the air flow to direct right through the engine as well. One problem I have had, is I have an air leak where my carb mounts to the engine case. I bought a product called Yamabond to fix this. It is supposed to be the best carb gasket available. The problem is, since the carb is sucking air, I cannot slow the idle speed down far enough to get the desired landing speed I want. Again, I will get in there and do all this stuff some day soon. There are always teething issues with these scale models, and these somewhat complicated mods. One thing is for sure though, mine flies great, better than the first one, so I am overall very pleased with the outcome of that project.